 Premium Plans
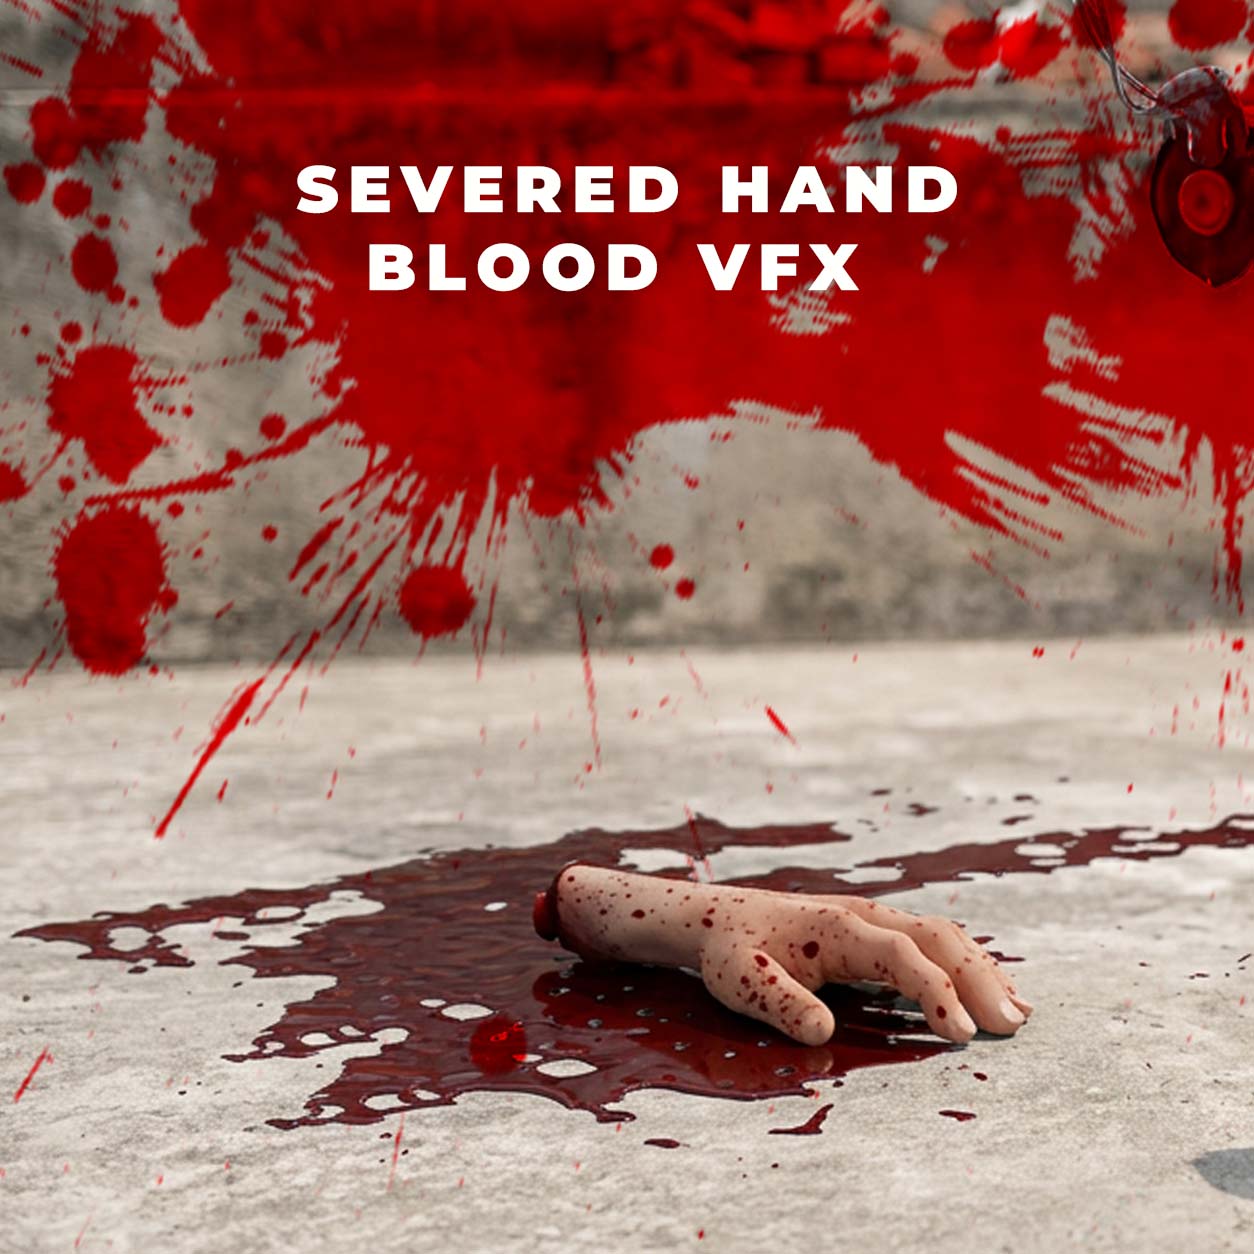
How I Created a Realistic Severed Arm Blood VFX Using Drag & Drop Stock Footage
Creating a realistic severed arm VFX shot might look complicated, but with today's professional stock footage and compositing tools, you can achieve H.......
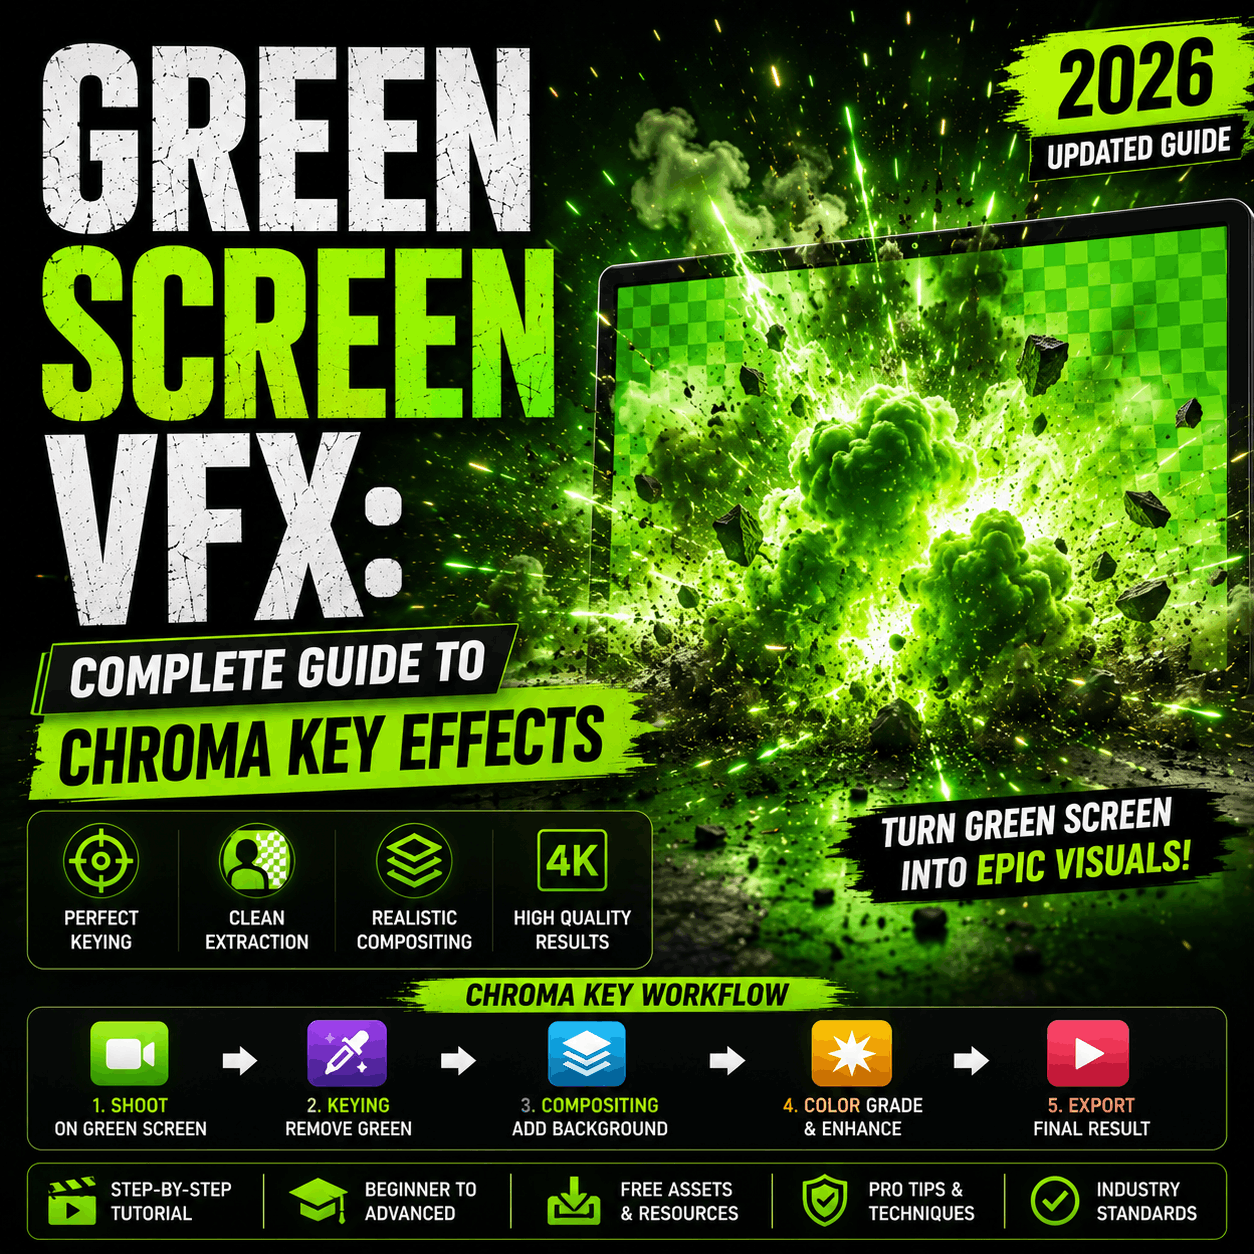
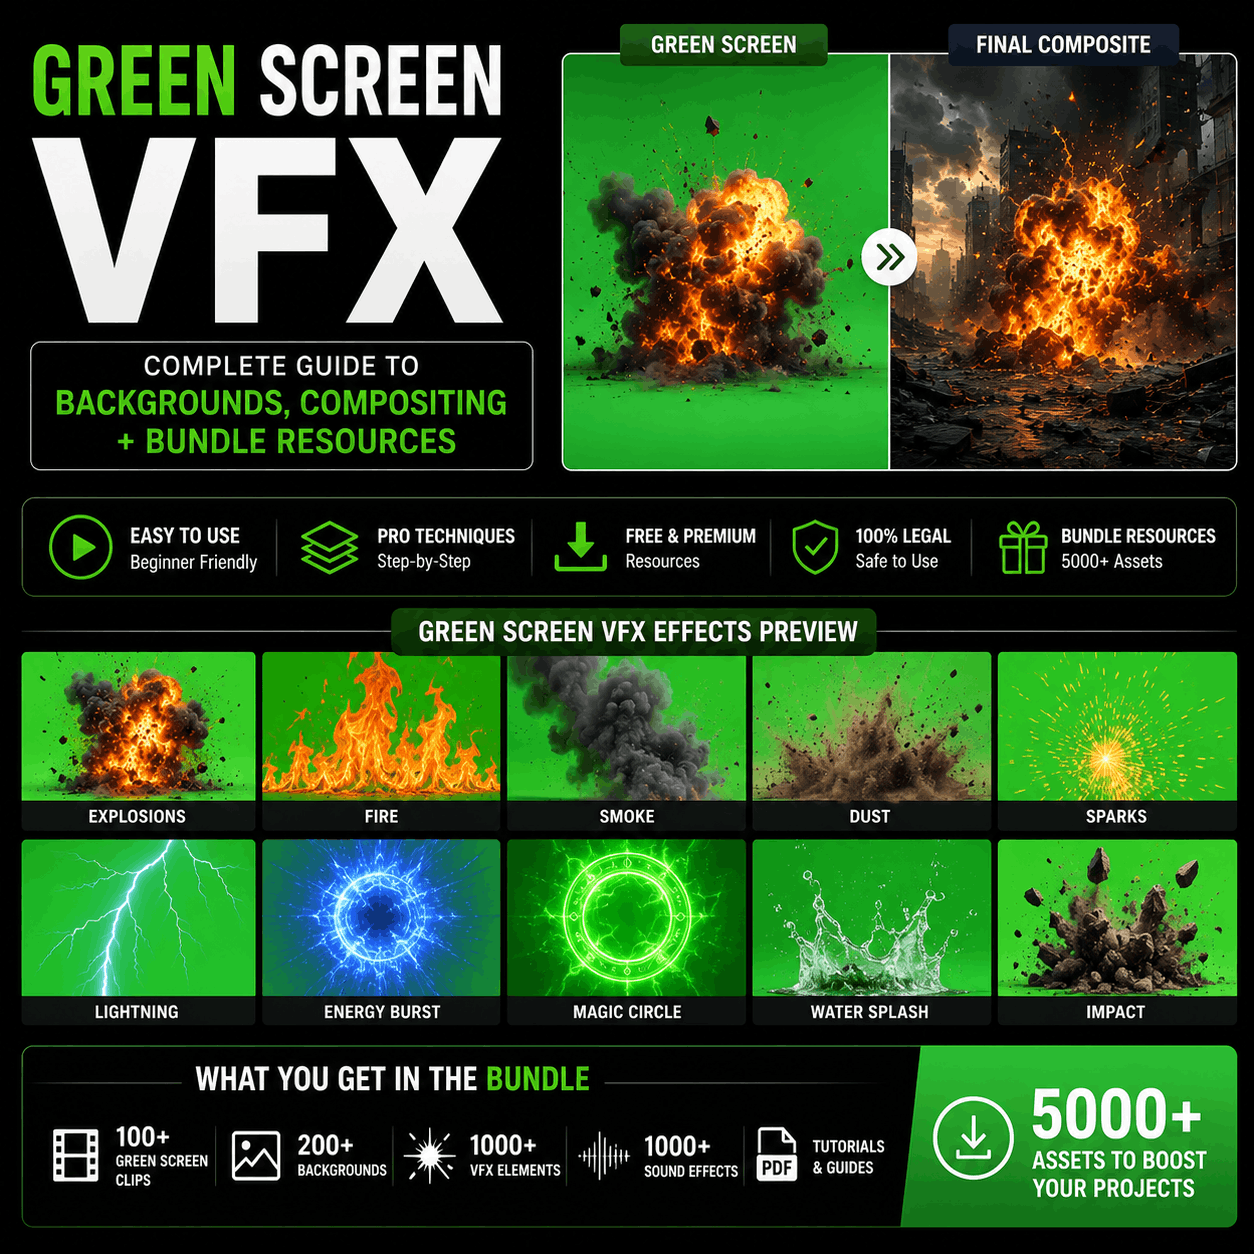
Green screen VFX (chroma key) is the foundation of modern video production. Replace backgrounds, composite characters, create impossible scenes. This guide covers everything: setup, lighting, editing techniques, and free VFX resources to elevate your green screen work from amateur to cinematic.
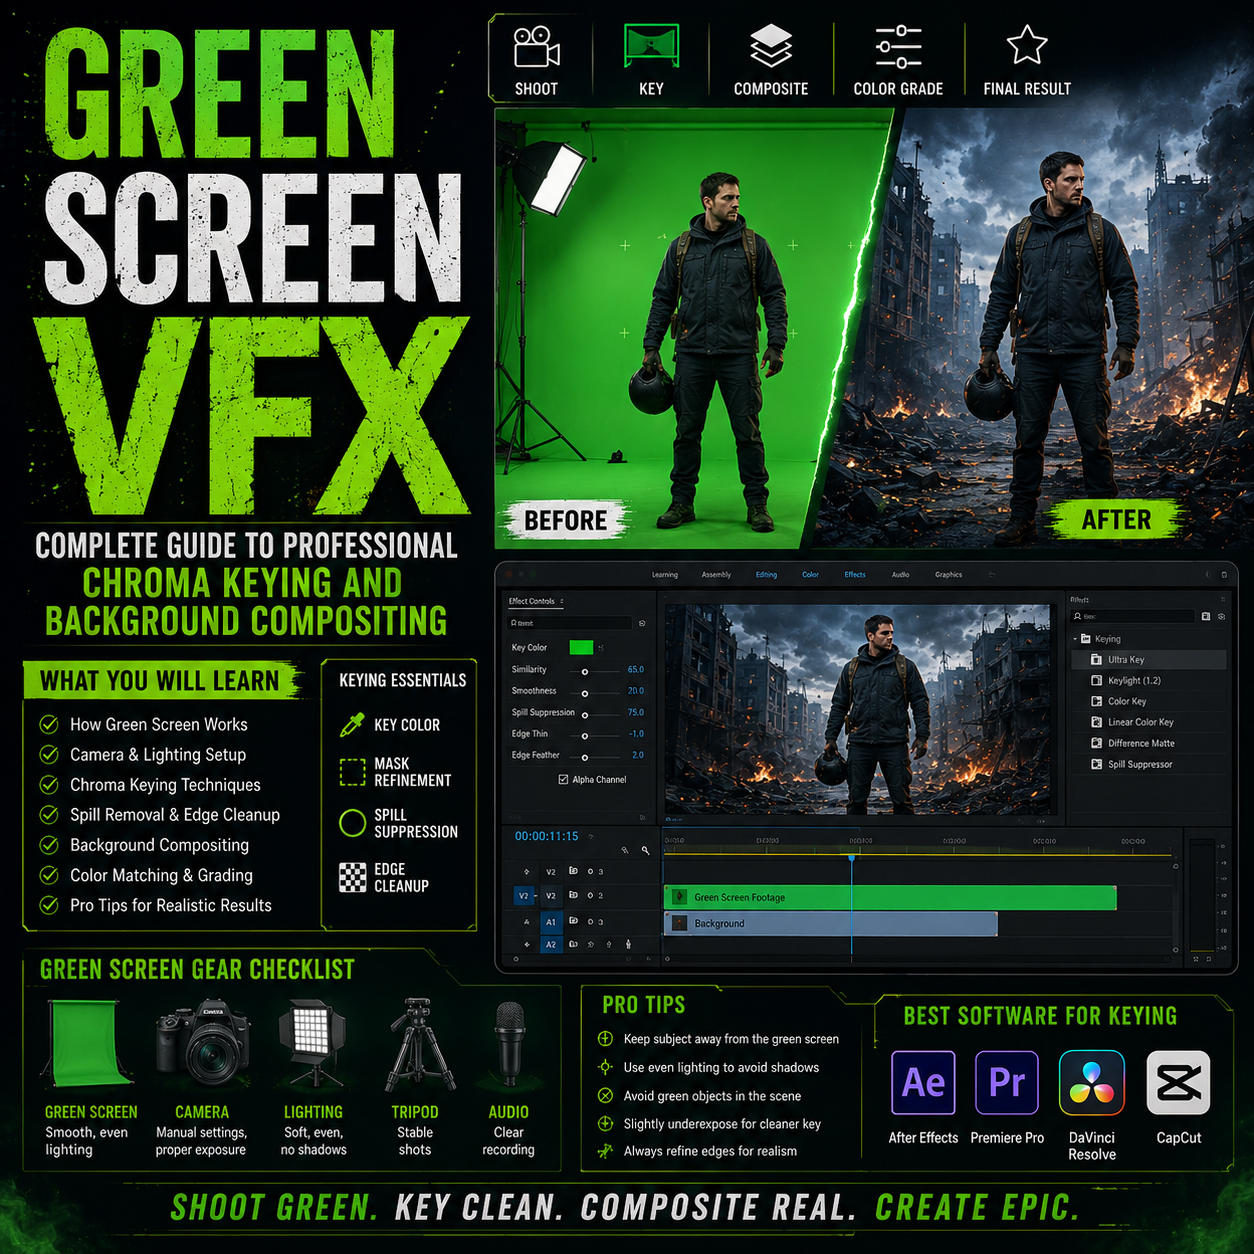
Green screen VFX is the process of filming a subject (person, object, prop) against a bright green or blue background, then digitally removing that color (chroma key) in post-production and replacing it with a different background or VFX.
Green screen: Most common, best for most situations, fewer color conflicts with clothing/objects
Blue screen: Better for subjects wearing green, professional film standard, slightly better color separation
Recommendation: Start with green screen (easier to find, cheaper, works universally).
Budget option: Green fabric or paper ($20–50). Works for mobile video.
Professional option: Collapsible green screen backdrop ($100–300). Wrinkle-free, portable.
Best option: Green screen seamless paper roll ($150–400). Used in studios, professional-grade.
Tip: Avoid wrinkles and shadows. A flat, evenly-lit green screen is 90% of success.
This is critical. Poor lighting = bad chroma key = unusable footage.
Tip: Start with default settings, then adjust threshold (typically 0.3–0.5).
Tip: Ultra Key is more powerful but harder to learn. Keylight is faster for beginners.
Tip: DaVinci Resolve offers the most control but has the steepest learning curve.
Green spill = green light reflecting onto your subject's edges/hair. It looks fake. To remove:
Hard edges between subject and background = obviously fake. Solution:
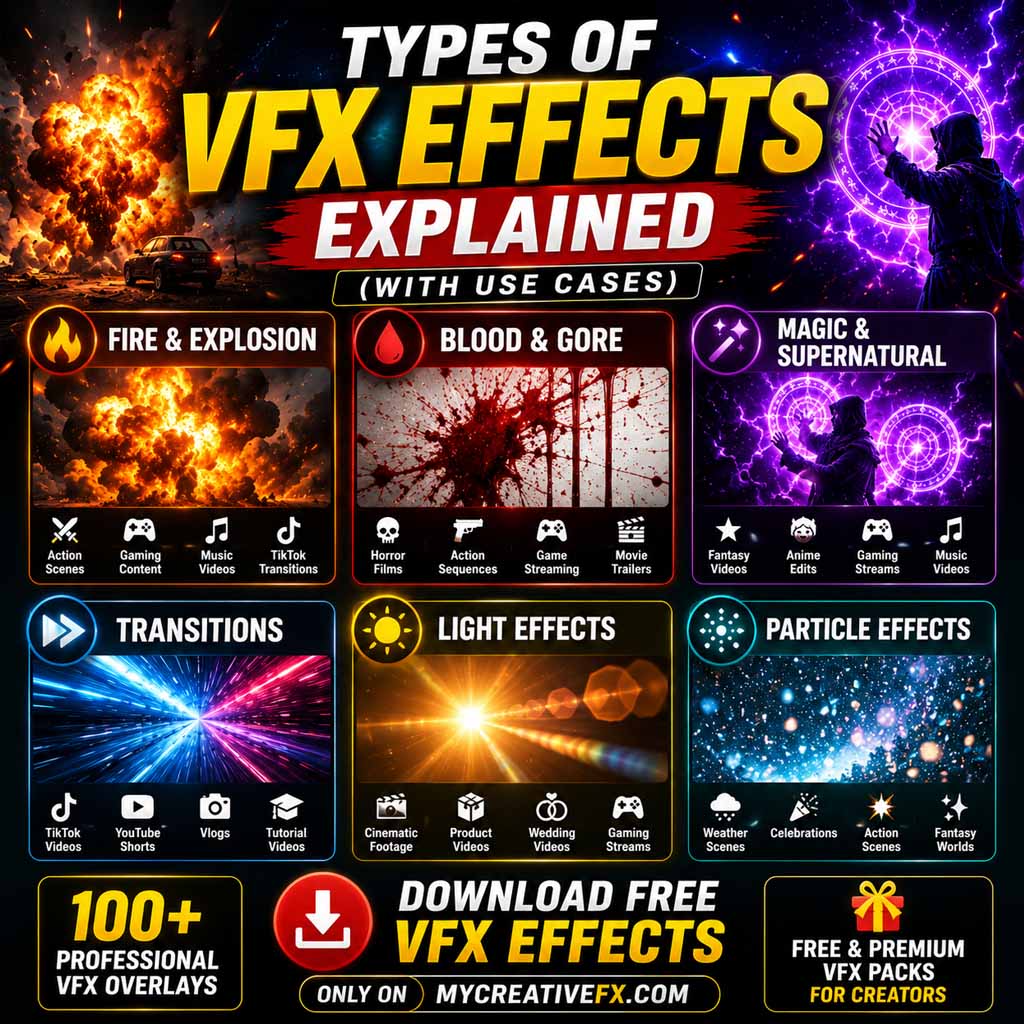
For cinematic results, layer multiple elements:
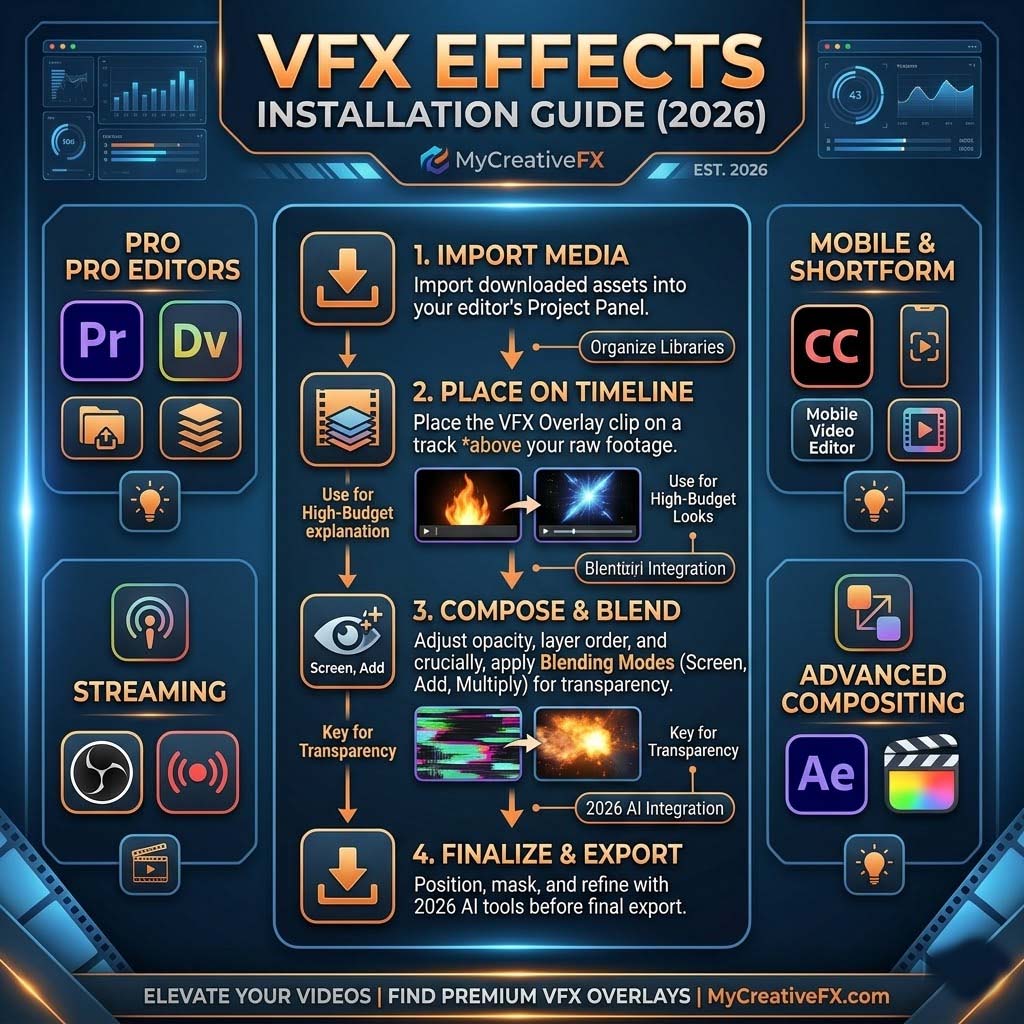
Combine green screen with overlaid VFX for maximum impact:
Popular background choices:
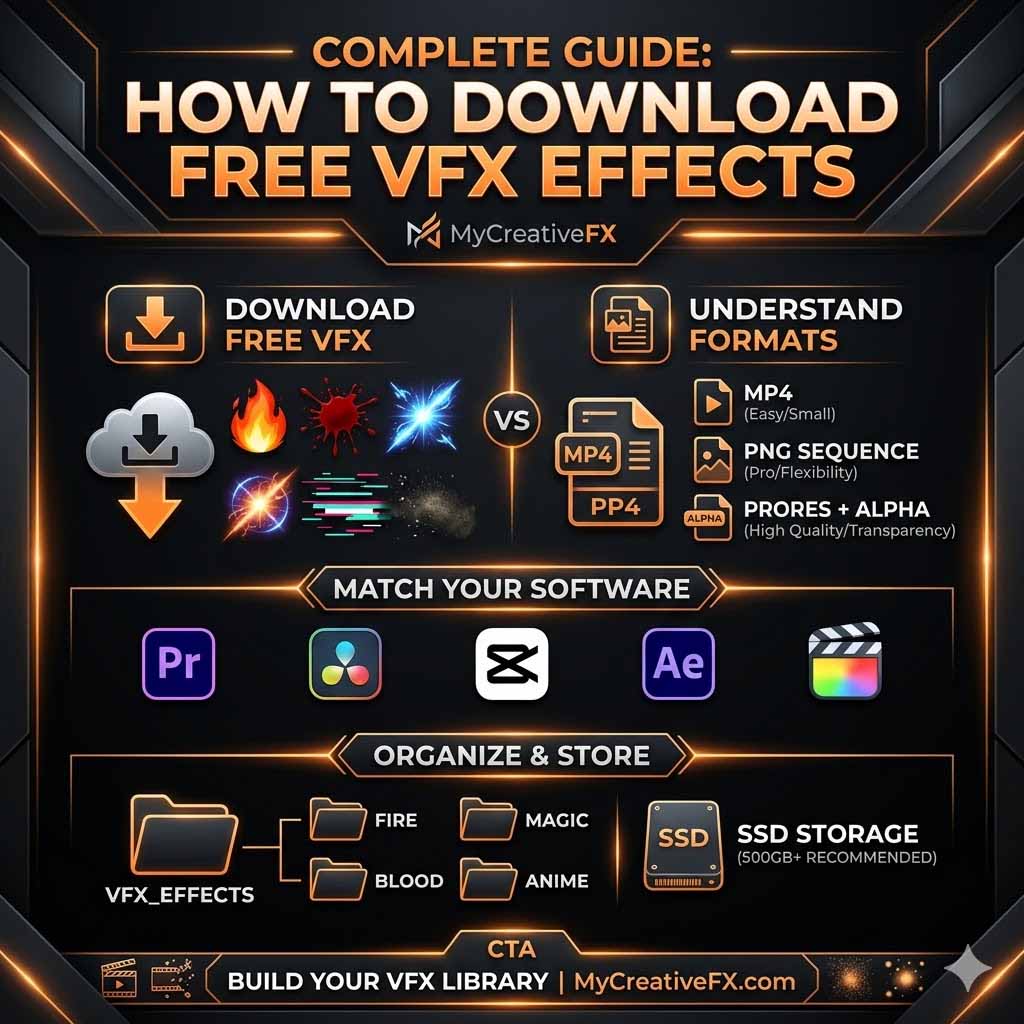
MyCreativeFX provides free VFX perfect for green screen compositing:
Best practice: Film green screen footage with the intention of adding VFX overlays. Use simple backgrounds, then layer effects. Example: Green screen + plain office background + light ray VFX + glitch text effect = cinematic result with minimal effort.
Problem: Uneven green screen, dark patches, shadows on background
Solution: Add more lights. Backlight the green screen. Use a 3-light setup (key, fill, back).
Problem: Green spill, hard keying, edge artifacts
Solution: Position subject 3–6 feet away from screen. Creates separation and easier keying.
Problem: Holes in subject (transparent areas that shouldn't be), artificial look
Solution: Use conservative keying. Start at low threshold, gradually increase until green disappears.
Problem: Shadows from wrinkles, uneven color, hard to key
Solution: Iron the screen before shooting. Use proper backdrops (seamless paper or quality fabric).
Problem: Green fringing around edges, unnatural color
Solution: Use spill suppression in keyer. Or manually color-correct subject edges.
Problem: Background doesn't match perspective (looks fake)
Solution: Scale/position background to match subject perspective and lighting direction.
Tutorial videos, talk show style content, comedy skits with background changes
Quick cuts between locations, travel "clips" filmed at home, outfit transitions
Dynamic overlays, background changes during stream, green screen with transparency for layering
Low-budget sci-fi, fantasy, action sequences without expensive location travel
Professional talking head videos, product placement on backgrounds, brand consistency
Instructors with branded backgrounds, interactive lessons with visual aids, presentation style content
Result: Passable green screen for education/casual content. Not cinema-quality.
Result: Professional-quality green screen suitable for YouTube and streaming.
Result: Cinema-quality green screen keying suitable for professional film/streaming.
Q: Can I use a white or black screen instead of green?
A: Theoretically yes, but green/blue are optimized for human skin tones. White/black have color conflicts and worse separation.
Q: What's the best editor for green screen keying?
A: DaVinci Resolve (professional), Premiere Pro (balanced), CapCut (easiest/fastest).
Q: How do I remove green spill?
A: (1) Proper lighting + distance during filming (best), (2) Spill suppression slider in keyer, (3) Manual color correction on subject edges.
Q: Can I film green screen outdoors?
A: Yes, but you need enough light to evenly expose the screen (difficult in shadows). Indoor with controlled lighting is easier.
Q: Do I need a green screen to use chroma key VFX?
A: Yes for traditional chroma keying. But you can layer VFX over any footage without keying.
Q: What VFX work best over green screen?
A: Light effects, energy effects, particle overlays, atmosphere effects, text overlays. Anything that enhances the keyed subject.
Green screen + VFX is the power combo that separates amateur from professional creators. Start with basic lighting and CapCut keying, then layer free VFX for cinematic results.
Get Free VFX for Green Screen Compositing