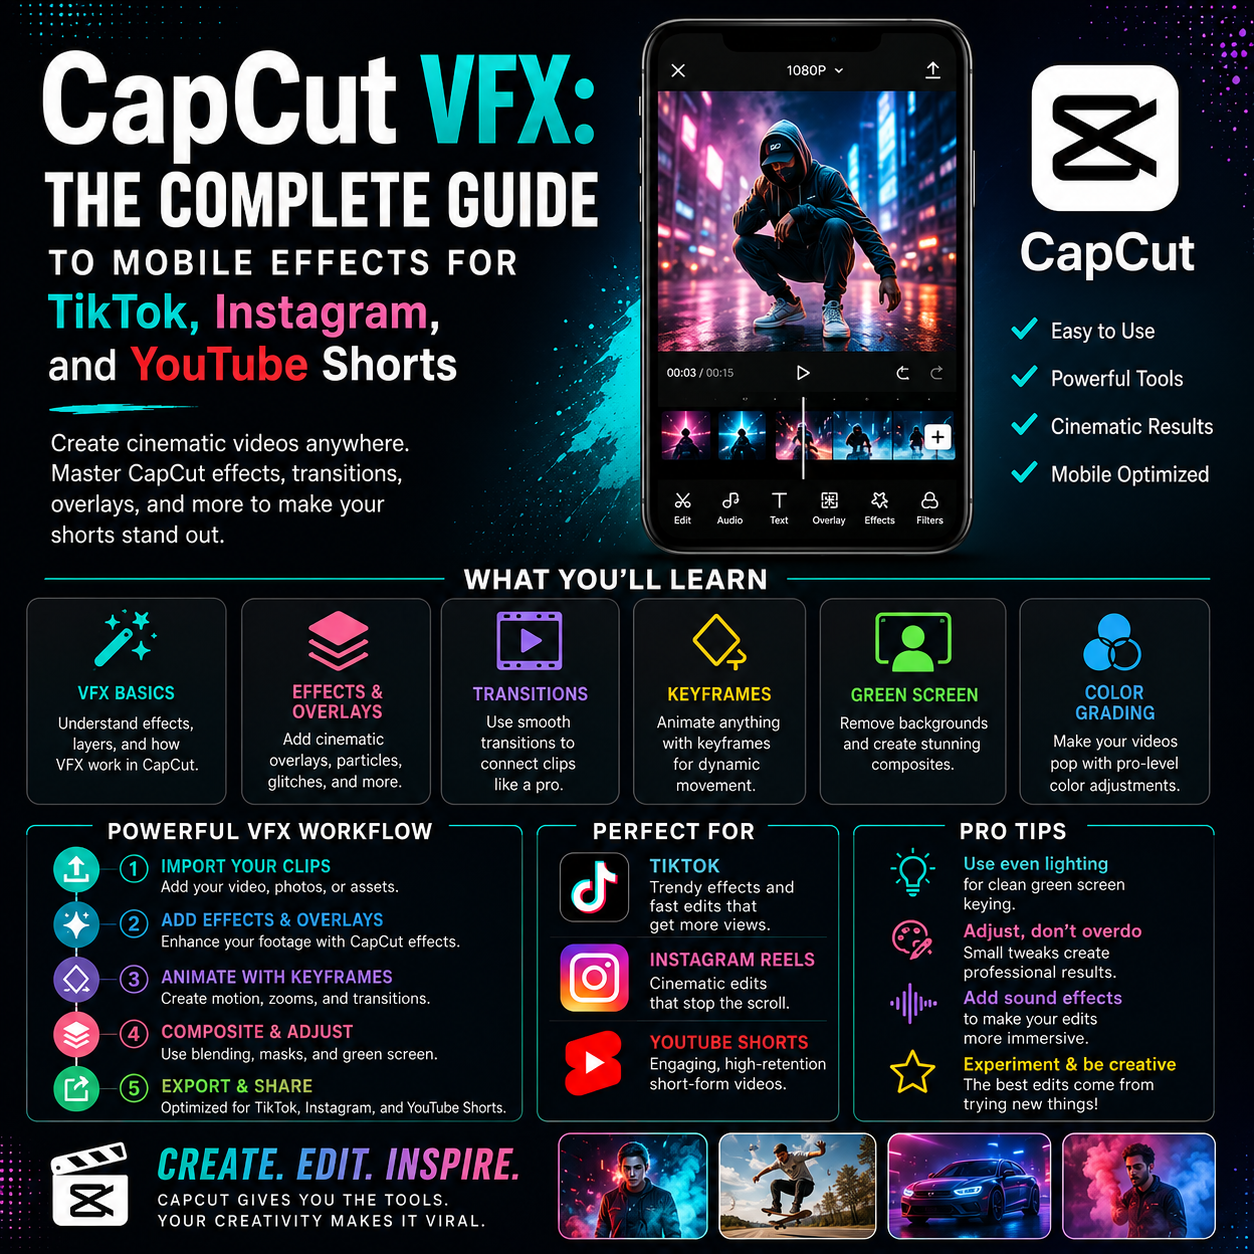
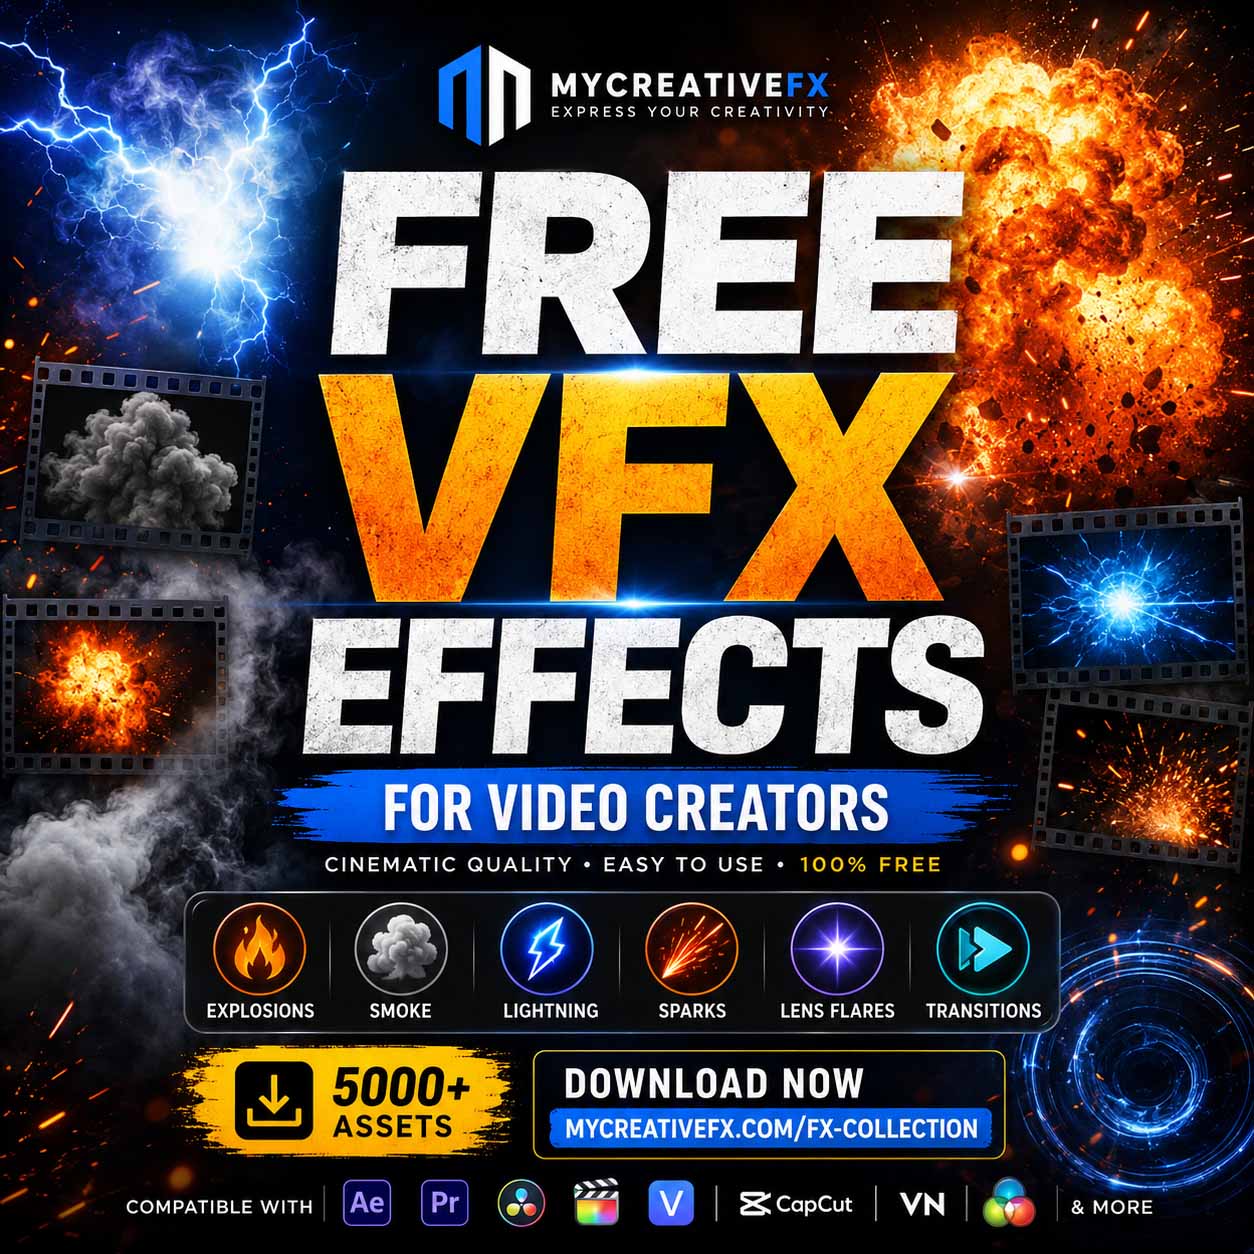
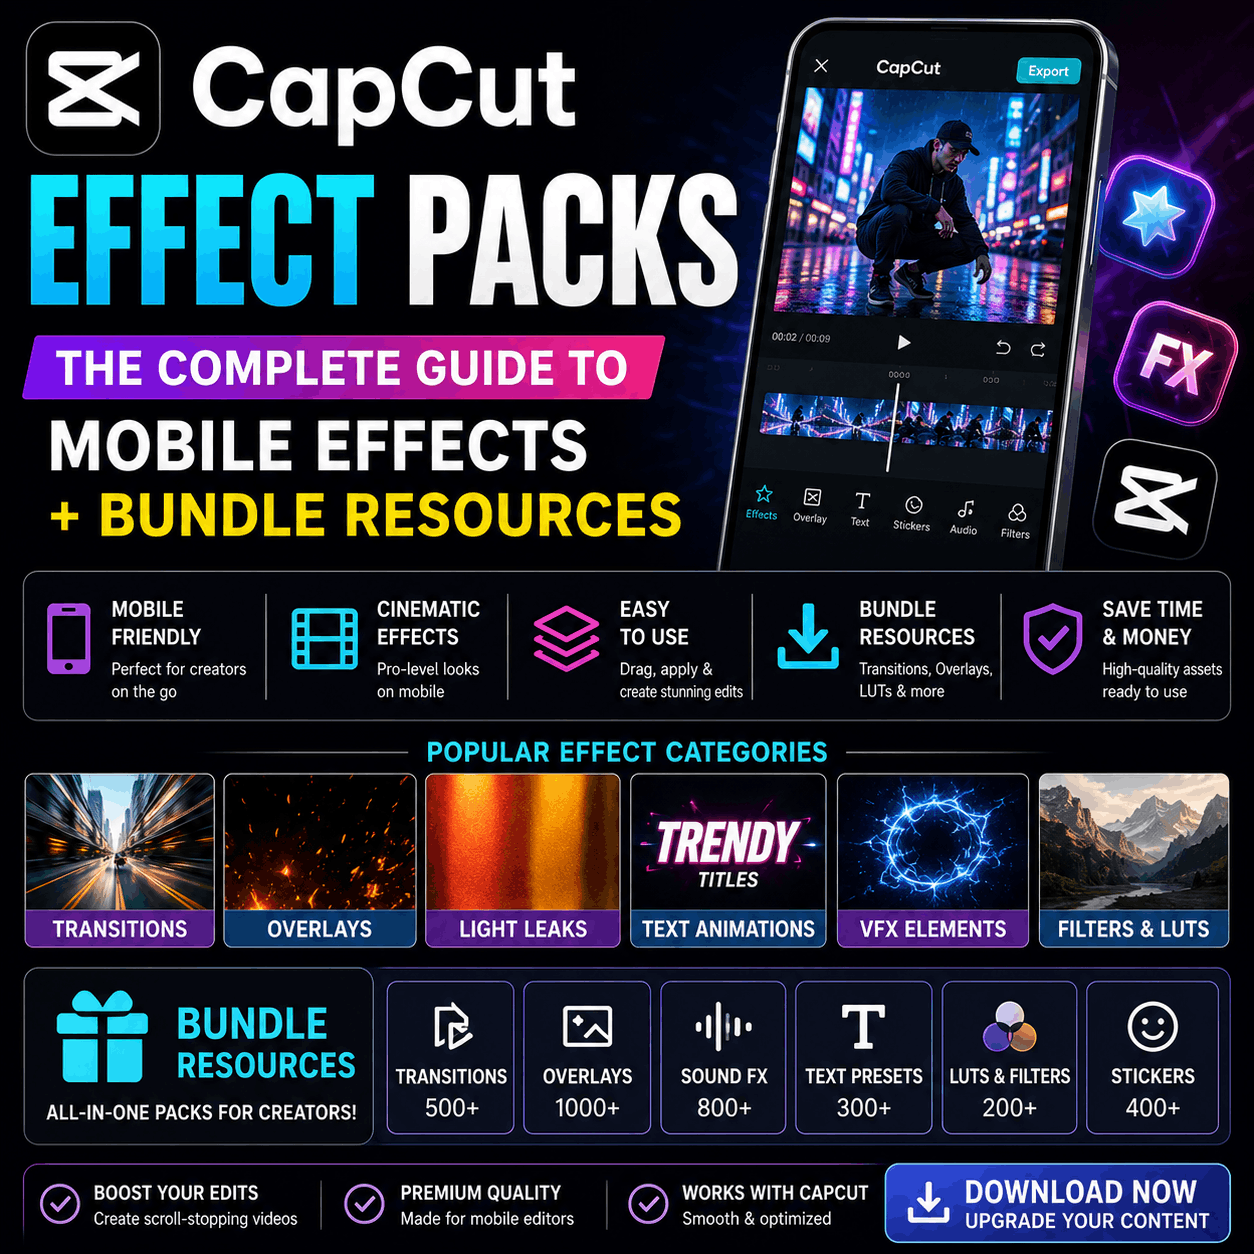
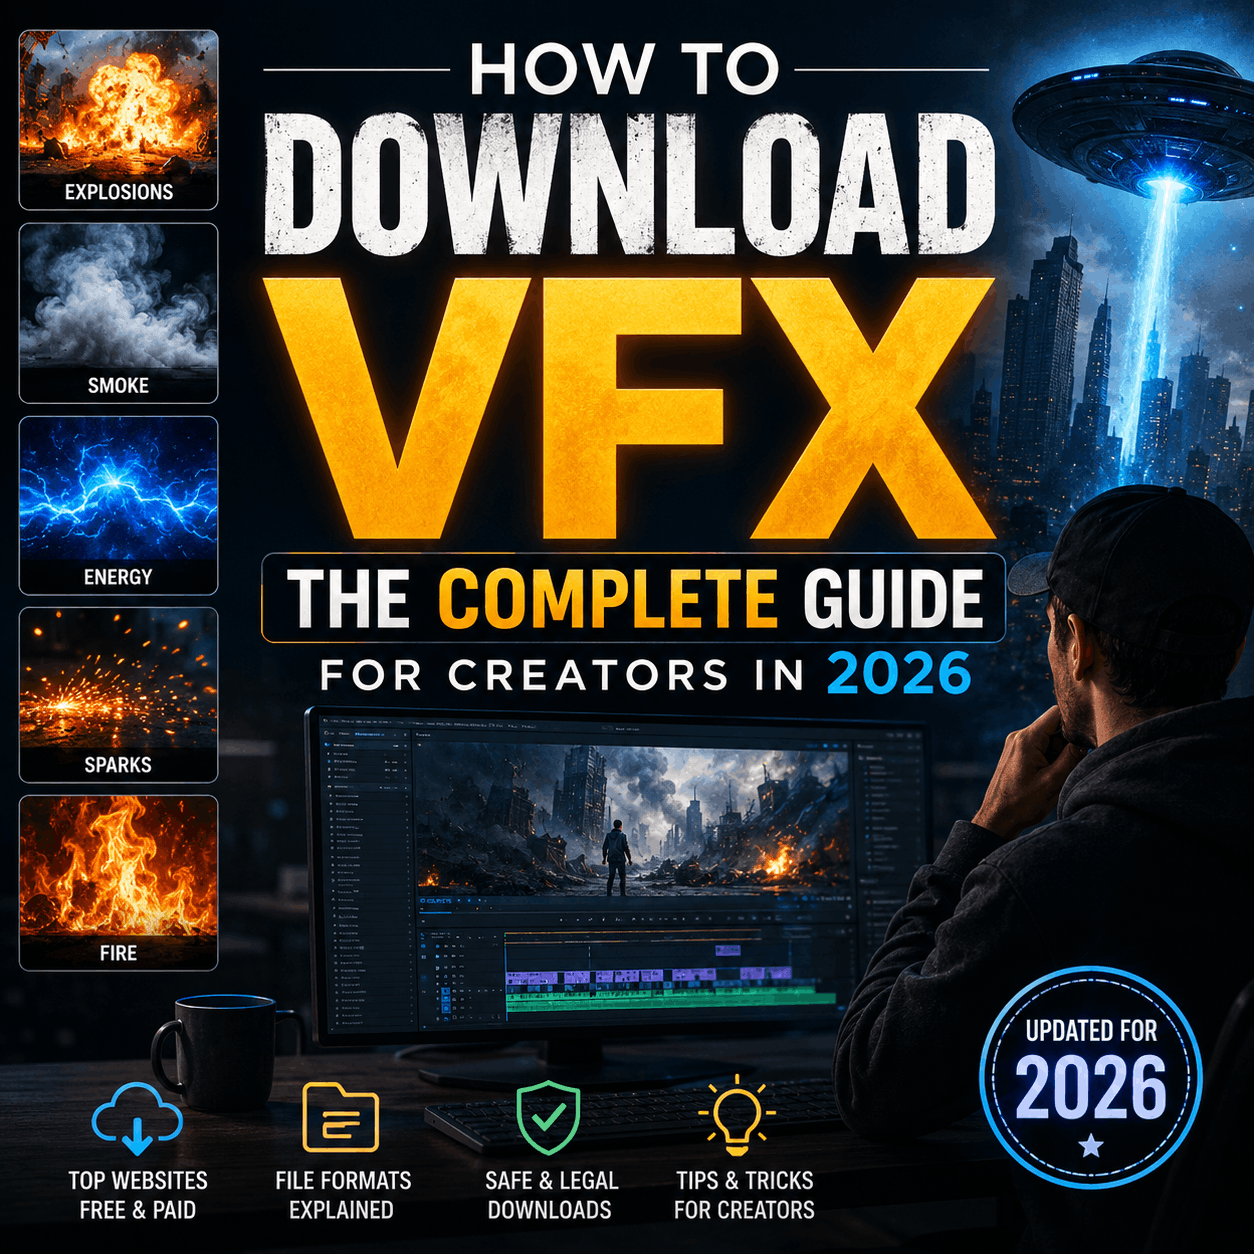
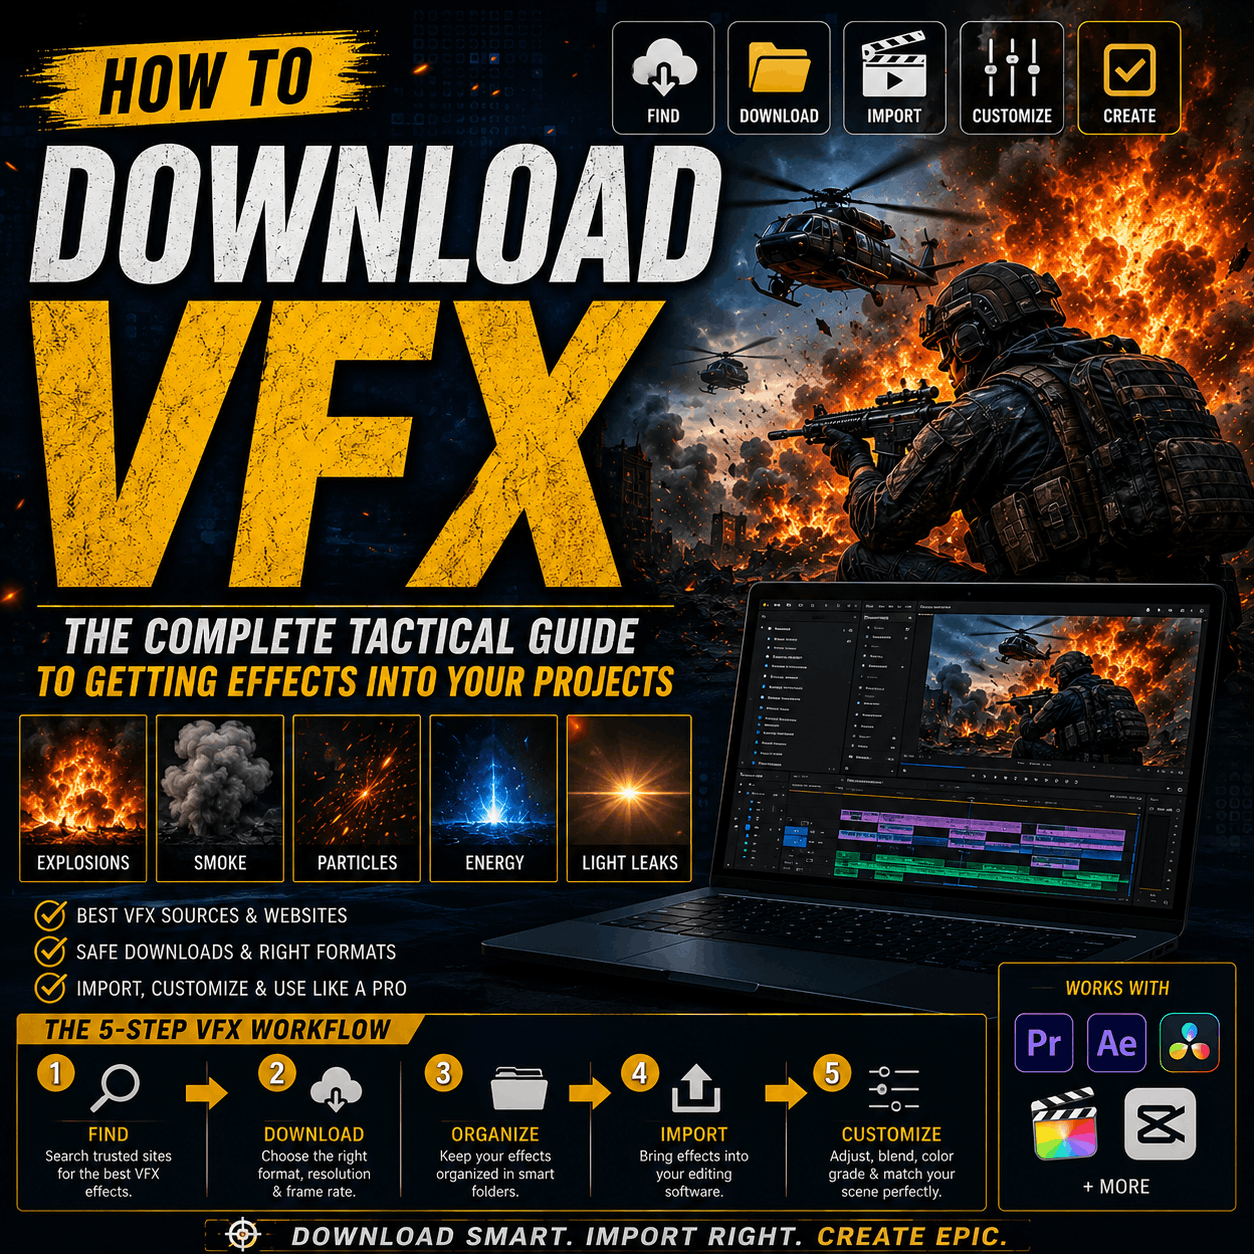
CapCut VFX: The Complete Guide to Mobile Effects for TikTok, Instagram, and YouTube Shorts
Click Here To Download
Introduction
TikTok, Instagram Reels, and YouTube Shorts have become the dominant video platform for creators under 30. And the dominant editing tool for this demographic? CapCut.
CapCut's built-in VFX are shockingly good—rival to desktop editors in some areas. But most creators are using only 10% of CapCut's effect capabilities.
This guide shows you everything about CapCut VFX: what effects are built-in, how to use them professionally, where to download additional effects, and how to create content that performs on mobile-first platforms.
Whether you're a TikTok creator, Instagram Reels producer, or YouTube Shorts filmmaker, this is your guide to mastering mobile visual effects.
CapCut VFX: Why It Matters
Before diving into technique, understand why CapCut's VFX ecosystem is important.
The Mobile-First Reality
In 2026, over 70% of video consumption happens on mobile devices. This creates a fundamental shift in content creation:
- Desktop editors optimized for 16:9 widescreen
- Mobile creators need vertical (9:16) video natively
- CapCut was built for vertical, short-form video from the ground up
- Effects optimized for mobile performance (lower file size, faster rendering)
CapCut's VFX Advantage
What makes CapCut special compared to other mobile editors:
- Accessibility - Free, both iOS and Android, clean interface
- Effect Library - 500+ built-in effects, constantly growing
- Import Capability - Can import external video overlays
- Subscription Effects - Premium effects available for small fee
- Cloud Sync - Projects sync between phone and desktop
- Performance - Smooth editing on even mid-range phones
- Trend Integration - New effects deployed instantly, following social media trends
Why Creators Underuse CapCut Effects
Most CapCut users stick to the effects they see immediately in the app. They don't realize:
- Buried effects that are high-quality but less obvious
- How to customize and layer effects for unique results
- That you can import external VFX packs
- How to use effects professionally (not just for trend videos)
This guide changes that.
CapCut's Built-In VFX Categories
CapCut's effect library is organized into categories. Here's what you have access to immediately (and for free):
1. Transitions
The most-used CapCut effects. Simple, quick, professional-looking.
Available types:
- Fade (simple brightness fade)
- Zoom (quick zoom in or out)
- Slide (directional swipe movement)
- Wipe (sweeping motion across screen)
- Cube/Flip/Bounce (geometric transitions)
- Custom transitions (adjustable speed and direction)
How to use:
- Place between clips
- Adjustable duration (0.1 - 1.0 second typical)
- Works on individual clips or entire timeline
- Stack multiple for complex transition sequences
Pro tip: The "Smooth" transition (subtle cross-fade) works in 90% of cases. Use trendy transitions (Zoom, Cube) sparingly—they date footage quickly.
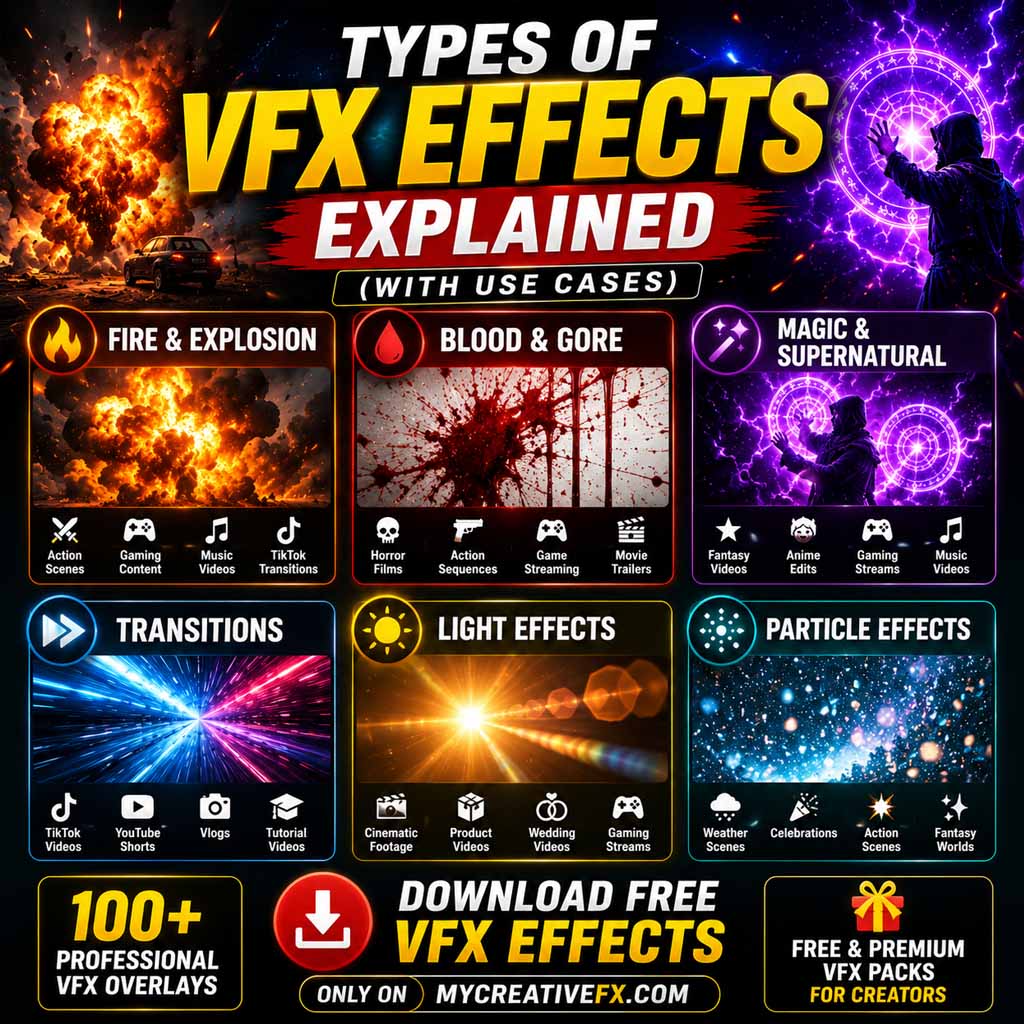
2. Special Effects
One-shot effects applied to entire clips. Entirely CapCut-created styles.
Available styles:
- Glitch effects (digital corruption, pixelation)
- Light leaks and lens flares
- Film grain and VHS effects
- Slow motion and time manipulation
- Vintage and retro filters
- Explosion, fire, and impact effects
- Weather effects (rain, snow, lightning)
- Neon and glow effects
How to use:
- Click the Effects button
- Scroll through categories
- Tap an effect to preview
- Adjust intensity and duration
- Stack multiple effects for complexity
Pro tip: Combine 2-3 subtle effects for unique look. Heavy effects date quickly; use sparingly.
3. Filters
Color-based effects that adjust tone, saturation, and look.
Available styles:
- Vintage (80s, 90s, 2000s aesthetics)
- Cinematic (film stock presets)
- Color grading (cool, warm, vibrant, etc.)
- Face filters (beauty, character distortion)
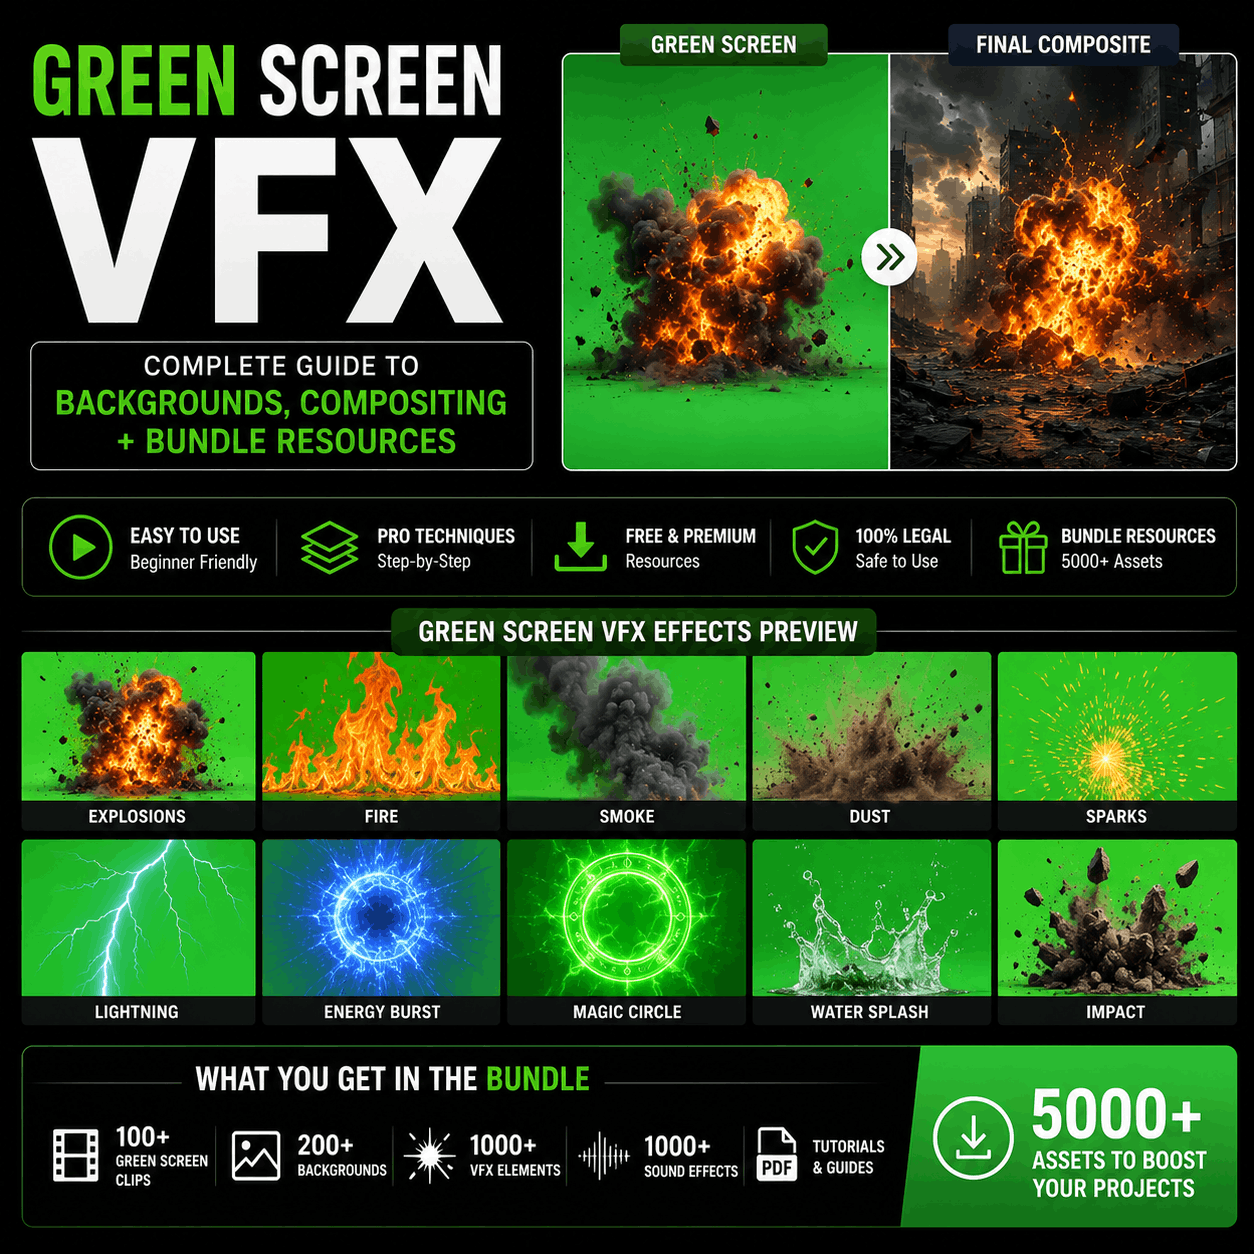
- Green screen effects (background replacement)
- AI filters (neural network–based effects)
How to use:
- Open the Effects tab
- Filters section
- Tap to apply, adjust opacity 0-100%
- Change at specific timeline points
Pro tip: Use one primary filter for entire project (consistency). Add subtle secondary filters for transitions.
4. Stickers and Elements
Static or animated graphics overlaid on video.
Available types:
- Text stickers (animated typography)
- Shape stickers (arrows, circles, hearts)
- Emoji stickers (animated emojis with gestures)
- Character stickers (mascots, reactions)
- Element stickers (frames, dividers, decorations)
- Custom stickers (user-created uploads)
How to use:
- Click Stickers tab
- Browse or search
- Tap to add
- Resize, reposition, adjust opacity
- Animate using keyframes
Pro tip: Stickers work best in groups (3-5 small stickers work; one giant sticker looks cheap).
5. Text Effects
Typography animations and styling.
Available effects:
- Entrance animations (bounce in, fade, slide, etc.)
- Exit animations (bounce out, fade, swipe, etc.)
- Emphasis animations (pulse, shake, grow)
- Custom animations (keyframes for precision)
- Text styles (fonts, colors, shadows, outlines)
- Voice-to-text (auto-caption from audio)
How to use:
- Add text to timeline
- Customize font, size, color
- Add entrance animation
- Add exit animation
- Preview and refine
Pro tip: Voice-to-text feature (auto-captions) is surprisingly accurate and massively improves watch time. Use it.
6. Audio Effects
Sound-based effects and audio tools.
Available types:
- Voice filters (deep, high, robotic, echo)
- Audio reverb and spatial effects
- Volume and EQ controls
- Auto beat sync (transitions sync to music beats)
- Sound effects library (50+ sound effects)
How to use:
- Select audio/music track
- Effects button
- Choose voice or audio effect
- Adjust parameters
- Auto beat sync: toggle to automatically place transitions on beat
Pro tip: Auto beat sync saves enormous time. Enable it early in editing.
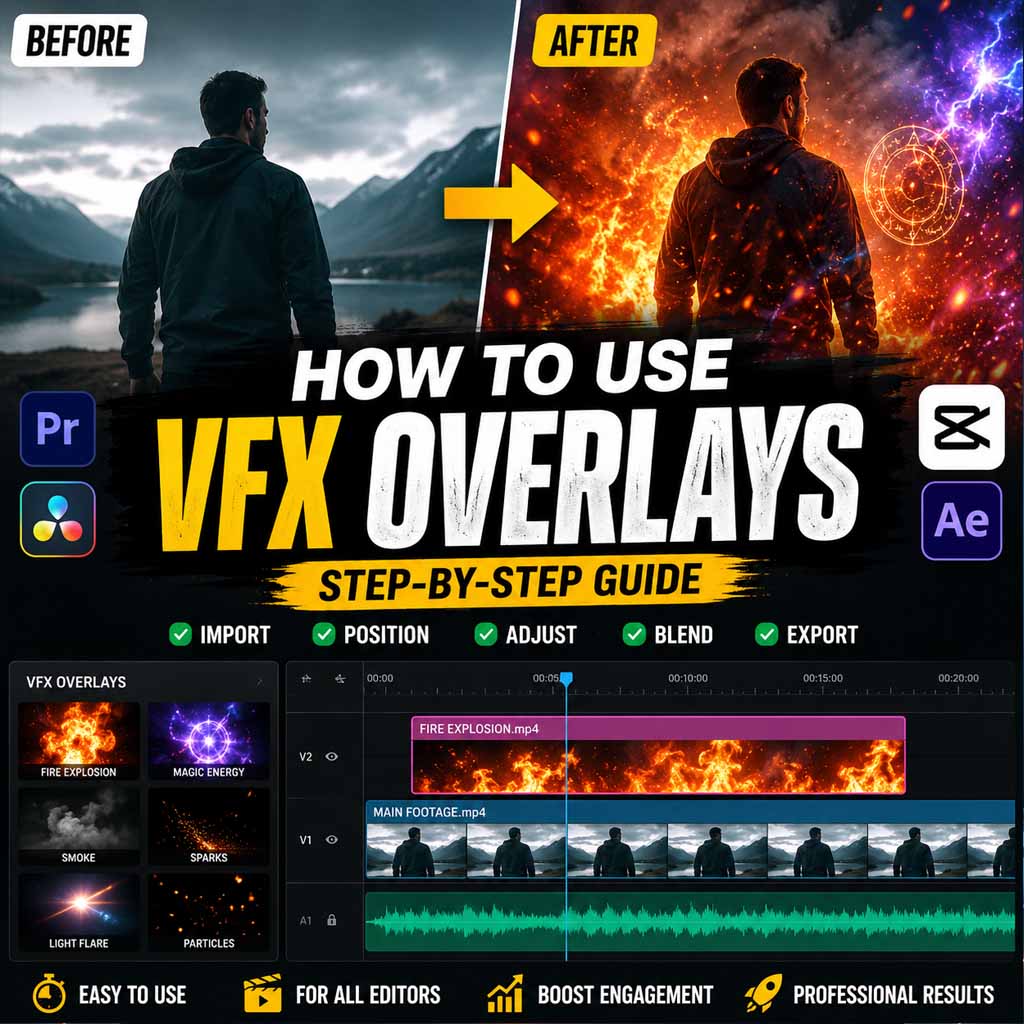
7. Advanced Compositing Effects
Newer CapCut features enabling desktop-like functionality.
Available effects:
- Blend modes (Screen, Multiply, Overlay)
- Masking (create custom transparency shapes)
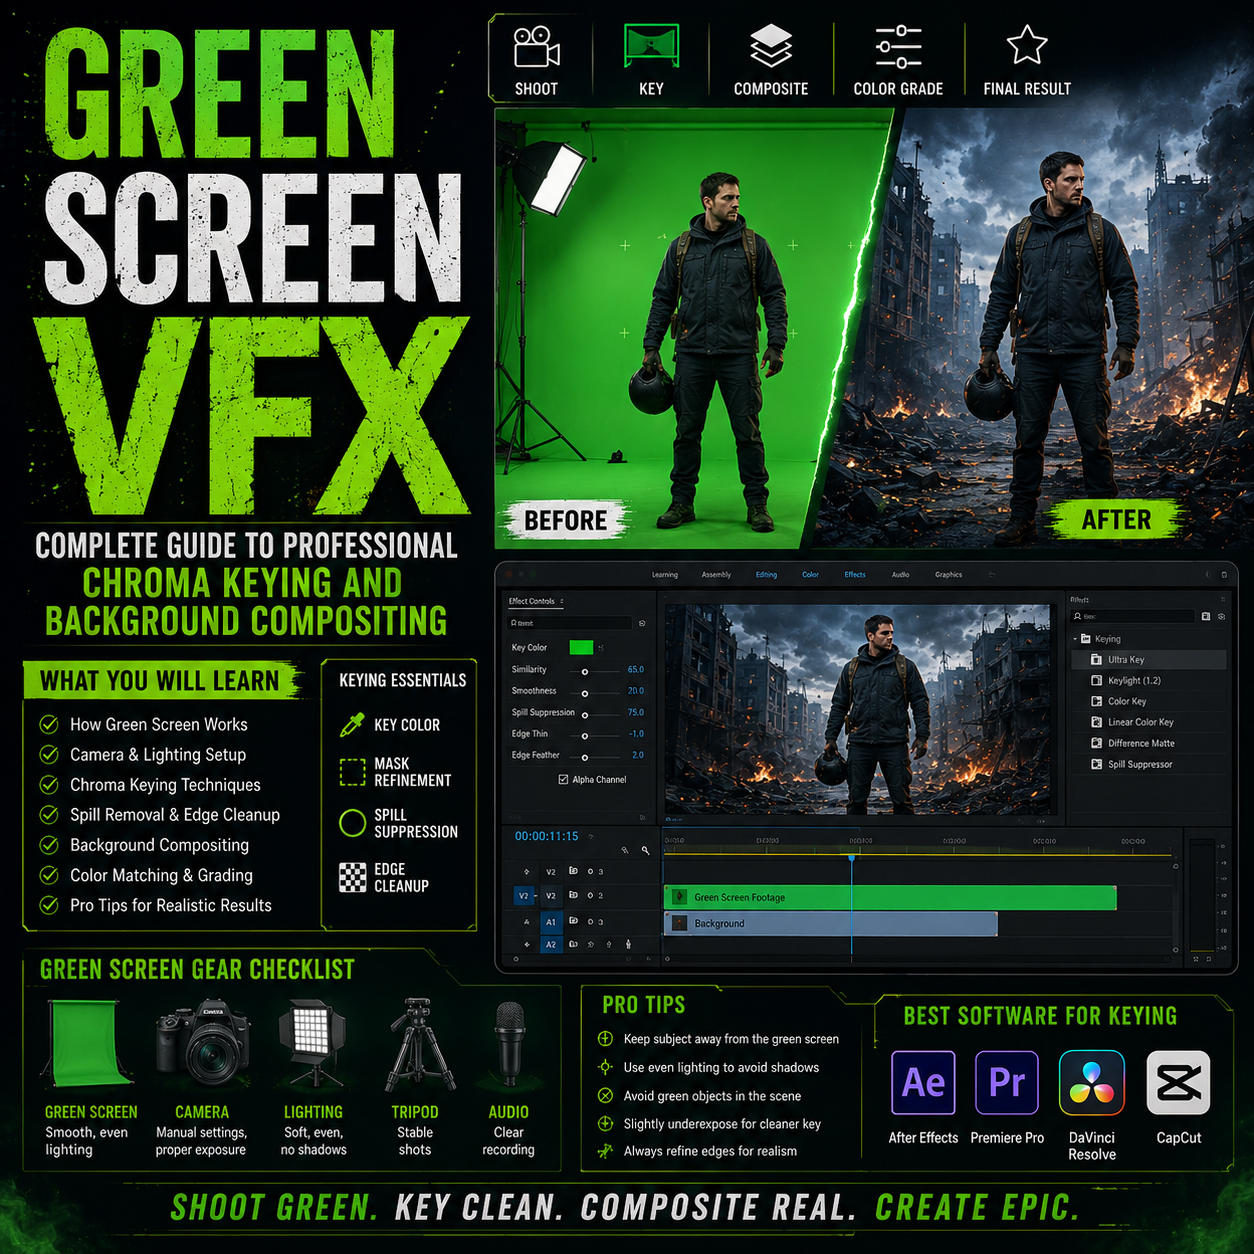
- Keying (green screen, color selection)
- Particle effects (fire, smoke, rain, etc.)
- Distortion effects (twirl, wave, bend)
- Lighting effects (glow, shadow, rim light)
How to use:
- Add a layer
- Effects tab
- Select advanced effect
- Adjust parameters (usually a slider 0-100%)
Pro tip: These are the most powerful but least obvious effects in CapCut. Most creators never find them. They're game-changers for polished production.
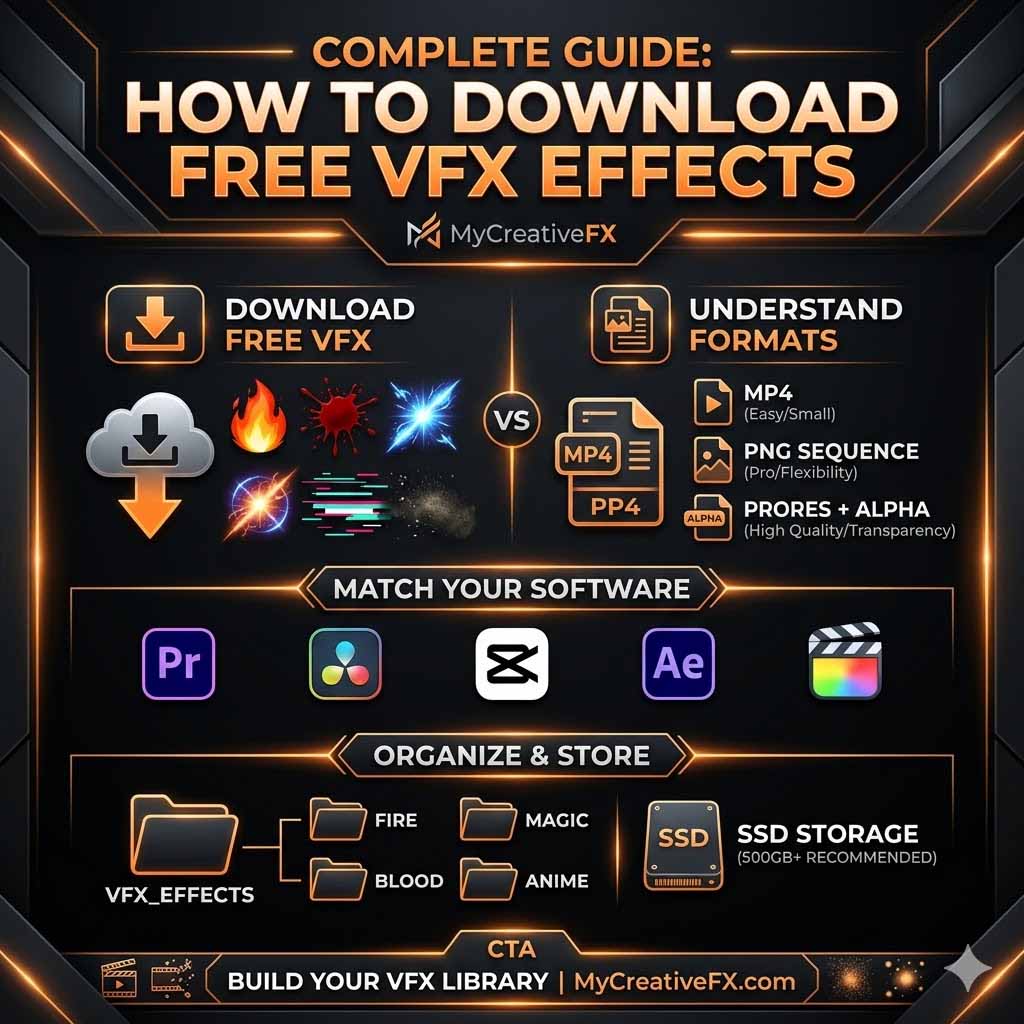
Beyond built-in effects, you can download additional VFX packs.
Official CapCut Premium Effects
CapCut has a premium subscription tier with exclusive effects.
Cost: $4.99/month or $49.99/year
Included:
- 100+ premium effects
- Advanced editing tools
- Cloud storage
- Watermark removal
- Batch export
Worth it if: You edit multiple times per week
Skip if: You only edit occasionally (free effects are sufficient)
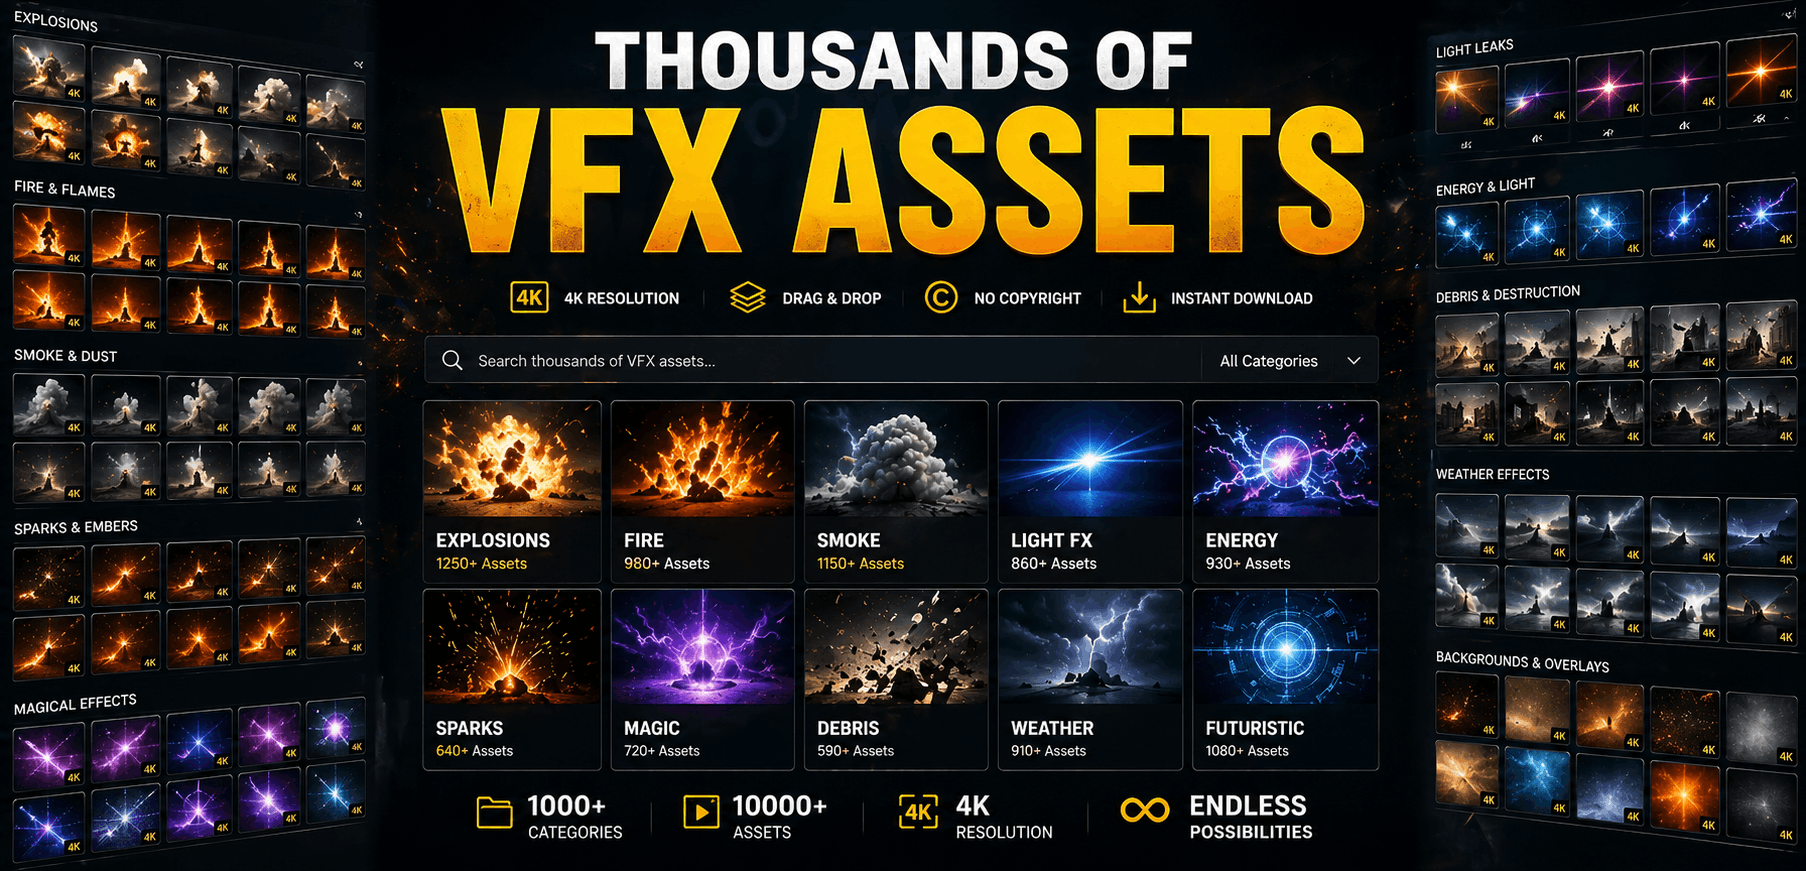
MyCreativeFX CapCut Packs
MyCreativeFX offers mobile-optimized CapCut effect packs.
What's included:
- Transition sets (10+ custom transitions)
- Effect packs (fire, smoke, particles)
- Filter packs (cohesive color-grading styles)
- Sticker packs (animated, trendy)
- Element collections (frames, graphics)
Format: Native CapCut format (.capcut) or video overlays
Cost: Free to $20 per pack
How to import:
- Download the .capcut file
- Open CapCut
- Create new project
- File → Import Project or Effects
- Select downloaded file
- Effects are now in your library
Advantage: Curated effects, tested for compatibility, organized by style
Stock Effect Libraries
Other sources for CapCut-compatible effects:
Canva:
- Free video assets and effects
- Can be imported as overlays
- Beginner-friendly
Pexels and Pixabay:
- Free stock video overlays
- Import as video layers
- Less polished than dedicated effect packs
YouTube:
- Search "CapCut effects download"
- Creators share custom effects packs
- Quality varies (test before using)
TikTok Sounds and Effects:
- Native to TikTok
- Limited import to CapCut
- Trend-following (date quickly)
Creating Your Own CapCut Effects Pack
Advanced option: build a custom pack reusing across projects.
Process:
- Create a project with your favorite effects
- Save custom filters (screenshot settings or note parameters)
- Export effects as a template
- Use as starting point for new projects
- Save time on setup
Tools that help:
- Google Docs (document your custom settings)
- Screenshots of effect parameters
- Exported project files as templates
Professional CapCut VFX Workflow
Here's how professionals edit on CapCut for TikTok, Instagram, and YouTube Shorts.
Pre-Editing Planning (5 minutes)
-
Define the trend or style
- Will this follow a viral trend? (specific song, effect, format)
- Original content? (what's your unique angle?)
- Educational/tutorial? (how-to, tips, etc.)
-
Choose your color grade
- Warm/cool tone?
- Vintage or modern?
- Bold or subtle?
-
Plan transitions
- Beat-sync transitions?
- Smooth fades?
- Trendy (Zoom, Cube)?
-
Storyboard roughly
- What clips in what order?
- How many transitions?
- Where will text appear?
Editing Phase (30-60 minutes depending on clip length)
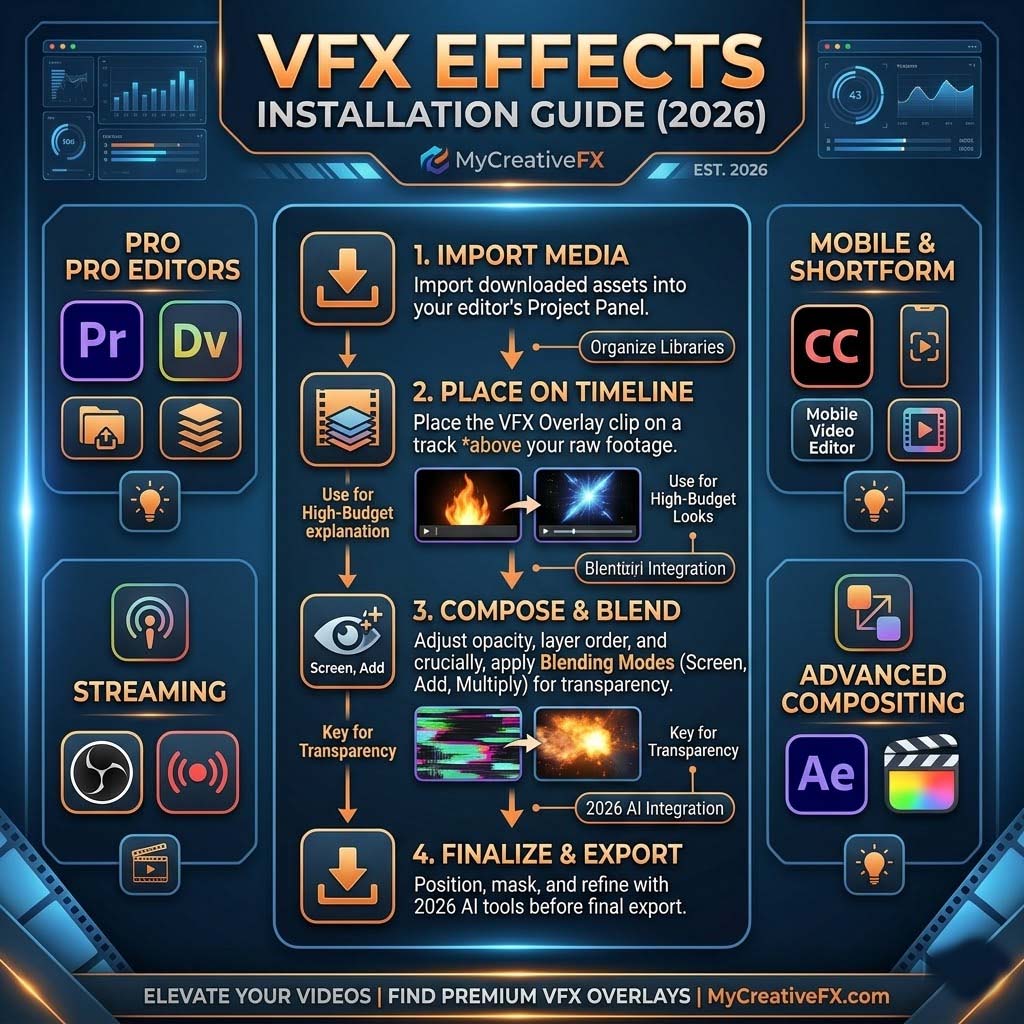
Step 1: Import and arrange clips
- File → Import Media
- Add footage in desired order
- Trim each clip to desired length (0.5 - 2 seconds typical for short-form)
Step 2: Apply global settings
- Select all clips
- Apply primary filter (color grade)
- Adjust volume levels
Step 3: Add transitions
- Between each clip
- Or use auto beat sync (Effects → Audio → Auto Beat Sync)
- Adjust transition duration (typical: 0.3 - 0.5 seconds)
Step 4: Add effects
- Identify moments that need emphasis
- Apply 1-2 effects per moment
- Avoid overusing (amateur look)
Step 5: Add text and stickers
- Hook text (first 0.5 seconds - critical)
- Titles/labels for clarity
- Emoji or sticker elements
- Animated text entrance/exit
Step 6: Audio
- Add music or voiceover
- Apply voice filters if needed
- Sync transitions to beat (if not done earlier)
- Check audio levels (should peak at -6dB)
Step 7: Final review
- Preview full video
- Check for continuity
- Verify audio sync
- Look for any awkward pacing
Export and Posting (5 minutes)
Export settings:
- Resolution: 1080p × 1920p (vertical, standard for mobile)
- Frame rate: 30fps or 60fps
- Format: MP4 (best compression)
- Bitrate: Auto (CapCut handles this)
Post-production (before uploading):
- Download video to phone
- Preview on your phone's screen (not desktop—watch on actual device)
- Rewatch once more for any missed issues
- Upload to platform
Timing: Upload when your audience is active
- TikTok: Peak times 6-10am, 12-1pm, 5-7pm
- Instagram: Peak times 11am-1pm, 6-8pm
- YouTube: Consistent schedule (algorithm favors regularity)
Essential CapCut VFX Techniques
Technique 1: Smooth Transitions
The foundation of polished short-form video.
Setup:
- Import clips
- Click the Transition icon (between clips)
- Choose "Smooth" (gentle cross-fade)
- Duration: 0.3 seconds
- Apply to all transitions
Result: Professional, subtle look. Works for any content type.
When not to use: Intentionally trendy content (then use Zoom or Cube).
Technique 2: Beat-Synced Editing
Align visual cuts with music rhythm.
Setup:
- Add music to timeline
- Effects → Audio → Auto Beat Sync
- CapCut analyzes music and places transitions on beats
- Manually adjust if needed
Result: Tight, rhythmic editing. Significantly improves watch time.
Best for: Music-driven content (dance, lip-sync, trending sounds)
Technique 3: Text-Heavy Storytelling
Using text as primary communication.
Setup:
- Add text to timeline
- Break text into 1-5 word phrases
- Each phrase gets 0.3-0.5 seconds
- Add entrance animation (fade or slide)
- Add exit animation
- Quick cuts between text phrases
Result: Viral-style text-driven content (like trending storytelling videos).
Example: "POV: You're…" type videos rely entirely on text + quick cuts.
Technique 4: Layered Effects
Subtle combination of multiple effects for custom look.
Setup:
- Start with base filter (color grade)
- Add subtle effect layer (#1)
- Add subtle effect layer (#2)
- Adjust opacity of each (40-60%)
- View combined result
Result: Unique visual signature different from trend-followers.
Caution: More than 3 layers looks overwhelming. Less is more.
Technique 5: Match Cuts and Jump Cuts
Edit technique that creates rhythm.
Match cuts: Same action shot from different angles
- Cut on identical moments
- Creates flow despite different shots
- Pro editing technique
Jump cuts: Same person/subject, discontinuous time
- Cut back to same person repeatedly
- Saves you from needing different locations
- Works great for talking-head content
Setup:
- Identify moments to cut between
- Use Smooth transitions
- Match timing if possible
- Add brief effect or text between cuts
Result: Fast-paced, engaging editing style.
Trending CapCut VFX Styles to Master
1. The "Before and After" Effect
Viral format: split screen showing before/after, before/after, before/after.
How to create:
- Record two versions (before state, after state)
- Create two tracks in CapCut
- Use masking to show left/right split
- Sync them together
- Add text labels ("Before" / "After")
- Quick cuts between full-screen before and after
- Repeat 3-4 times
Trending for: Makeup transformation, room makeover, fitness progress
2. The "POV" (Point of View) Format
Text describes scenario, video shows reaction/action.
How to create:
- Add large bold text at start: "POV: [situation]"
- 0.5-1 second pause
- Cut to your reaction/action
- Add music that builds
- Keep cuts tight and quick
- Usually 15-30 seconds total
Trending for: Humor, relatable scenarios, character sketches
3. The "Trending Sound" Format
Using the exact trending audio from TikTok/Instagram.
How to work with it:
- Download trending sound from platform
- Add to CapCut
- Use Auto Beat Sync
- Cut to the rhythm
- Don't overthink—trends work because they're simple
Key insight: Trending sounds change weekly. Using trending audio 100x increases visibility.
4. The "Text Transition" Style
Text itself becomes the transition between clips.
How to create:
- Clip 1 ends
- Large text appears over black screen (0.1 - 0.3 seconds)
- Clip 2 starts
- Repeat throughout
Common text:
- "But then…"
- "Wait…"
- "Plot twist…"
- One-word descriptions
Trending for: Storytelling, plot twists, comedy
5. The "Montage with Music" Style
Fast cuts synced to music, minimal or no dialogue.
How to create:
- Gather 20-30 short clips (1-2 seconds each)
- Add music (upbeat, driving rhythm)
- Use Auto Beat Sync
- Occasionally add text
- Let the music carry the narrative
Trending for: Travel vlogs, day-in-the-life content, action sequences
CapCut VFX for Different Content Types
Educational / Tutorial Content
VFX approach:
- Subtle, not distracting
- Text labels and arrows (stickers or text effects)
- Consistent color grade
- Beat-synced transitions
- Voiceover is primary; VFX supports it
Example CapCut setup:
- Import tutorial footage
- Add primary filter (neutral color grade)
- Text labels at key moments
- Smooth transitions throughout
- Voiceover with clear audio levels
Avoid: Trendy effects, heavy music, anything that competes with audio instruction
Entertainment / Humor Content
VFX approach:
- Trending effects encouraged
- Fast pacing, quick cuts
- Effects emphasize the punchline
- Heavy use of stickers and text
- Sound effects support the joke
Example CapCut setup:
- Quick-cut clips with Zoom transitions
- Large bold text for punchline
- Appropriate sticker or effect at the moment
- Sound effects or music stab at the climax
Music / Performance Content
VFX approach:
- Beat-synced editing essential
- Effects on the beat (not between beats)
- Trendy effects if following trends
- Performance footage is hero (effects support, not distract)
- Visual effects coordinate with song mood
Example CapCut setup:
- Audio track with music
- Auto Beat Sync
- Effects placed on major beats
- Trendy transitions if appropriate
- Minimal text (let visuals speak)
Educational / Growth Content
VFX approach:
- Professional, polished appearance
- Consistent branding (same filter, transitions, text style)
- Effects used to emphasize key information
- Clean, organized layout
- Text-heavy with animation
Example CapCut setup:
- Consistent filter across all clips
- Standard transitions (Smooth or Fade)
- Text with entrance/exit animations
- Stickers as supporting elements (arrows, checkmarks)
- Professional audio (voiceover or backing track)
Common CapCut VFX Mistakes and Solutions
Mistake 1: Overusing Effects
Problem: Every clip has 2-3 effects, video looks chaotic
Solution: Use effects sparingly (1 effect per major moment, max)
- Effect is a spice, not the main dish
- Effects should support content, not dominate it
- Default: no effect (much more professional than over-effected)
Mistake 2: Mismatched Transitions
Problem: Some clips have Smooth, some have Zoom, some have Cube
Solution: Use same transition throughout project (except intentional variety for style)
- Consistency signals professionalism
- Random transitions feel amateur
- Choose one: Smooth for professional, Zoom/Cube for trendy
Mistake 3: Pacing Too Slow
Problem: Clips stay on screen 2-3 seconds, video feels boring
Solution: Tighten pacing
- TikTok/Instagram Reels: 0.5 - 1.5 seconds per clip
- YouTube Shorts: 1 - 2 seconds per clip
- Exceptions: Montages (0.2 - 0.5 seconds), talking-head (3-5 seconds)
Mistake 4: Audio Not Synced
Problem: Dialogue is clear but transitions are random
Solution: Use Auto Beat Sync or manually sync to major audio moments
- If using music: transitions should hit on beat
- If using voiceover: transitions shouldn't compete with speech
- Complete silent moments work great for transitioning
Mistake 5: Text Unreadable
Problem: Text too small, appears for too short, hard to read
Solution:
- Large text (fill 60-70% of screen width)
- Duration: 0.5 - 1.0 second minimum
- Contrast (white text on dark, dark text on light)
- Sans-serif fonts (easier to read on mobile)
Mistake 6: Mobile Preview Shock
Problem: Edit looks great on desktop, terrible on phone screen
Solution: Always preview on actual mobile device before uploading
- Editing on desktop screen ≠ mobile viewing experience
- Download video, watch on your phone
- Text size, transition speed, effect intensity all different on mobile
Advanced CapCut VFX: Desktop Sync and Project Cloud
CapCut recently added major features enabling more advanced workflows.
Desktop CapCut
CapCut now offers a desktop app (Windows/Mac) with expanded capabilities.
Advantages over mobile:
- Larger screen (easier precision editing)
- Keyboard shortcuts (faster workflow)
- Project organization
- Cloud sync (edit on phone, continue on desktop)
Limitations:
- Fewer effects than mobile version (they're catching up)
- Interface less intuitive than mobile
- Best for detail work, not initial ideation
When to use:
- Final color grading (larger screen for accuracy)
- Complex compositing (more control)
- Large projects (better organization)
- When you want keyboard shortcuts
Cloud Sync
Projects automatically sync between mobile and desktop.
How it works:
- Edit on mobile
- Save to cloud
- Open desktop app
- Project appears instantly
- Continue editing
- Mobile app updates automatically
Advantage: Work whenever, wherever (phone on the go, desktop for detail work)
Project Templates and Presets
Create custom templates for repeated projects.
How:
- Create a project with your standard effects, transitions, color grade
- Export as template
- Use as starting point for future projects
- Saves 5-10 minutes per project
CapCut VFX Packs: Specific Recommendations
Must-Download Packs:
MyCreativeFX Transition Pack
- 10-15 custom transitions
- Different styles (smooth, trendy, fade variations)
- Native CapCut format
- Cost: Free to $5
MyCreativeFX Particle Effects Pack
- Fire, smoke, particles
- Easy import
- Professional quality
- Cost: $5-10
MyCreativeFX Color Grade Pack
- 10+ preset color grades
- Save as filters
- Quick apply to entire project
- Cost: Free to $5
Premium Recommendation: CapCut+ subscription ($4.99/month)
- Access to premium effects
- Removes watermark
- Cloud storage
- Worth if editing 2+ times per week
The Future of CapCut VFX
CapCut is evolving rapidly. What's coming:
AI-Generated Effects:
- Automatic effect recommendations based on content
- AI background replacement (no green screen needed)
- Smart captions and translations
Expanded Compositing:
- Advanced masking tools
- More blend modes
- Layer-based effects (currently limited)
Web Version:
- Edit in browser without downloading
- Cloud-based (access from anywhere)
- Seamless sync with mobile app
AR and Face Filters:
- Native AR filter creation
- In-app filter marketplace
Bottom line: CapCut is becoming a desktop-class tool that happens to work on mobile. The gap between CapCut and Premiere Pro continues to shrink.
Conclusion: Mastering CapCut VFX
CapCut's VFX capabilities rival desktop editors in many ways. The difference isn't the tool—it's understanding what's available and using it professionally.
Key takeaways:
- Master the basics first (Smooth transitions, Auto Beat Sync, filters)
- Effects are spice, not the meal (less is more)
- Always preview on mobile (desktop editing misleads)
- Consistency signals professionalism (same transitions, effects, filters throughout)
- Trending effects are temporary (use sparingly to avoid dating footage)
- Download CapCut effect packs (expands your toolset significantly)
- Experiment constantly (try new effects, see what works for your style)
The creators dominating TikTok, Instagram Reels, and YouTube Shorts aren't using more effects than you—they're using effects better.
Now go create something amazing.

 Premium Plans