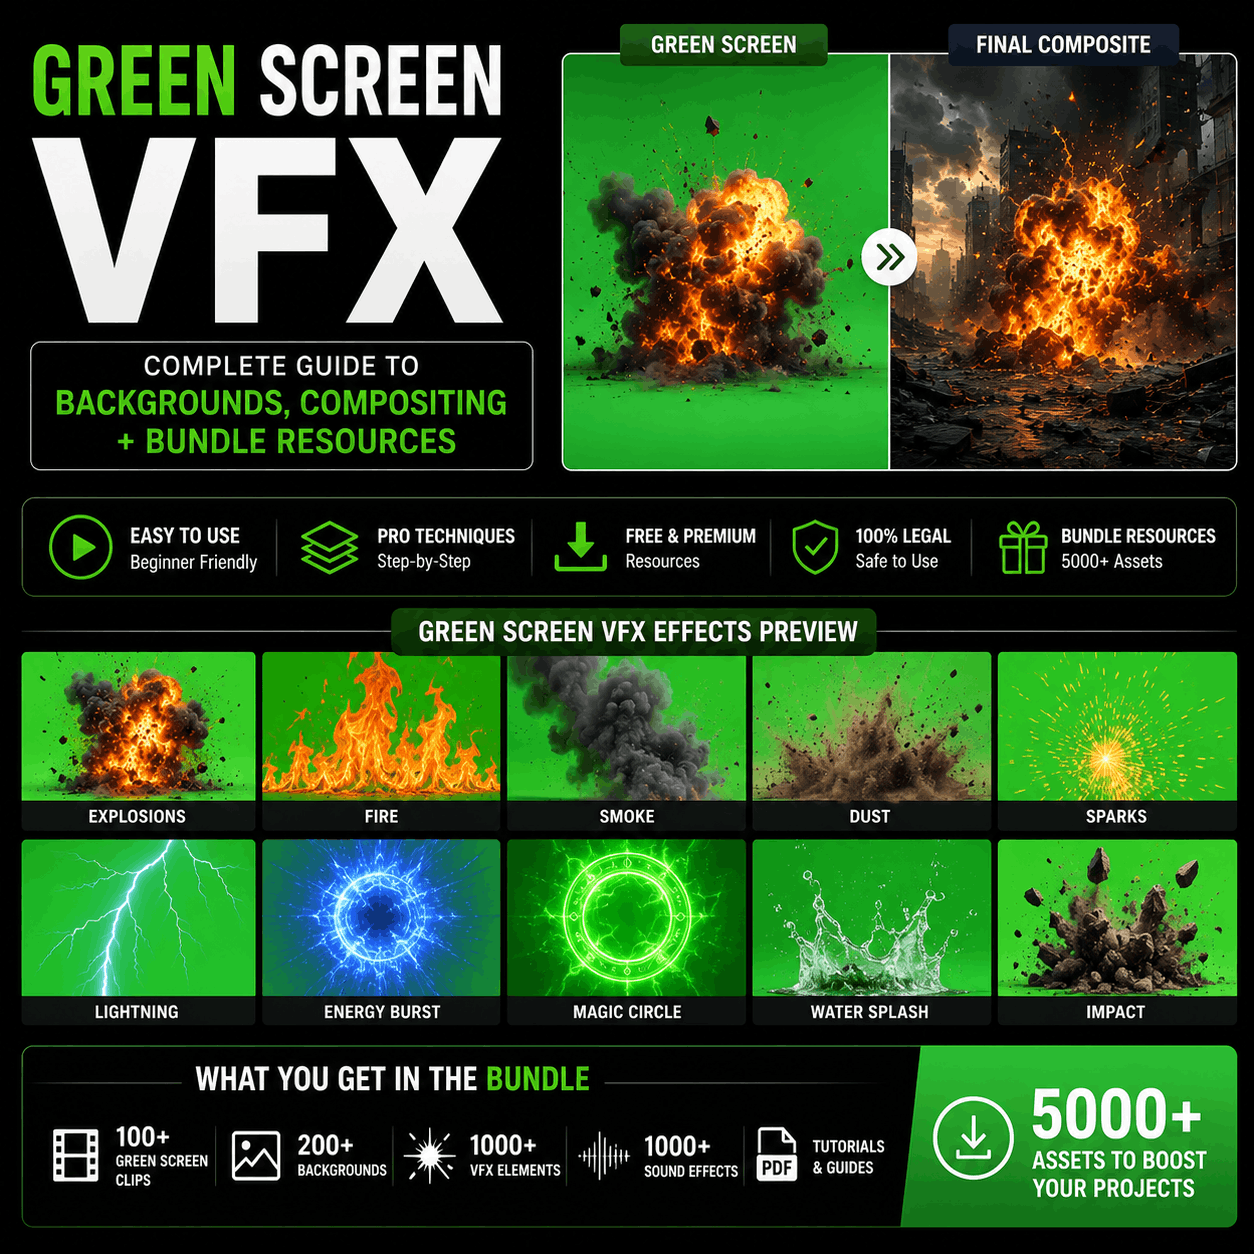
Green Screen VFX: Complete Guide to Backgrounds, Compositing + Bundle Resources
Green screen seems simple: film someone against a green background, remove the green, add a background. But professional green screen VFX is far more nuanced.
This guide explains the complete green screen VFX workflow—from filming fundamentals through professional compositing—and shows you where to find specialized bundle packs that transform basic footage into broadcast-quality composites.

What Is Green Screen VFX? (And When to Use It)
Green screen VFX is the process of:
- Filming: Capture talent/objects against a uniform green or blue background
- Keying: Remove the green color digitally (chroma keying)
- Compositing: Add a new background behind the keyed footage
- Blending: Match lighting, shadows, and color grades to integrate everything
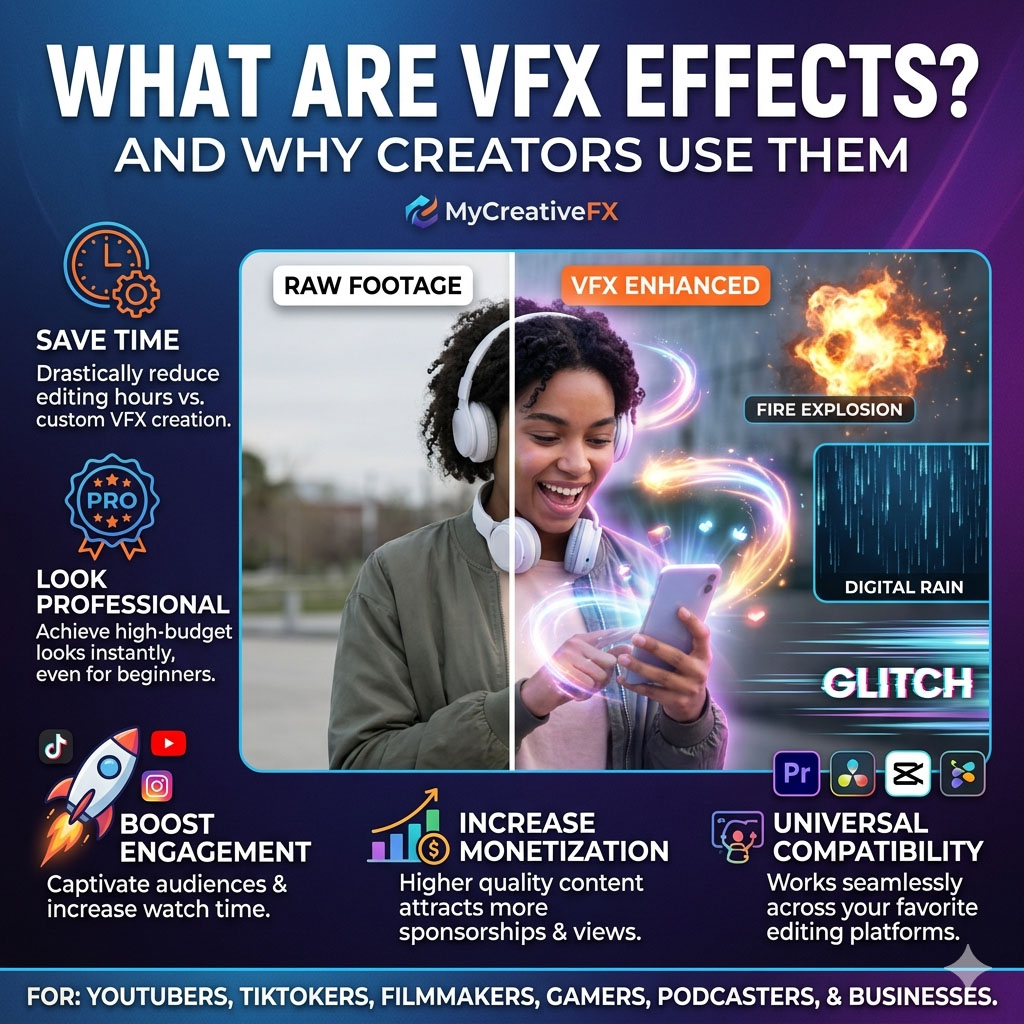
Why Green Screen Matters for Modern Creators
Use cases:
- Remote interviews/podcasts: Guests appear in your studio, not their bedrooms
- Product presentations: Show products in any environment (beach, office, fantasy world)
- Cinematic backgrounds: Film actors in studio, place them on movie sets
- Live streaming: Switch backgrounds without physical studio space
- Special effects: Place people in explosions, action scenes, supernatural environments
- Educational content: Demonstrate concepts with animated backgrounds
- TikTok/YouTube: Endless creative backgrounds for short-form content
Alternatives and why green screen wins:
- Real location filming: Expensive, limited by weather and permits
- Outdoor studios: Capital-intensive (build sets), inflexible
- Virtual cameras: Limited to specific software (3D apps), less flexible
- AI background removal: Poor edge quality, unreliable with hair/detail
Green screen remains the standard because it's affordable, fast, and produces professional results when done right.
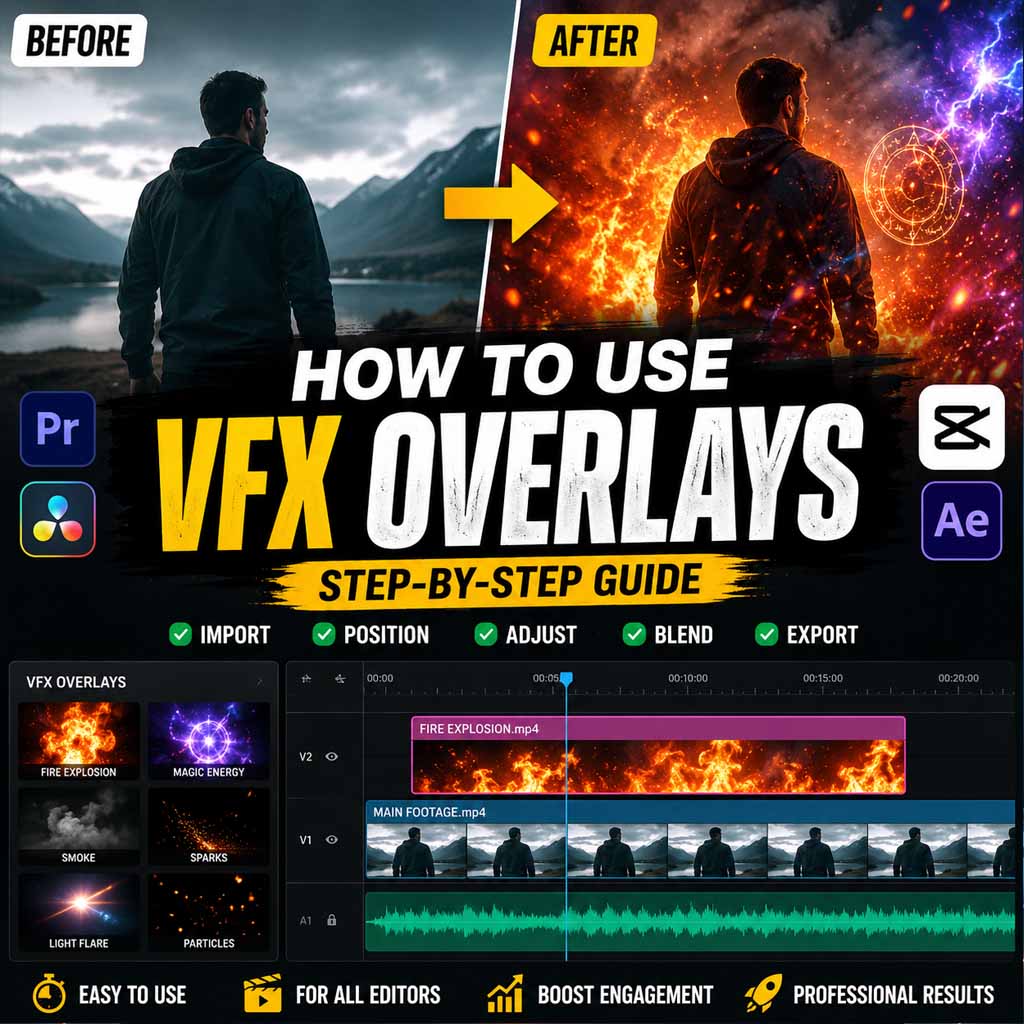
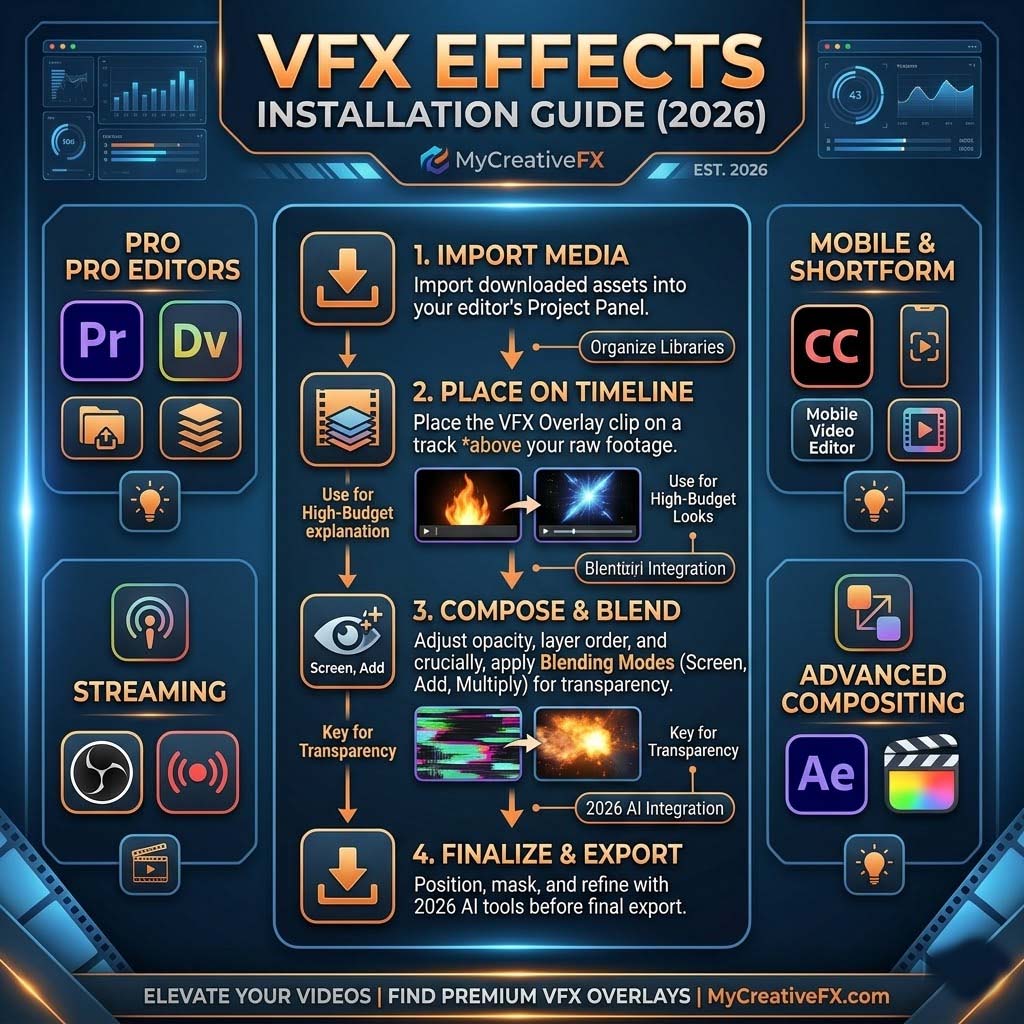
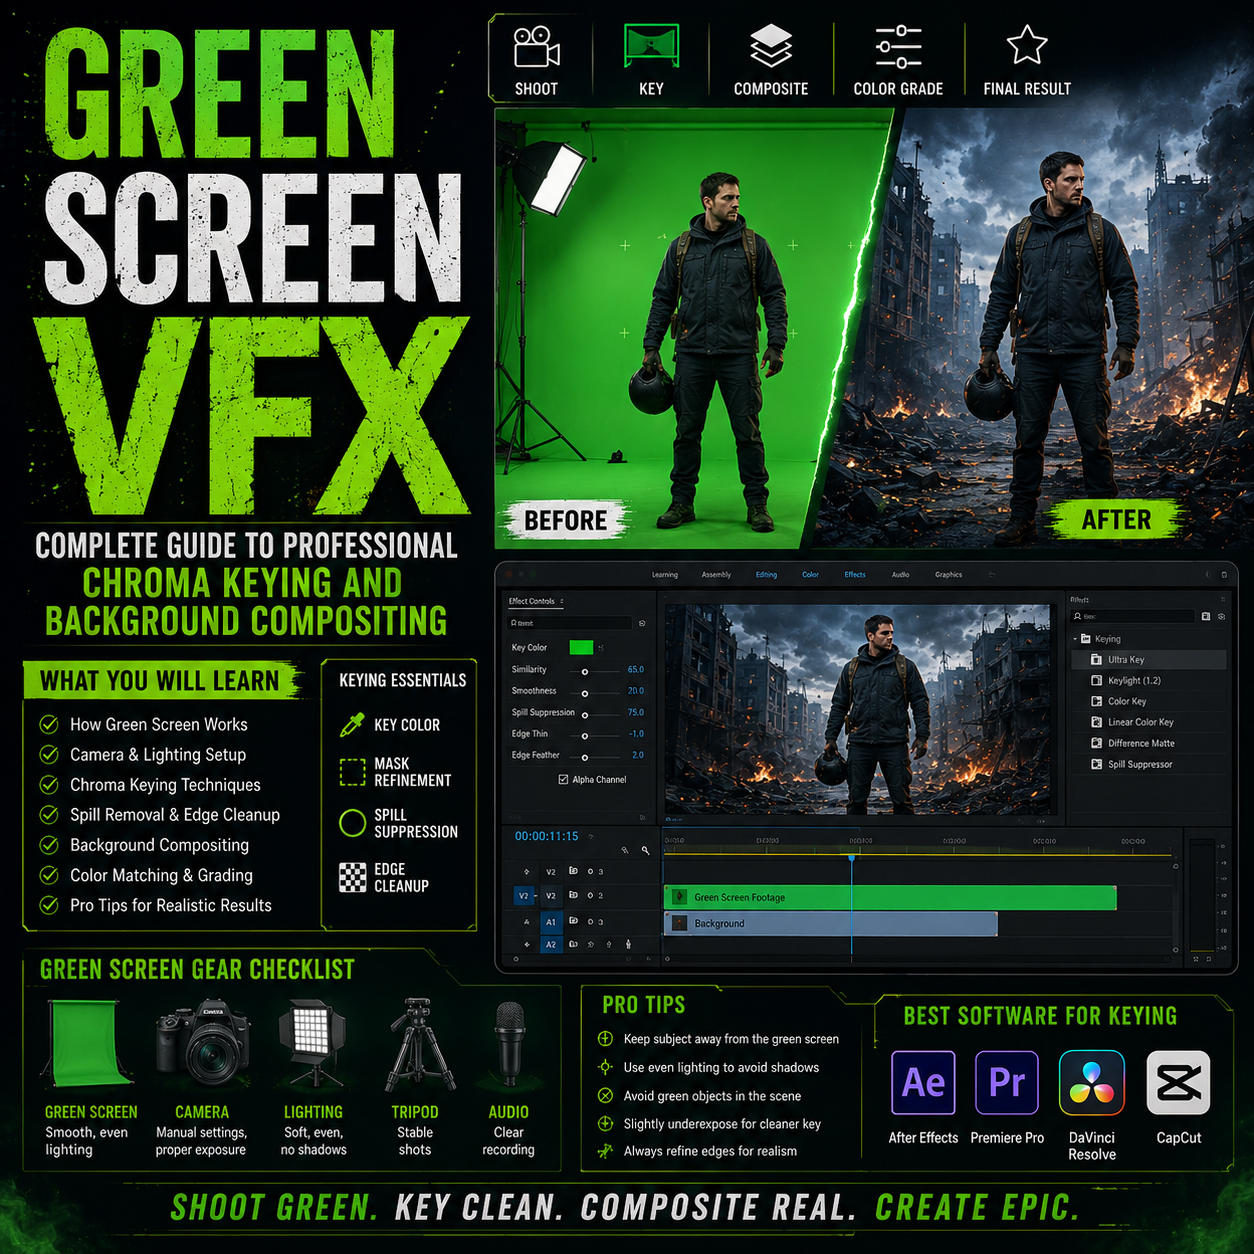
The Green Screen VFX Workflow: Step by Step
Phase 1: Filming (The Foundation)
Green screen quality matters dramatically.
Professional setups include:
- Green/blue backdrop: Chroma key fabric (not green paint—too reflective)
- Even lighting: Three-point lighting eliminates shadows on backdrop
- Distance: 4-6 feet between subject and green screen (prevents color spill)
- Camera: Any camera works, but higher resolution = better keying
Common filming mistakes that ruin green screen:
- ❌ Uneven lighting on backdrop (shadows show through in key)
- ❌ Shadows cast by subject on backdrop (hard to key cleanly)
- ❌ Subject too close to backdrop (color spill on subject's edges)
- ❌ Low-resolution source footage (keying creates visible artifacts)
- ❌ Green reflection from backdrop bouncing onto subject (green tint on person)
Professional tip: Better filming = easier compositing = faster turnaround. A few minutes of lighting adjustment on set saves hours in post-production.
Phase 2: Keying (Removing the Green)
Keying is the digital removal of green color. Software options:
After Effects:
- Ultra Key (fast, good for simple backgrounds)
- Keylight (professional grade, handles complex edges)
- Color Range/Difference Matte (manual, maximum control)
Premiere Pro:
- Ultra Key (integrated, works in real-time)
- Lumetri Color (basic keying)
DaVinci Resolve:
- Color Range keyer (professional-grade)
- Linear keyer (advanced control)
CapCut:
- Automatic background removal (one-tap, AI-powered)
- Doesn't use traditional chroma keying, but similar result
Key parameters to adjust:
- Threshold: How much green gets removed (too low = green remains, too high = holes in subject)
- Feather: Edge softness (prevents hard halos around subject)
- Spill removal: Eliminates green color bounce from backdrop onto subject's edges
Professional tip: Keying is an art. Spend time fine-tuning thresholds and feather values. A clean key is 80% of the final composite quality.
Phase 3: Compositing (Adding the Background)
After keying, you layer:
- Keyed foreground: Your subject (now transparent background)
- Background layer: The new environment
- Adjustment layers: Color grading to unify foreground and background
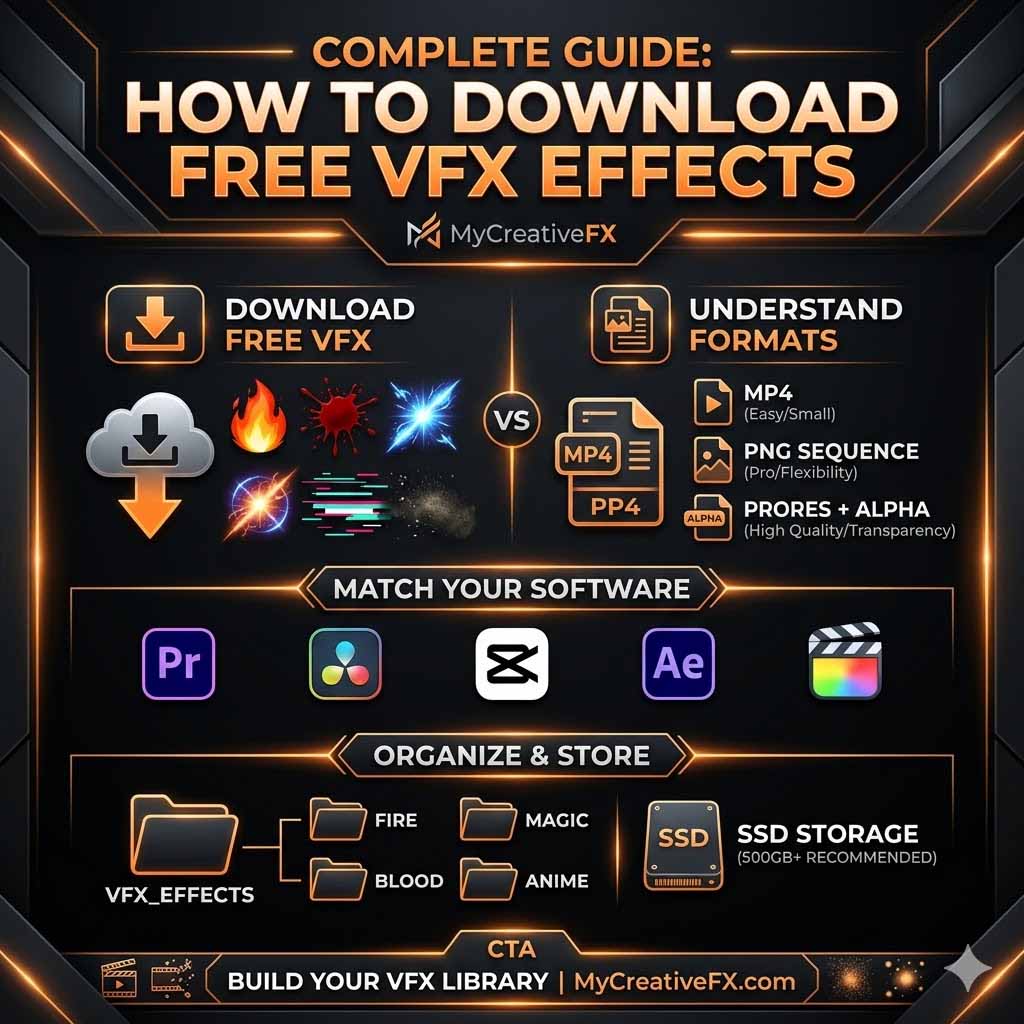
Backgrounds come from:
- Pre-filmed footage (you shot a location)
- Stock video (video footage packs, which often overlap with VFX downloads)
- VFX backgrounds (specifically designed for green screen compositing)
- 3D renders (created in Blender, C4D, or other 3D software)
- Animated VFX (dynamic backgrounds with effects)
The biggest category is VFX background bundles—professionally designed, color-graded environments optimized for green screen compositing.
Phase 4: Color Grading & Blending
This is where mediocre composites become professional.
Integration checklist:
- ✅ Does the background color temperature match the foreground? (Cool blue background vs. warm foreground = obviously fake)
- ✅ Do shadows match? (If subject has warm-side lighting, background shadows should match)
- ✅ Is the lighting direction the same? (Light hitting subject from left must match background lighting direction)
- ✅ Are there edge artifacts? (Halos, color spill, transparency issues)
- ✅ Is the scale realistic? (Subject size relative to background environment)
Professional colorists spend 30-50% of their time matching lighting and color between foreground and backgrounds. This is why specialized green screen bundles are valuable—they're pre-color-graded to match common foreground scenarios.
Green Screen VFX Bundle Types: What's Available
1. Studio Backgrounds (Professional Environments)
What they are: Clean, professional backdrops designed for interviews, presentations, product demos.
Examples:
- Modern office interior
- Minimalist studio space
- Corporate conference room
- Professional broadcast set
Best for: Remote meetings, interviews, corporate content, professional presentations
Bundle includes typically:
- 10-20 variations (different angles, lighting setups)
- Multiple color palettes (warm, cool, neutral)
- 4K resolution minimum
- Professional color grading built-in
These are high-demand because remote work (Zoom, Teams meetings) created massive need for professional backgrounds beyond blurred offices.
2. Cinematic Backgrounds (Filmic Environments)
What they are: Complex, detailed environments designed for narrative filmmaking.
Examples:
- Urban streets (day/night/rainy)
- Forest/wilderness settings
- Dystopian city ruins
- Spaceship interiors
- Realistic living rooms
Best for: Independent filmmaking, short films, cinematic YouTube content, narrative storytelling
Bundle includes:
- 5-15 highly-detailed environments
- Multiple lighting variations (day, sunset, night)
- 4K-8K resolution
- Atmospheric effects (rain, dust, particles)
- Motion-enabled options (moving cars, pedestrians, dynamic elements)
These are expensive to produce (require location scouting, filming, post-production) so they're premium-priced. Professional film studios often download entire bundles rather than filming locations themselves.
3. Motion Graphics Backgrounds (Animated Environments)
What they are: Animated backgrounds with effects, suitable for motion graphics and dynamic content.
Examples:
- Abstract particle systems
- Geometric morphing shapes
- Digital grid environments
- Futuristic UI backgrounds
- Animated cityscapes
Best for: Motion graphics, animated presentations, tech conference videos, music videos with VFX
Bundle includes:
- 10-30 fully animated backgrounds
- Available in After Effects (full customization) and video format
- 4K resolution
- Loopable (can repeat indefinitely without visible seams)
These are particularly useful for creators who want animated backgrounds that loop perfectly without obvious transitions.
4. Outdoor & Nature Backgrounds
What they are: Realistic outdoor environments, often filmed on location.
Examples:
- Beach/ocean scenes
- Mountain landscapes
- Forest clearings
- Desert environments
- Urban street scenes
Best for: Travel vloggers, outdoor product demos, adventure content, nature documentaries
Bundle includes:
- 8-20 environmental variations
- Multiple seasons and times of day
- 4K resolution
- Natural lighting (not artificially lit like studio backgrounds)
These work best when your green screen filming had natural lighting (outdoor setup), because the lighting direction and color temperature match better.
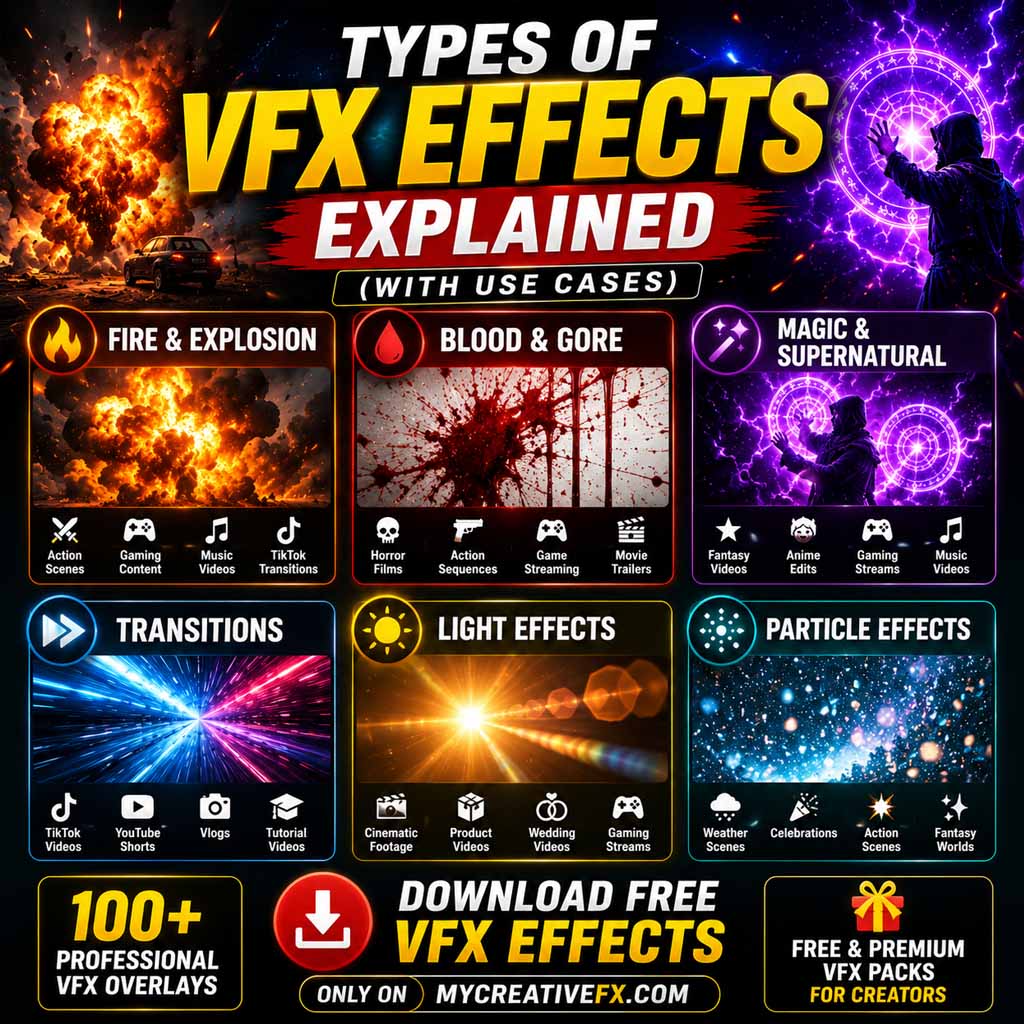
5. Dynamic & Special Effects Backgrounds
What they are: Backgrounds that include special effects (explosions, weather, magic, etc.).
Examples:
- Explosions behind talent (action movie effect)
- Weather effects (rain, snow, storms)
- Fire backgrounds
- Magical effects (particles, auras, supernatural elements)
- Sci-fi digital environments
Best for: Action filmmaking, superhero content, fantasy narratives, gaming content, high-impact presentations
Bundle includes:
- 5-15 complex effects with variations
- Multiple intensity levels (small fire to raging inferno)
- 4K-8K resolution
- Loopable or triggered (one-shot effects)
These are specialized because they require complex VFX work (particles, lighting effects, shadows). They're expensive but save weeks of custom VFX work.
6. Custom Brand Backgrounds
What they are: Branded environments with your logo, color scheme, and custom design.
Typical workflow:
- You provide brand guidelines (logo, colors, fonts)
- Creator/designer builds custom backgrounds
- You get 5-10 unique variations matching your brand
Best for:
- Corporate communications
- Product launches
- Personal brand building
- Agency content
- Influencer branding
This is less about downloading bundles and more about commissioning custom work, but some platforms offer templates you customize yourself.
Specialized Green Screen Bundles from 5000+ Asset Libraries
Platforms with 5000+ assets typically organize green screen VFX into:
Free/Freemium Tier Green Screen Bundles
- 5-10 basic studio backgrounds (limited variations)
- 3-5 generic outdoor scenes
- 2-3 simple animated backgrounds
Premium Green Screen Collections
- Studio Backgrounds Pack: 20+ professional office/interior variations
- Cinematic Backgrounds Bundle: 15+ detailed film-quality environments
- Motion Graphics Backgrounds: 25+ loopable animated environments
- Outdoor Backgrounds Pack: 15+ nature and street scenes
- Special Effects Backgrounds: 10+ explosions, weather, magic effects
- 4K Premium Bundle: Highest resolution, all categories
Most platforms structure green screen bundles by use case (studio, cinematic, motion graphics) rather than dumping all 200 green screen assets in one folder. This makes finding the right background fast.
How to Choose the Right Green Screen Background Bundle
Step 1: Define Your Filming Setup
Did you film your green screen indoors or outdoors?
- Indoor film + studio background bundle = Best match (controlled lighting, matching color temperature)
- Outdoor film + cinematic background bundle = Good (natural lighting, realistic environments)
- Mismatched setup = Requires aggressive color grading to make believable
Your source footage lighting should roughly match background lighting direction and intensity.
Step 2: Assess Your Subject & Scaling
Green screen bundles must match your subject's size relative to the environment.
Examples:
- Interview/talking head: Studio backgrounds work (person fills most of frame)
- Product on desk: Cinematic interior backgrounds work (product is focal point)
- Action scene: Wide cinematic backgrounds work (subject is silhouette within larger environment)
- Close-up: Even small backgrounds work (fills entire frame, no visible edges)
Mismatched scaling looks wrong. If you film a close-up talking head against a background with a visible horizon, the person looks like a giant.
Step 3: Choose Bundle Variety for Your Project
One-off video: Single background is fine.
Recurring series (weekly YouTube, podcast, regular content): Download bundle with 5-10 variations.
- Swaps between episodes prevent visual repetition
- Viewers don't notice if each episode uses different studio angle
High-volume content (daily TikToks, streaming): Download 20+ variation bundle.
- Endless combinations prevent aesthetic fatigue
- More background diversity = more content freshness
Step 4: Verify Color Grading Compatibility
Professional green screen bundles are pre-color-graded. Check:
- Does the background color temperature match your subject's lighting?
- Are shadows in the background consistent with shadows on your subject?
- Does saturation level match? (If subject is warm/saturated, background should be too)
Mismatched color grades are the most obvious sign of amateur compositing. Downloading bundles from the same creator/platform often means they share consistent color language.
Professional Green Screen Compositing Tips
Tip 1: Over-Key Slightly, Refine Later
When keying, remove slightly more green than you think necessary. Then:
- Use matte cleanup passes to recover edge detail
- Manually paint problem areas
- Add edge feathering for smooth integration
Leaving green in = obvious and unreliable. It's easier to recover detail you over-keyed than to remove green you left.
Tip 2: Precomp Before Compositing
In After Effects, precompose your keyed footage before compositing:
- Keeps timeline organized
- Makes it easier to adjust keying parameters later without redoing composite
- Allows color correction on the precomp independently
Tip 3: Use Adjustment Layers to Match Lighting
Don't composite directly. Instead:
- Layer background
- Layer keyed foreground
- Add adjustment layer above
- Apply color grading that unifies both
This way you can tweak the overall color grade without overwriting individual layer properties.
Tip 4: Add Subtle Shadows/Reflections
A keyed subject without shadows looks like a cardboard cutout. Add:
- Subtle shadow layer beneath subject (direction matching background light)
- Optional reflection if background has reflective surface (water, polished floor)
- Atmospheric effects if background has particles (dust, rain, smoke)
These small details elevate compositing from "obviously fake" to "professional."
Tip 5: Render Test Before Final Output
Green screen compositing often has surprises:
- Color shifts you didn't anticipate
- Keying artifacts visible only at full resolution
- Edge halos you missed
- Mismatched lighting
Render a 20-second test, watch on different monitors, before committing to full export.
Common Green Screen VFX Mistakes (And How to Fix Them)
❌ Mistake 1: Color Spill (Green Tint on Subject Edges)
What it is: Green from backdrop bounces onto subject's edges, creating greenish outline.
Cause: Subject too close to backdrop, or backdrop lighting bouncing forward.
Fix:
- Move subject further from backdrop (5-6 feet minimum)
- Adjust backdrop lighting angle (light backdrop, not bounce light onto subject)
- Use spill removal tool in keyer (removes green from subject's edge)
- Manual painting (paint out green edges with color-matched strokes)
❌ Mistake 2: Hard Halos Around Subject
What it is: Visible outline around keyed subject, usually white or cyan halo.
Cause: Feather value too high, or over-aggressive keying.
Fix:
- Reduce feather (affects entire matte, not just edges)
- Use matte choker to shrink matte slightly (removes halos without heavy feathering)
- Light wrap effect: Bends background around subject's edges for integration
❌ Mistake 3: Holes in Subject (Over-Keying)
What it is: Parts of subject disappear (holes in arms, gaps in hair, transparency issues).
Cause: Keying threshold too aggressive, or subject has colors similar to green.
Fix:
- Lower keying threshold (remove less green)
- Use color range selector to key specific green ranges, not all similar colors
- Paint back problem areas manually on matte layer
- Keylight has "screen balance" slider to refine which greens get removed
❌ Mistake 4: Unmatched Lighting Between Subject and Background
What it is: Subject's shadows/lighting direction obviously doesn't match background light.
Cause: You filmed with different lighting than background environment uses.
Fix:
- Color grade subject to match background color temperature
- Add shadow layers matching background light direction
- Adjust subject's brightness/contrast to integrate
- Use curves adjustment to match subject's tonal range to background
This is why professional compositing is hard. Matching lighting between filmed footage and pre-lit background requires skill.
❌ Mistake 5: Obvious Edge Artifacts or Transparency Issues
What it is: You can see the keying "seam" around subject, or background shows through edges.
Cause: Keying settings not fine-tuned, or subject has transparency where it shouldn't.
Fix:
- Spend time on matte cleanup (refine keying pass)
- Use matte shrink/grow to adjust matte perimeter
- Add edge contrast layer to sharpen transparency boundaries
- Render tests at 100% zoom to see artifacts before final output
Green Screen VFX for Different Creator Types
YouTube Creators (Talking Heads, Presentations)
Best approach: Studio background bundle with 5-10 variations
- Keeps focus on speaker, not background
- Professional appearance for business/educational content
- Easier keying (subject fills most of frame, less edge work)
- Same bundle works for multiple episodes
Recommended bundle: Premium studio backgrounds (office, boardroom, modern interior variations)
Filmmakers (Narrative Content)
Best approach: Cinematic background bundle matching your genre
- Highly detailed, filmic environments
- Complex lighting that matches professional cinematography
- Often includes atmospheric elements (fog, particles)
- Supports high-quality narrative storytelling
Recommended bundles:
- Crime/thriller: Urban, noir environments
- Sci-fi: Spaceship interiors, dystopian cityscapes
- Fantasy: Medieval, magical environments
- Horror: Abandoned locations, supernatural settings
Motion Graphics Designers
Best approach: Animated background bundle for dynamic content
- Loopable animations
- After Effects source files for customization
- Works with motion graphics aesthetic
- Supports complex visual compositions
Recommended bundle: Motion graphics backgrounds (geometric, abstract, digital, particle systems)
CapCut/TikTok Creators
Best approach: Quick-apply backgrounds optimized for mobile
- One-tap background swap
- Trend-aligned variations (updated monthly)
- Vertical video optimized (9:16 aspect ratio)
- Fast keying/compositing (CapCut's automatic background removal)
Recommended bundle: Mobile-optimized backgrounds (studio, trending locations, animated variations)
Verdict: When to Download Green Screen Bundles vs. Filming Location
Download green screen bundles if:
✅ You need consistency (multiple episodes, weekly uploads, branding) ✅ You don't have location access (weather, permits, travel cost) ✅ You need exotic environments (spaceships, fantasy worlds, impossible locations) ✅ You're on a budget (licensing bundle << hiring location scout + travel) ✅ You need speed (download and composite in hours, not days filming)
Film real locations if:
✅ You need unique, non-generic environments ✅ Your budget allows production travel ✅ Authenticity is critical (real location filming feels more genuine) ✅ You have natural light control (outdoor golden hour, beautiful weather)
Honest truth: Most professional productions use both. Real locations for establishing shots, green screen bundles for close-ups and talent-driven scenes. It's the hybrid approach that wins.
Conclusion: Green Screen Bundles Are Professional Tools
Green screen VFX used to require expensive location filming or custom VFX creation. Modern bundles with 5000+ curated assets let creators access professional environments instantly.
The key to professional results:
- Proper filming setup (even backdrop lighting, correct distance)
- Clean keying (spend time on matte refinement)
- Matching color grades (integrate subject and background lighting)
- Specialized bundles (use bundles designed for your specific use case)
Download the right bundle for your project type (studio for interviews, cinematic for films, motion graphics for design), spend time on keying and color matching, and you'll produce composites that rival professional studios.
Next step: Assess your filming setup (indoor/outdoor, subject type, lighting). Then download a bundle that matches that configuration. Test on a short clip before committing to full project.

 Premium Plans