 Premium Plans
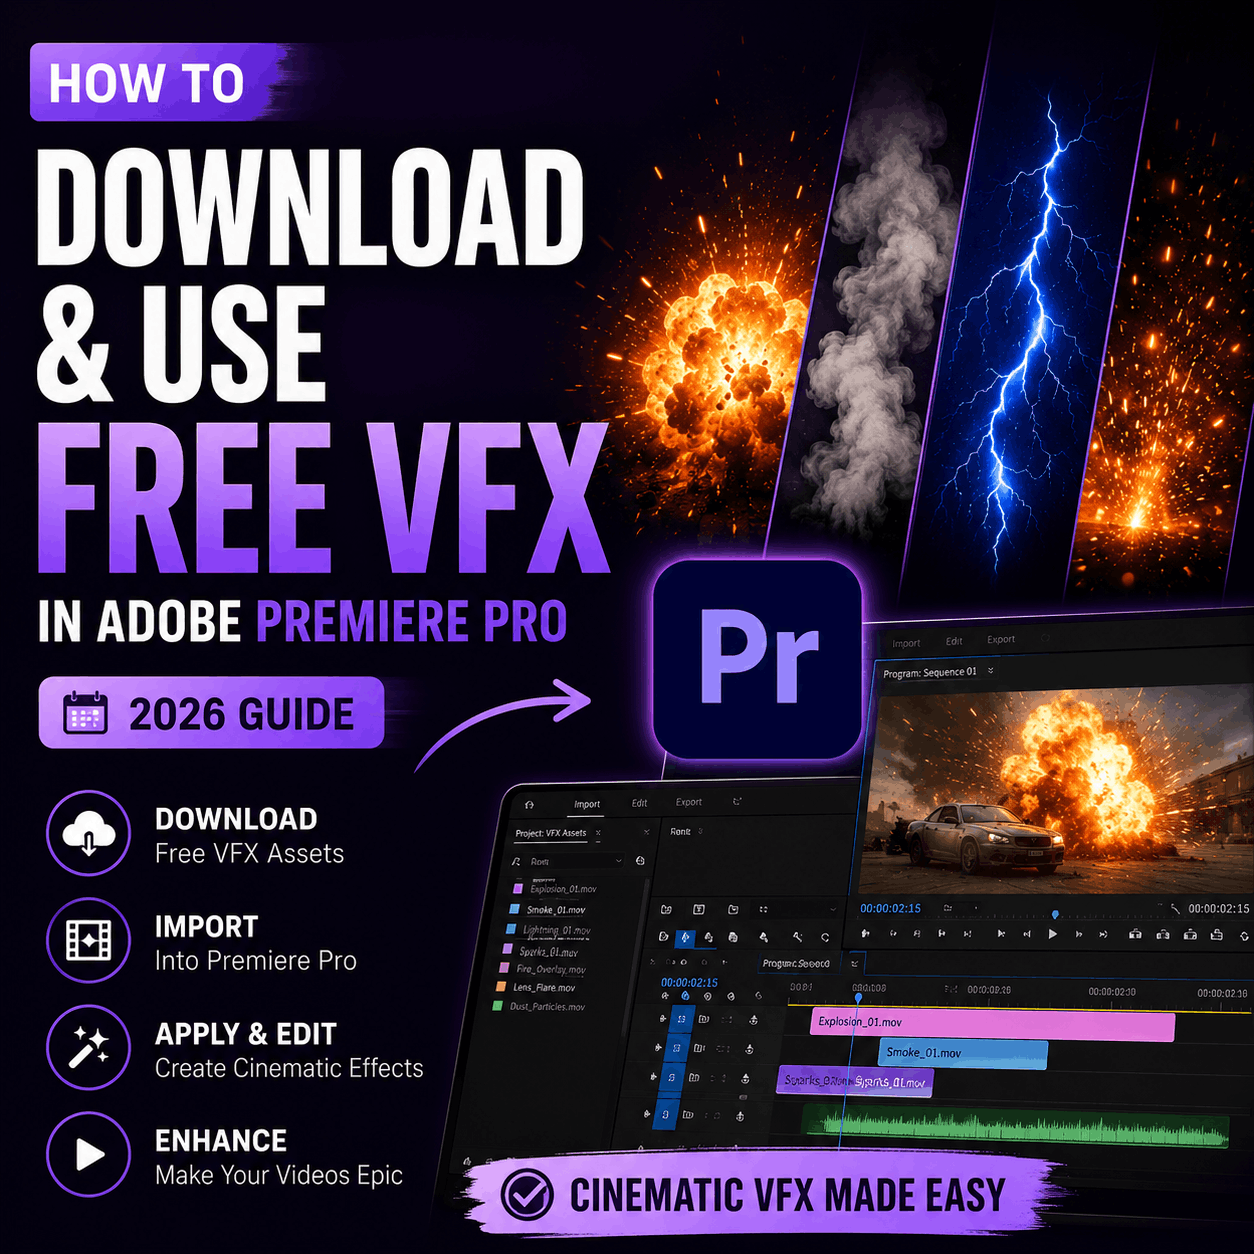
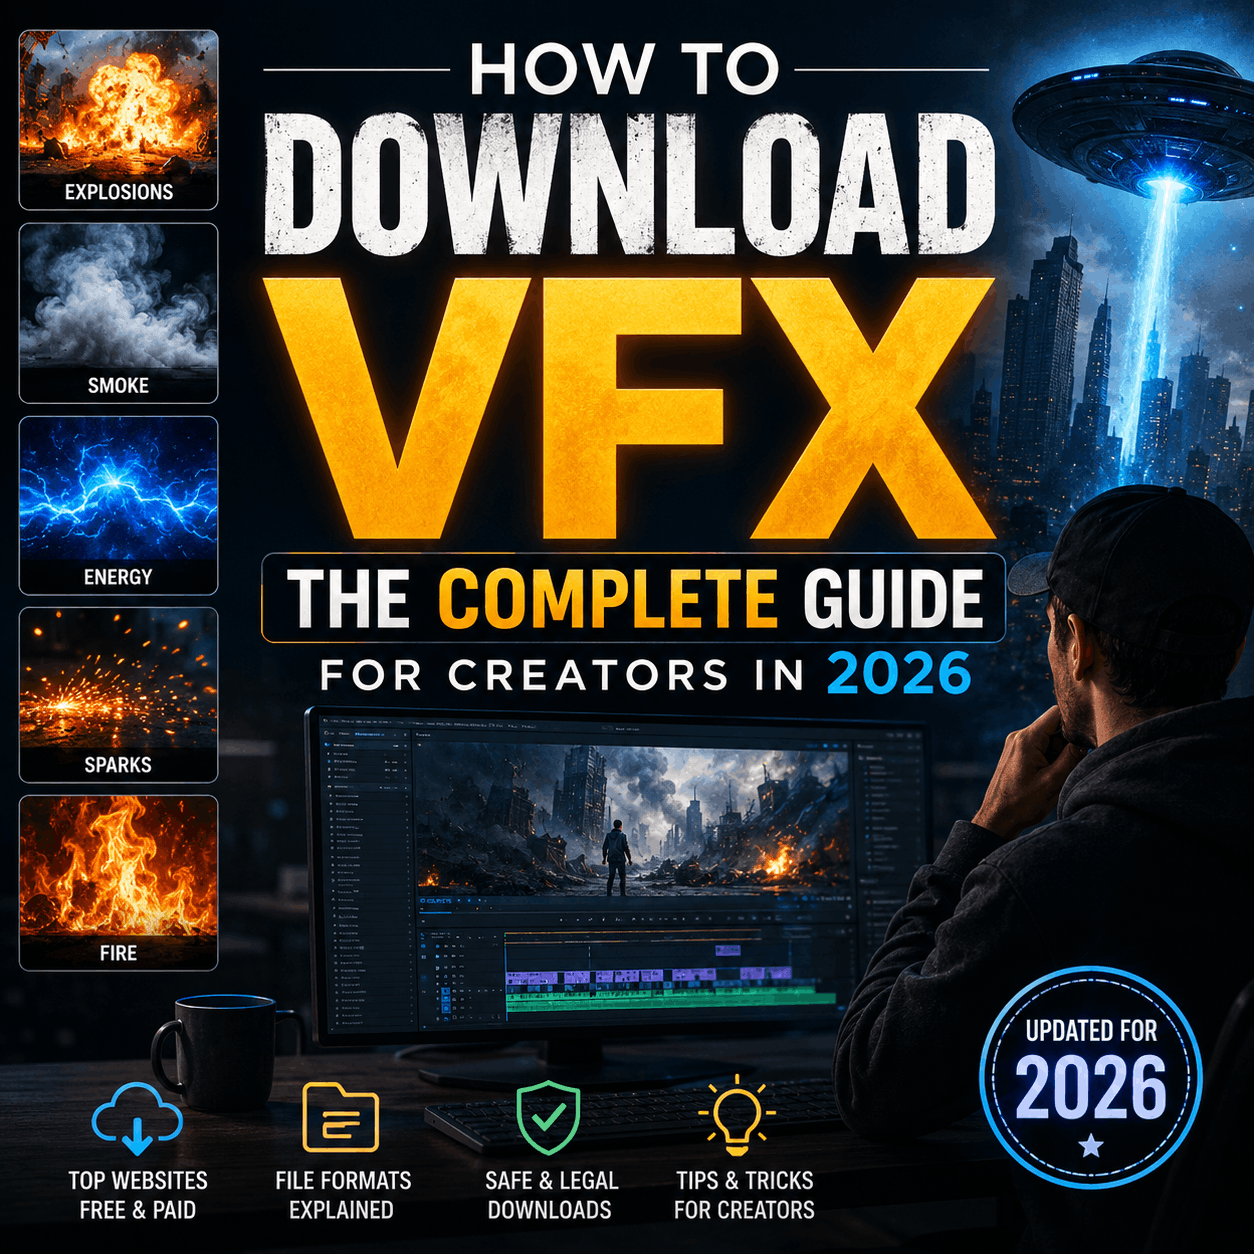
How to Download & Use Free VFX in Adobe Premiere Pro
Complete step-by-step guide to finding, downloading, and applying professional free VFX effects in Adobe Premiere Pro. Works for all versions (2024, 2025, 2026).
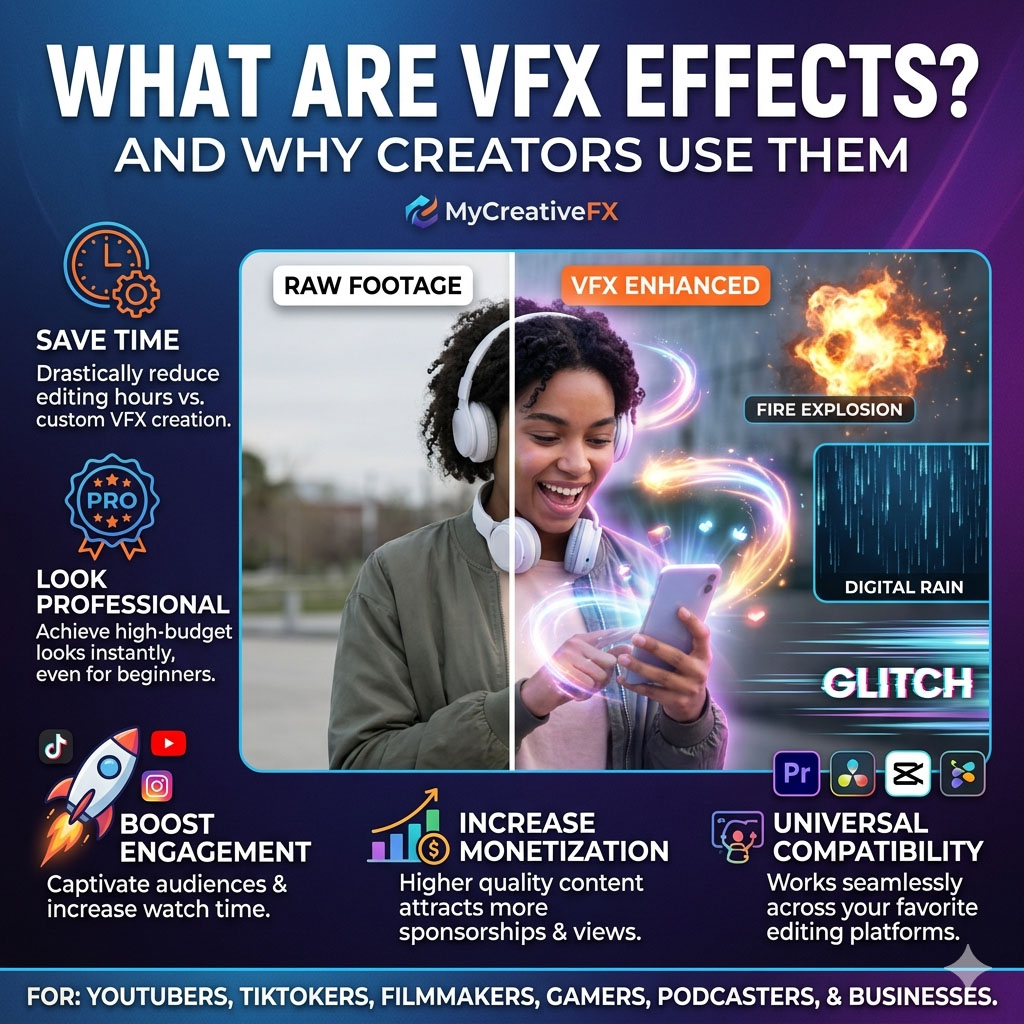
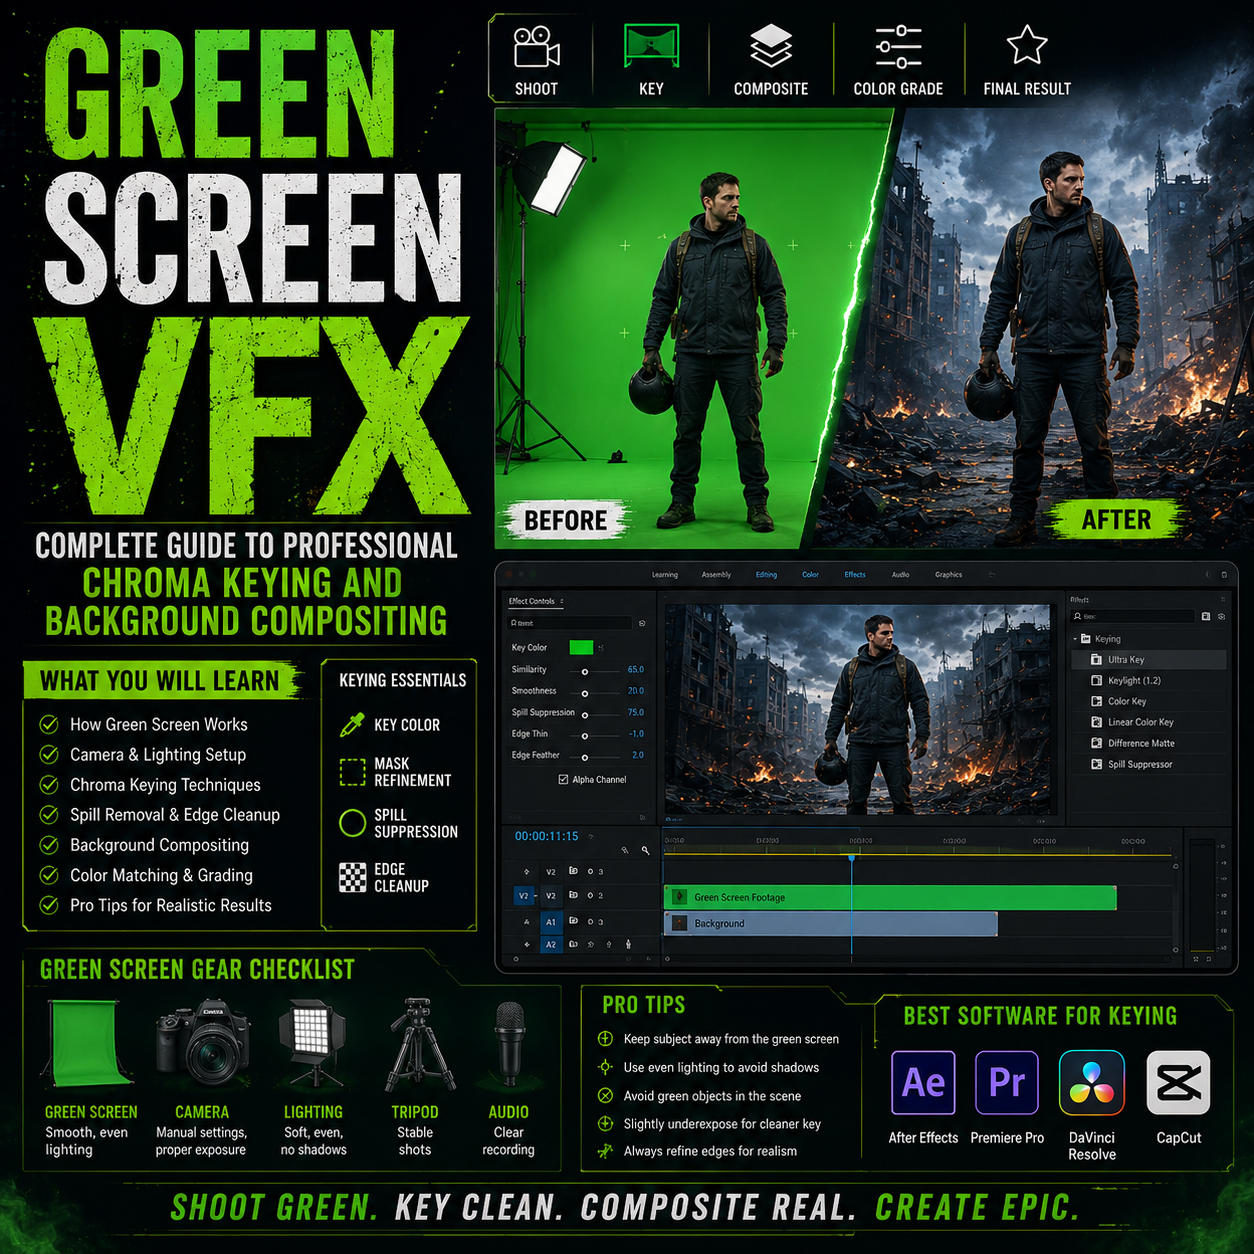
Why Free VFX in Premiere Pro Changes Everything
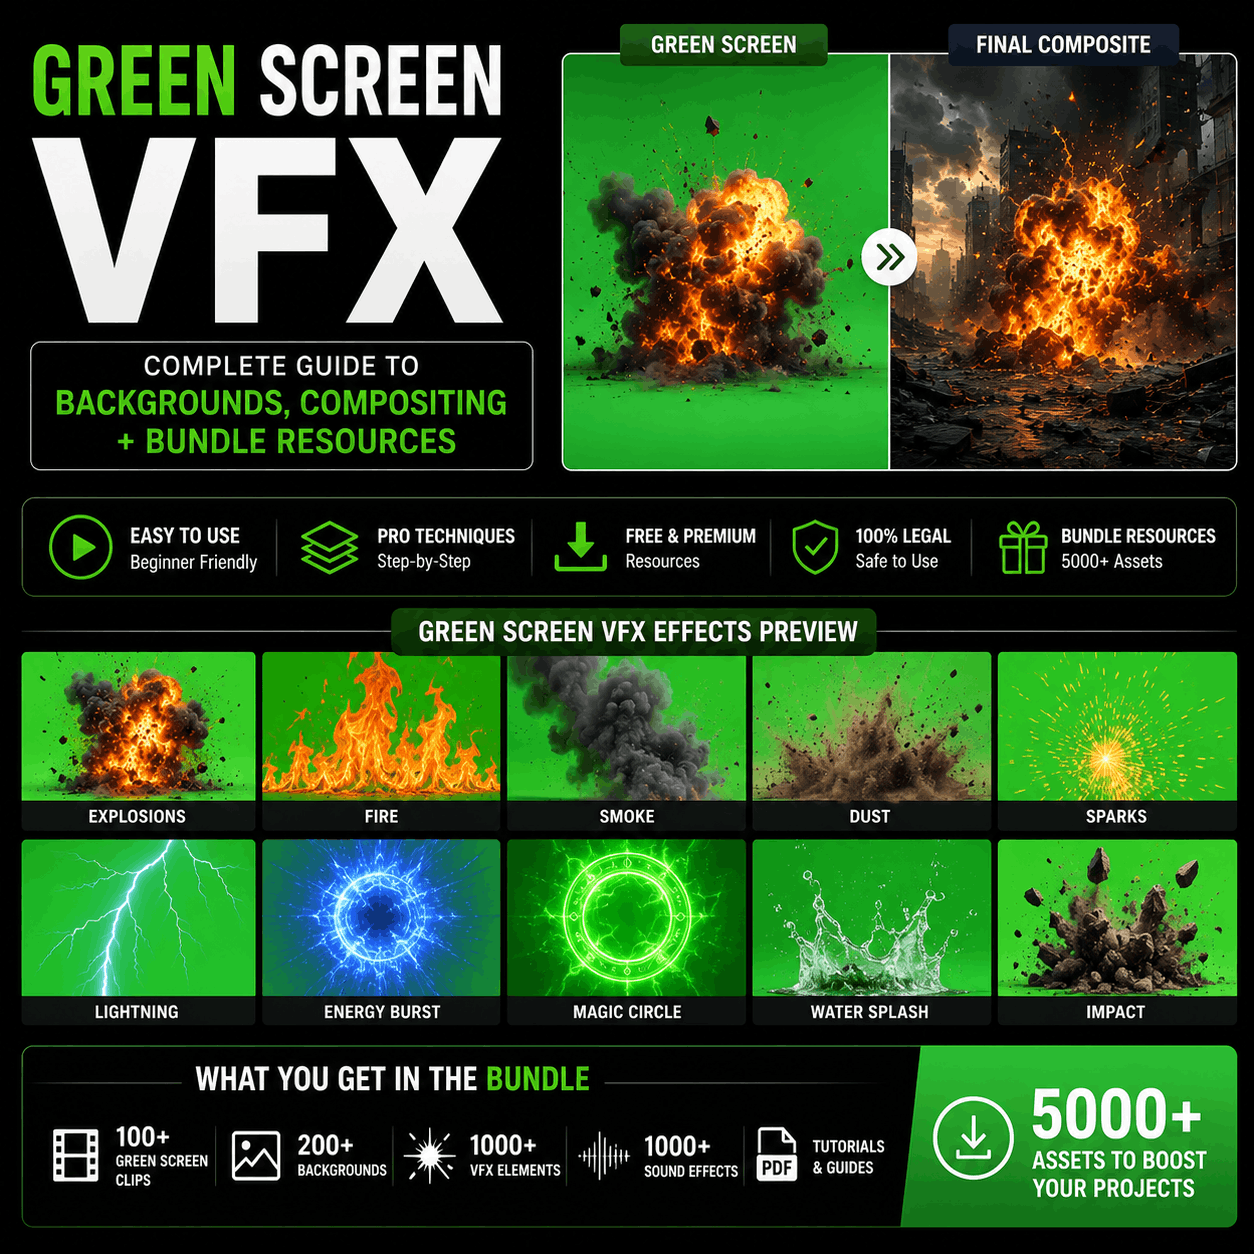
Adobe Premiere Pro comes with built-in effects, but they're basic. If you want fire, explosions, glitch, rain, magic, or cinematic effects, you need to add them yourself.
The problem: Most free VFX tutorials online are outdated or confusing. Professional VFX plugins cost $50-500. And Premiere's built-in Motion Graphics library doesn't have what you need.
In this guide, I'll show you exactly how to download, organize, and apply free VFX in Premiere Pro. By the end, you'll have access to effects that rival $15/month subscription services.
System Requirements (Before You Start)
Make sure you have the right setup before downloading VFX:
- Adobe Premiere Pro 2024 or later (Recommended: 2025 or 2026 for best compatibility)
- At least 50 GB free hard drive space (effects + project files)
- 8 GB RAM minimum (16 GB recommended for smooth playback)
- Nvidia GPU or Apple Silicon (for hardware acceleration, optional but helpful)
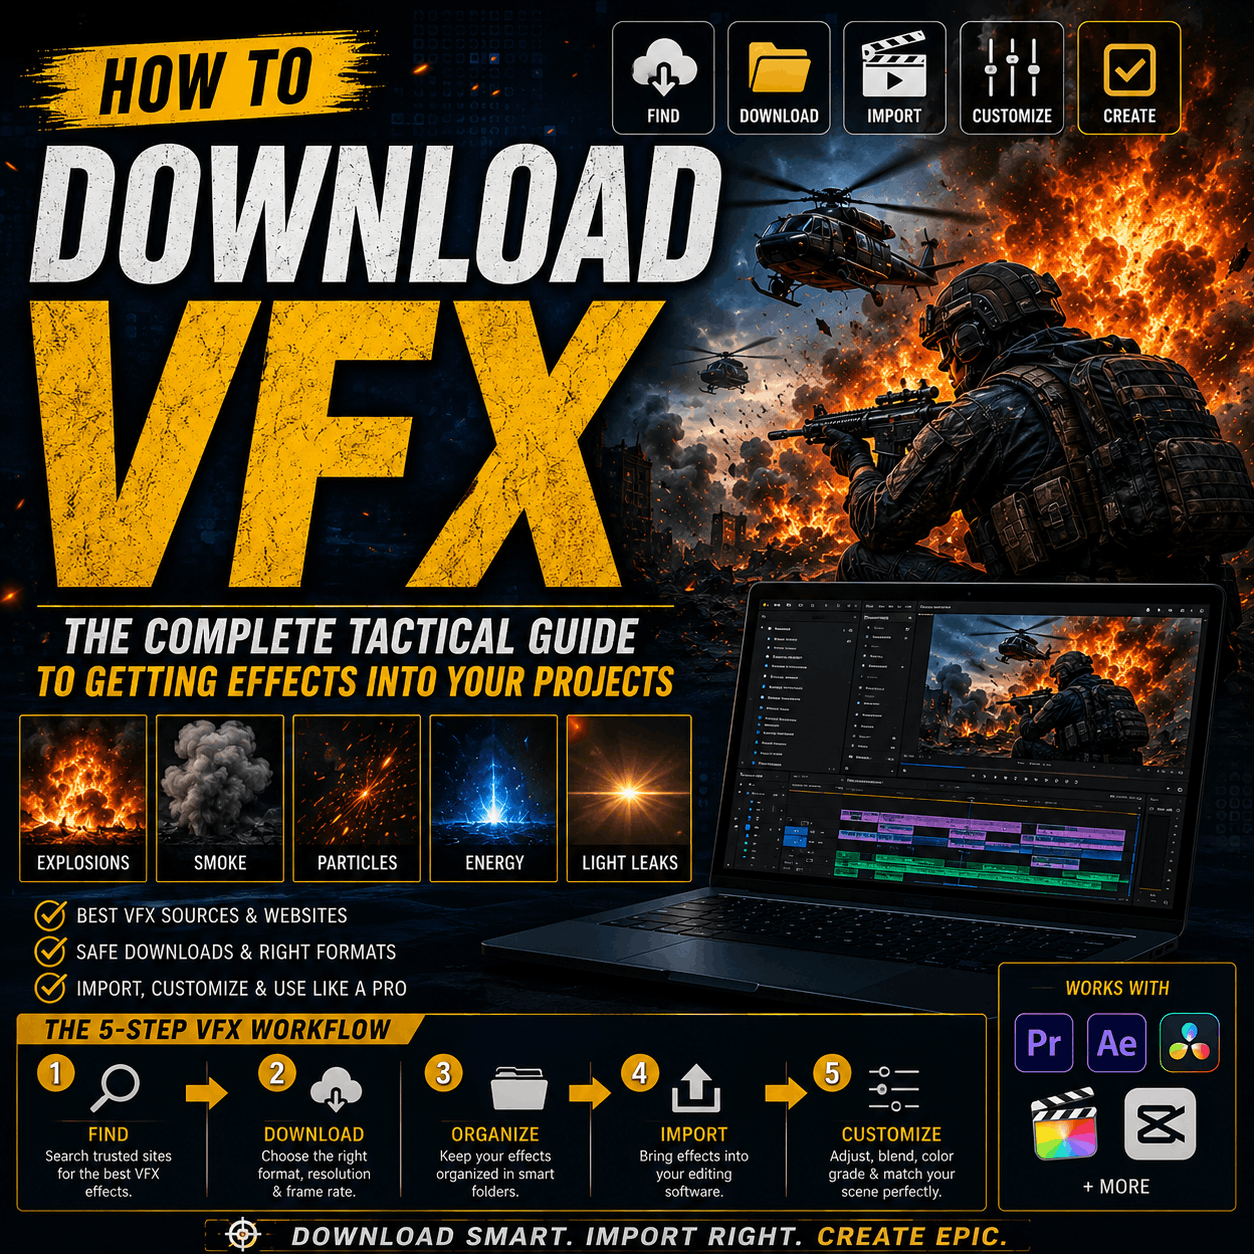
5-Step Process: Download to Apply
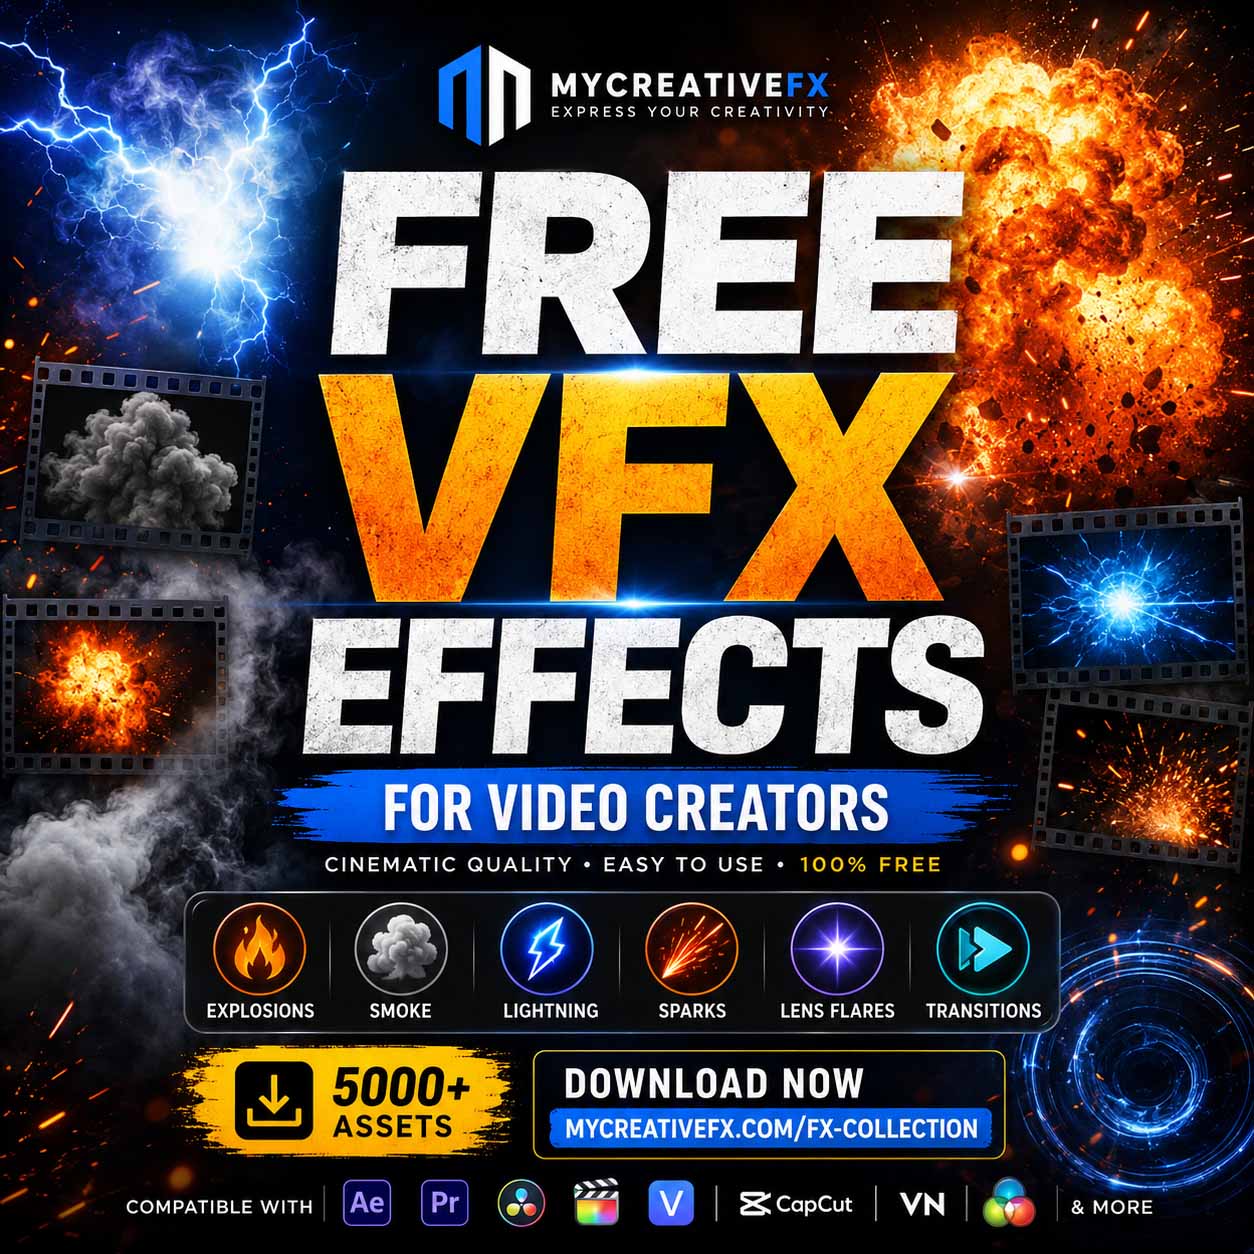
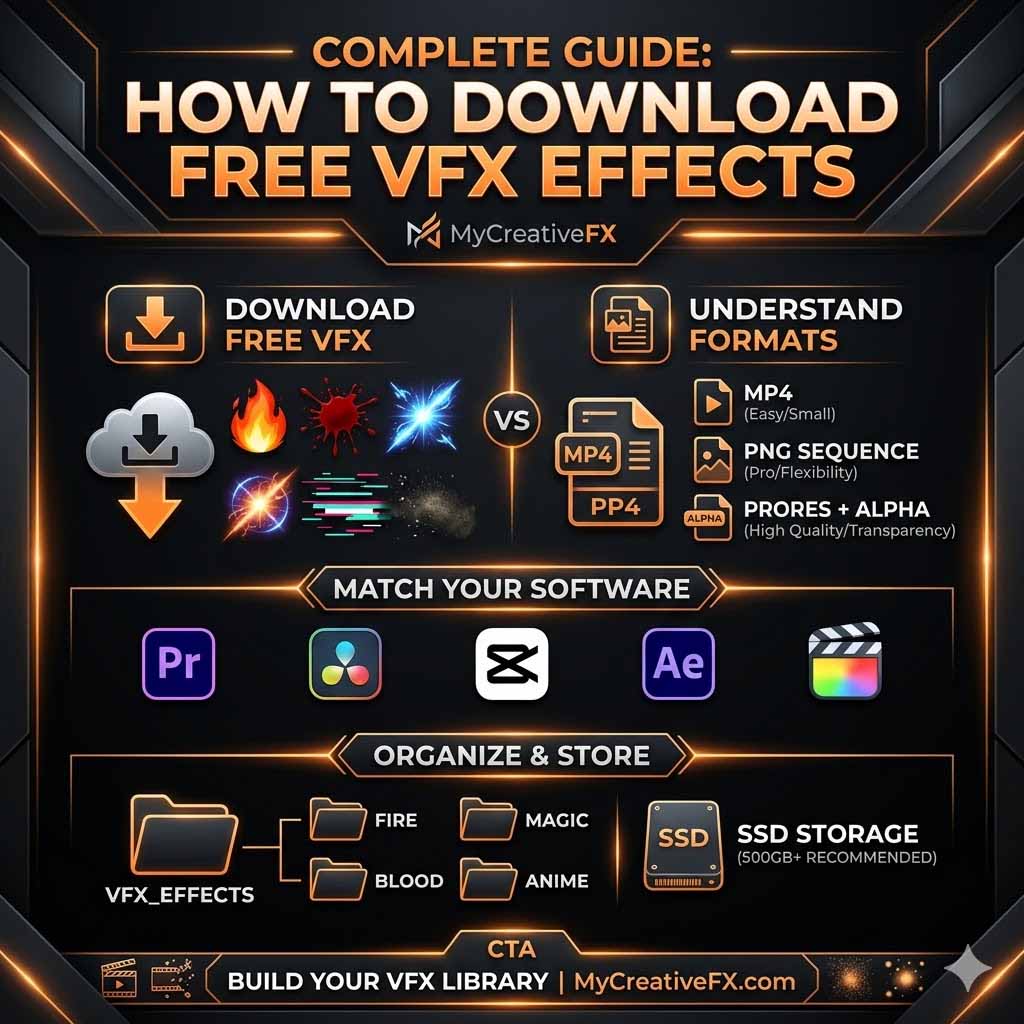
First, you need to download effects. MyCreativeFX has 500+ effects organized by category.
- Go to MyCreativeFX VFX Library
- Browse by category (Fire, Rain, Glitch, Cinematic, etc.) or search for what you need
- Click on an effect to preview it (see video preview before downloading)
- Click "Download" — choose your format:
- MOV (Recommended): Best for Premiere Pro, transparent background
- MP4: Compatible with all editors, slightly larger file size
- PNG Sequence: For advanced compositing in After Effects
- Wait for download to complete (usually 30 seconds - 2 minutes depending on effect quality)
If you download just one effect, skip this. But if you're serious about building a library, organization saves hours later. Here's the structure I recommend:
- Create a folder called
MyCreativeFX Effectson your main hard drive (not Downloads) - Inside, create subfolders for each category:
- Fire & Explosions
- Weather (Rain, Snow, Fog)
- Glitch & Digital
- Transitions
- Text Animation
- Cinematic
- Other
- Move your downloaded effects into the relevant folders
- Optional: Rename files to be more descriptive (e.g., "fire-explosion-3-burst.mov")
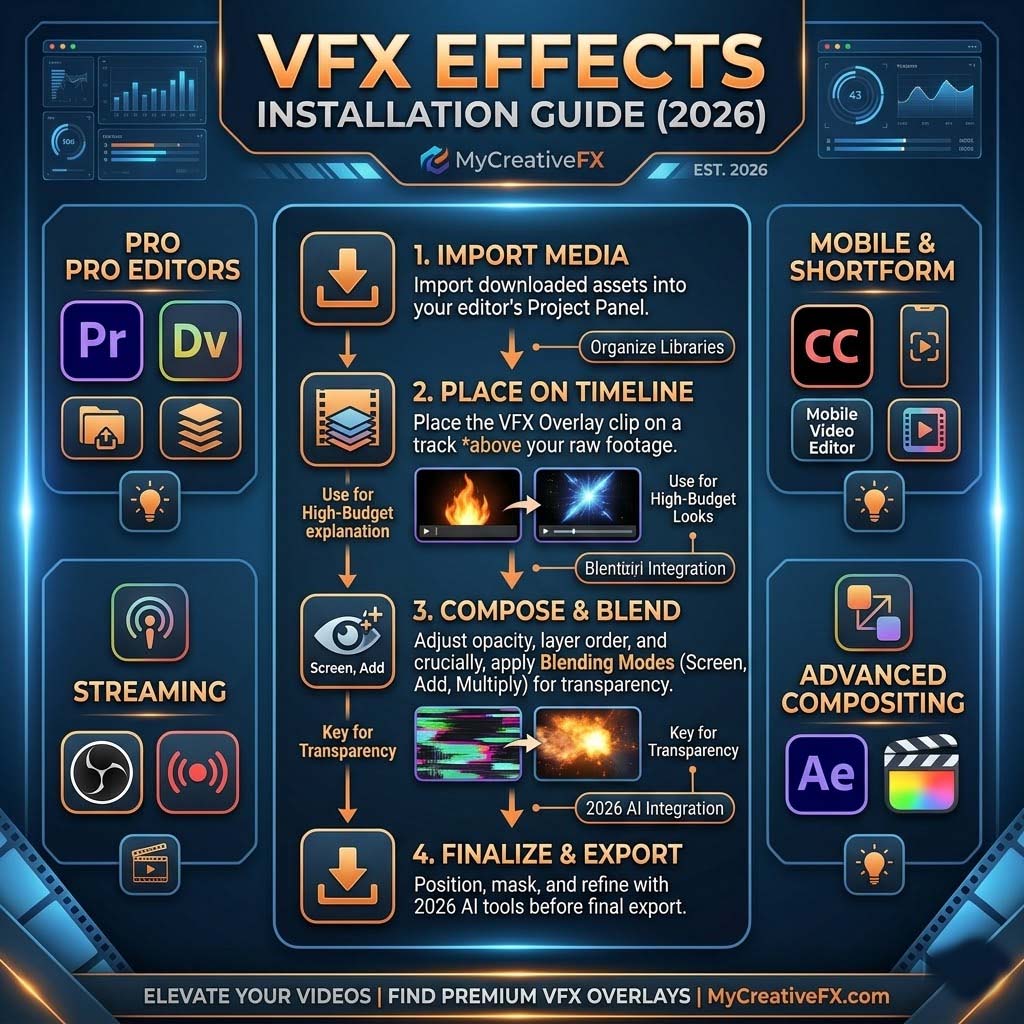
Now let's get the effect into Premiere Pro so you can use it.
- Open your Premiere Pro project
- In the Project panel (bottom-left), click the folder icon to create a new "Effects" bin
Creating an Effects Bin[Screenshot: Right-click in Project panel → New Bin → Name it "VFX Effects"]
- Right-click inside your new VFX Effects bin and select "Import Media"
- Navigate to your effect file (e.g.,
fire-explosion-burst.mov) - Select the file and click "Import"
- The effect now appears in your Project bin — you can use it unlimited times in this project
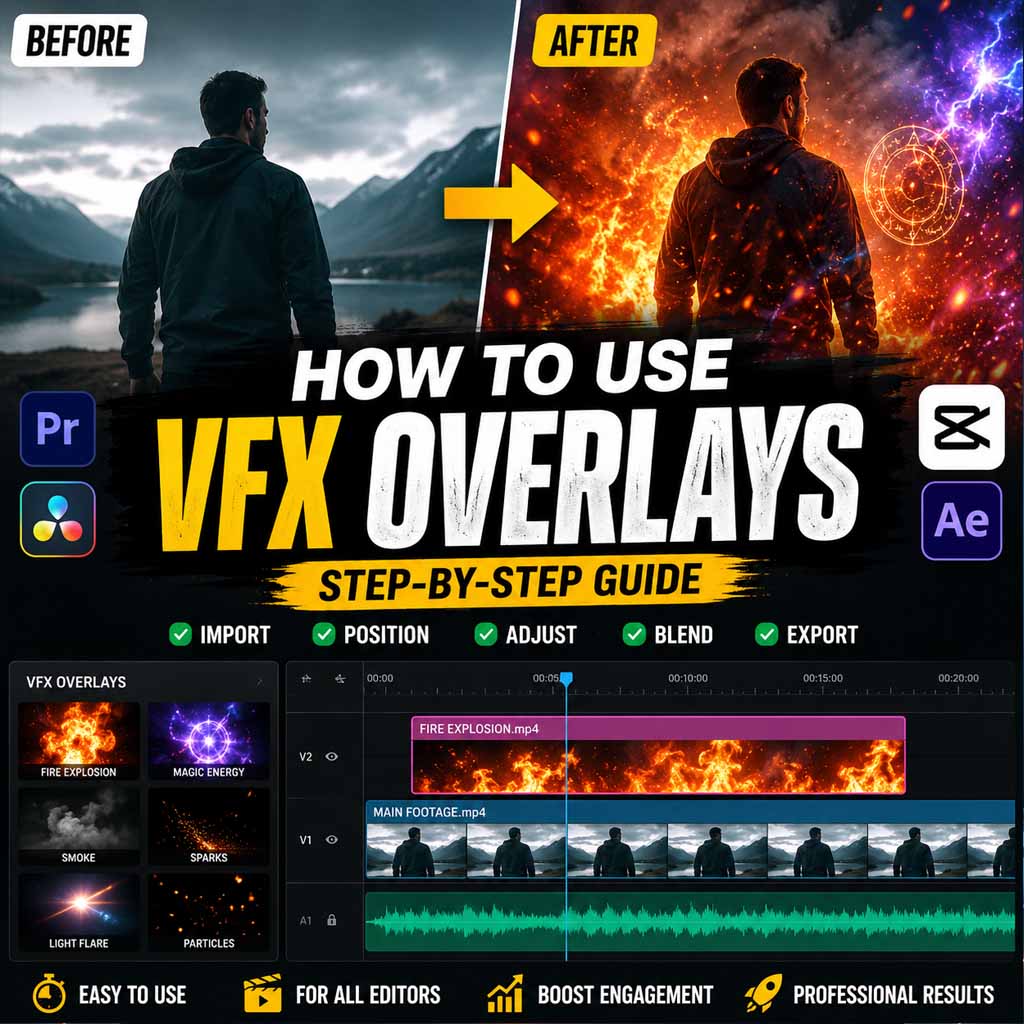
This is the fun part—let's actually use the effect in your video.
- In your Timeline, place your video clip where you want the effect
- In the Project panel, find your imported effect (in the VFX Effects bin)
- Drag the effect onto your video clip in the Timeline
Dragging Effect to Timeline[Screenshot: Drag fire effect from Project bin onto video clip in Timeline]
- The effect appears on top of your video instantly!
- Press
spacebarto play and preview (or click the Play button)
Once applied, you can customize the effect to match your video perfectly.
- Adjust Duration: Click the effect in the Timeline and drag the edges to make it shorter or longer
- Change Position: In the Preview window, click and drag the effect to move it around your frame
- Adjust Scale: Open the Effect Controls panel (Window > Effect Controls). Adjust "Scale" to make the effect bigger or smaller
- Change Opacity: Lower the opacity slider to make the effect more transparent (useful if it's too intense)
- Adjust Color: Some effects have color controls. Adjust these to match your video's color grading
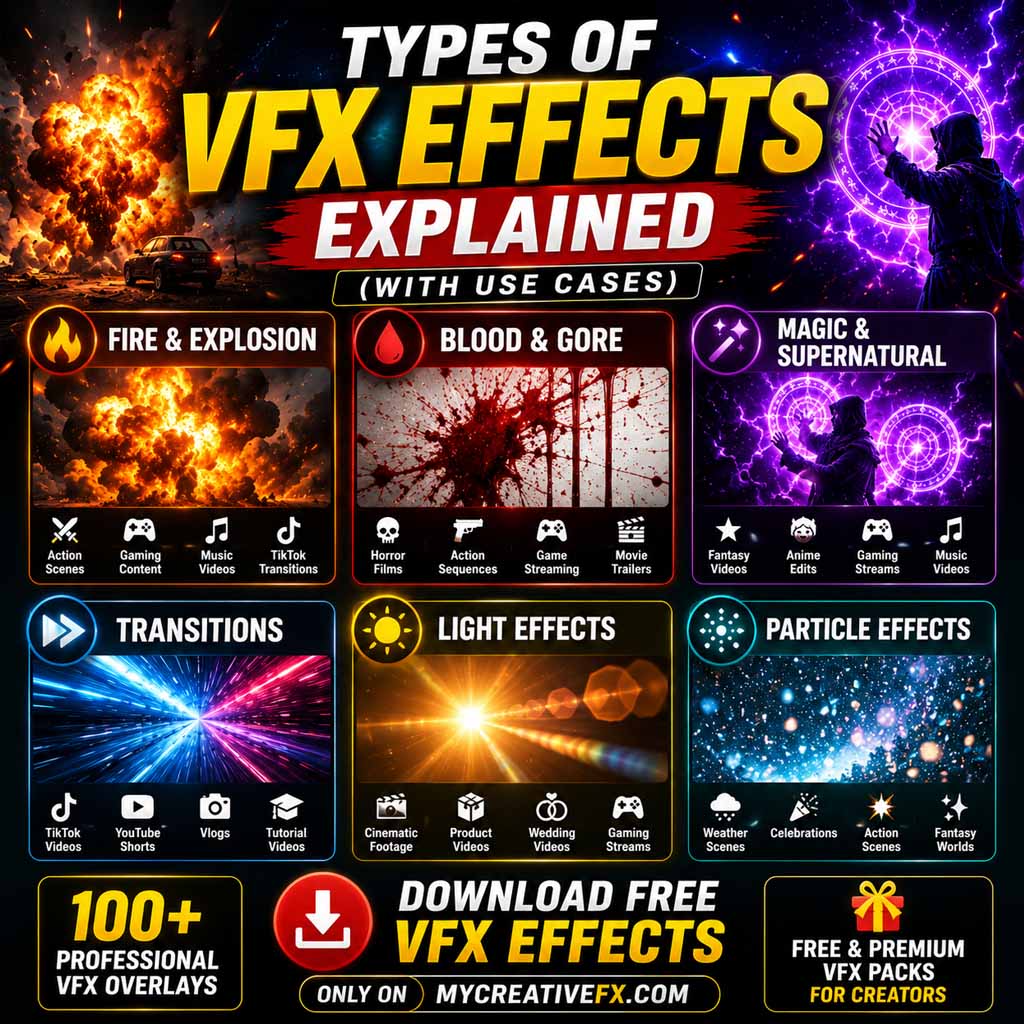
Top 10 MyCreativeFX Effects for Premiere Pro
Not sure where to start? Here are the 10 most popular MyCreativeFX effects that work perfectly in Premiere Pro.
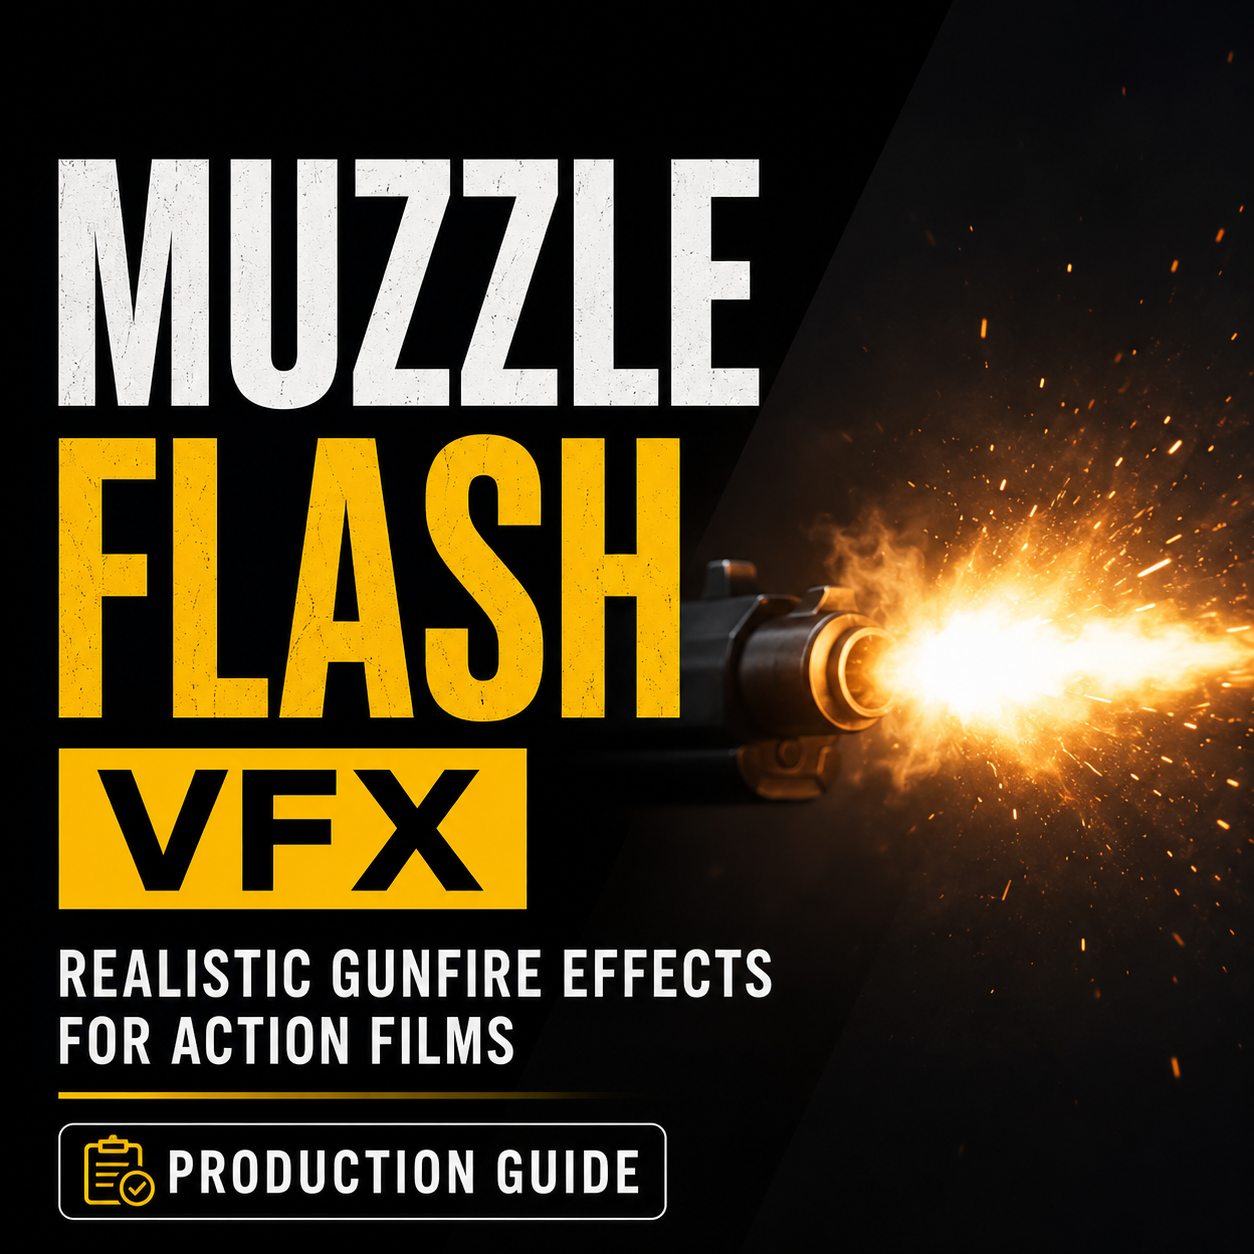
1. Fire Explosion Burst
Epic 4K explosion perfect for action scenes, intros, and dramatic moments.
2. Cinematic Light Leak
Professional light leak effect for transitions and mood enhancement.
3. Glitch Digital
VHS/digital glitch for sci-fi, horror, or modern edits.
4. Rain Storm
Realistic rain overlay for cinematic atmosphere.
5. Smoke Plume
Dense smoke for action, mystery, or transition scenes.
6. Lens Flare 4K
Subtle lens flare for professional, cinematic look.
7. Lightning Strike
Realistic lightning bolts with adjustable intensity.
8. Magic Spell Burst
Particle spell effect for fantasy, sci-fi, and gaming content.
9. Transition Zoom Burst
Dynamic transition effect to move between clips.
10. Color Grade LUT
Professional color grading look-up table for cinematic color.
Pro Tips: Master VFX in Premiere Pro
1. Use Multiple Effect Layers
Don't be afraid to stack effects. A fire explosion looks even better with smoke on top of it. Add a light leak, then a glitch. Layer effects for complex, professional-looking sequences.
2. Match Color to Your Footage
The best effects look natural in your video. Use Lumetri Color panel to match the effect's color temperature, saturation, and brightness to your main footage.
3. Sync Audio with VFX
A fire explosion without a sound effect feels weak. Add impact sounds from MyCreativeFX SFX library to sync with your visual effects. The result is 10x more powerful.
4. Use Adjustment Layers for Global Effects
Create an Adjustment Layer above all your clips. Apply effects to the adjustment layer instead of individual clips for a consistent look across your whole video.
5. Disable Effects While Editing
Effects slow down playback. While editing, toggle them off by clicking the eye icon in the Timeline. Turn them back on during export for full quality.
Troubleshooting Common Issues
Frequently Asked Questions
Start Using Professional VFX in Premiere Pro Today
Download free, high-quality VFX effects and take your Premiere Pro videos to the next level. No plugins. No learning curve. Just drop-and-apply simplicity.
Download Free VFX Effects Now