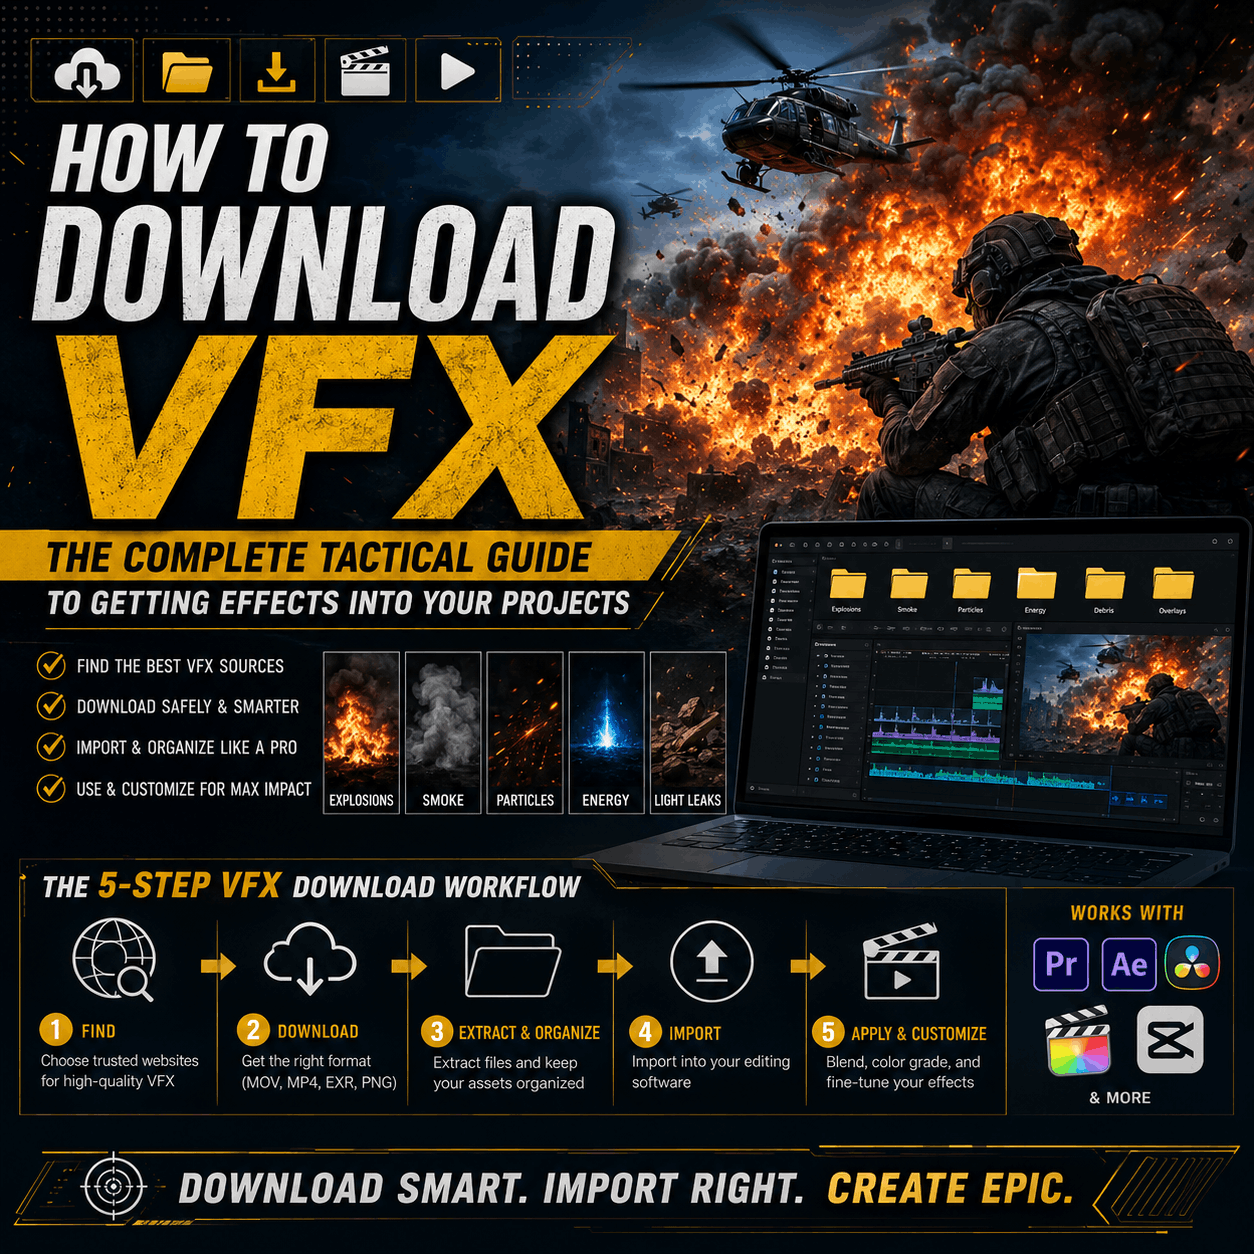
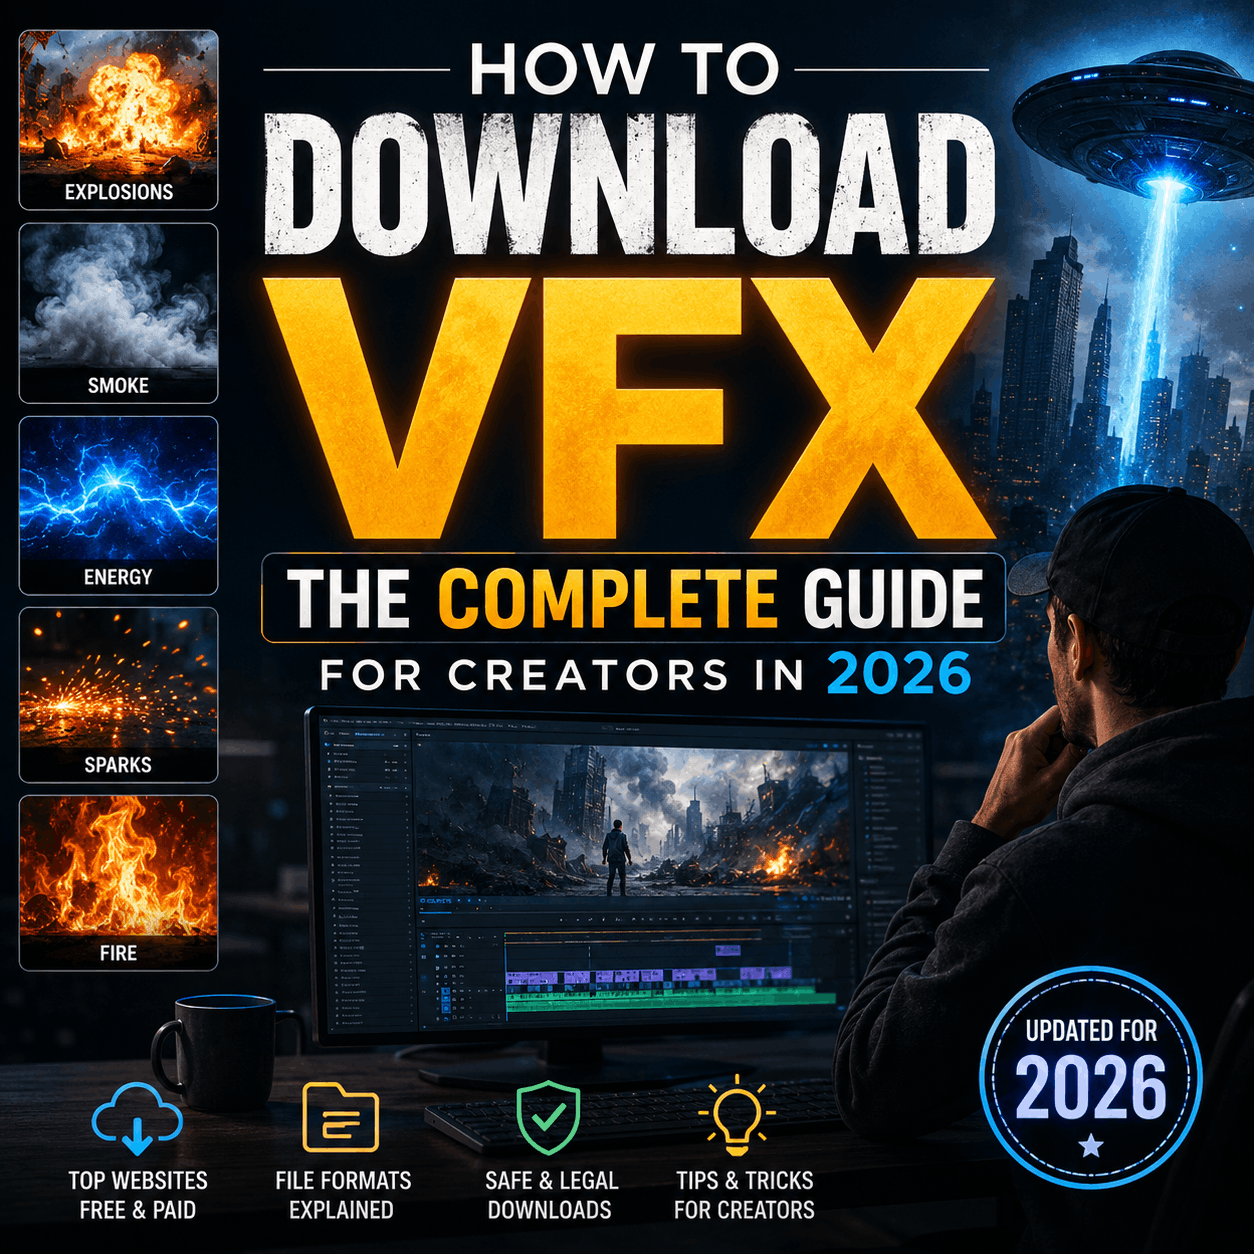
How to Download VFX: The Complete Tactical Guide to Getting Effects Into Your Projects

"I need to download VFX for my project."
Sounds simple. But for creators new to digital effects, it can be confusing:
- Where exactly do I download from?
- What file should I choose?
- How do I get it into my editing software?
- Why doesn't it look right after I download?
- Where's my file now?
This guide is purely practical. No theory—just the step-by-step process to download VFX and have them actually work in your projects.
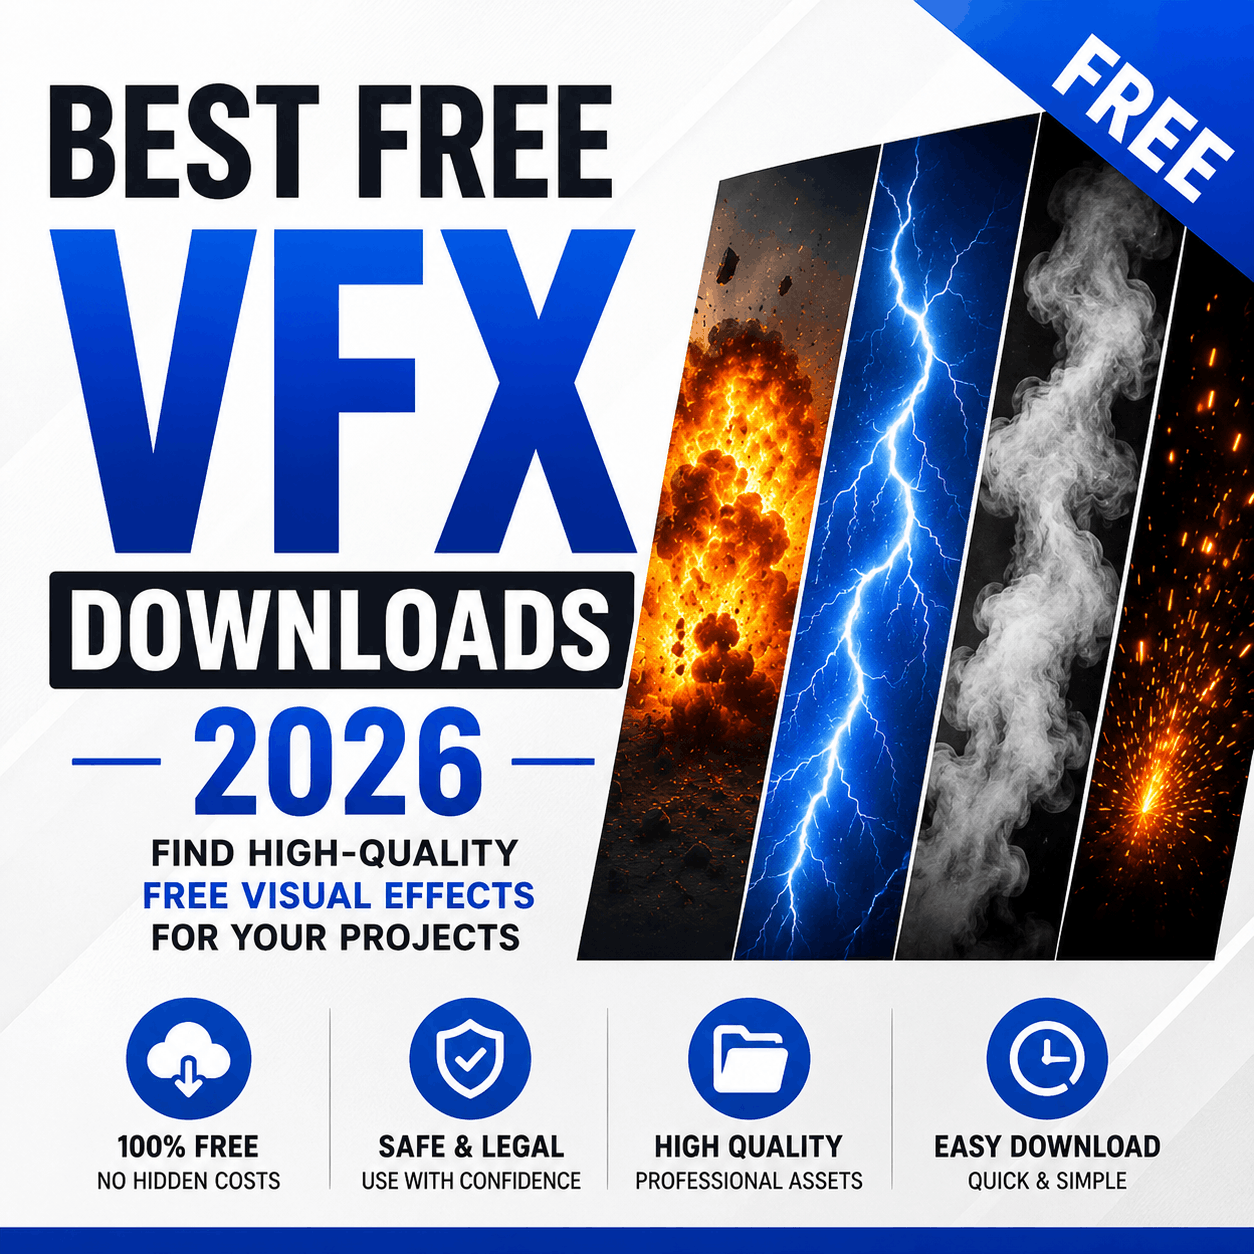
The Fast Path: Download VFX in 5 Minutes
Here's the quick version if you need effects now:
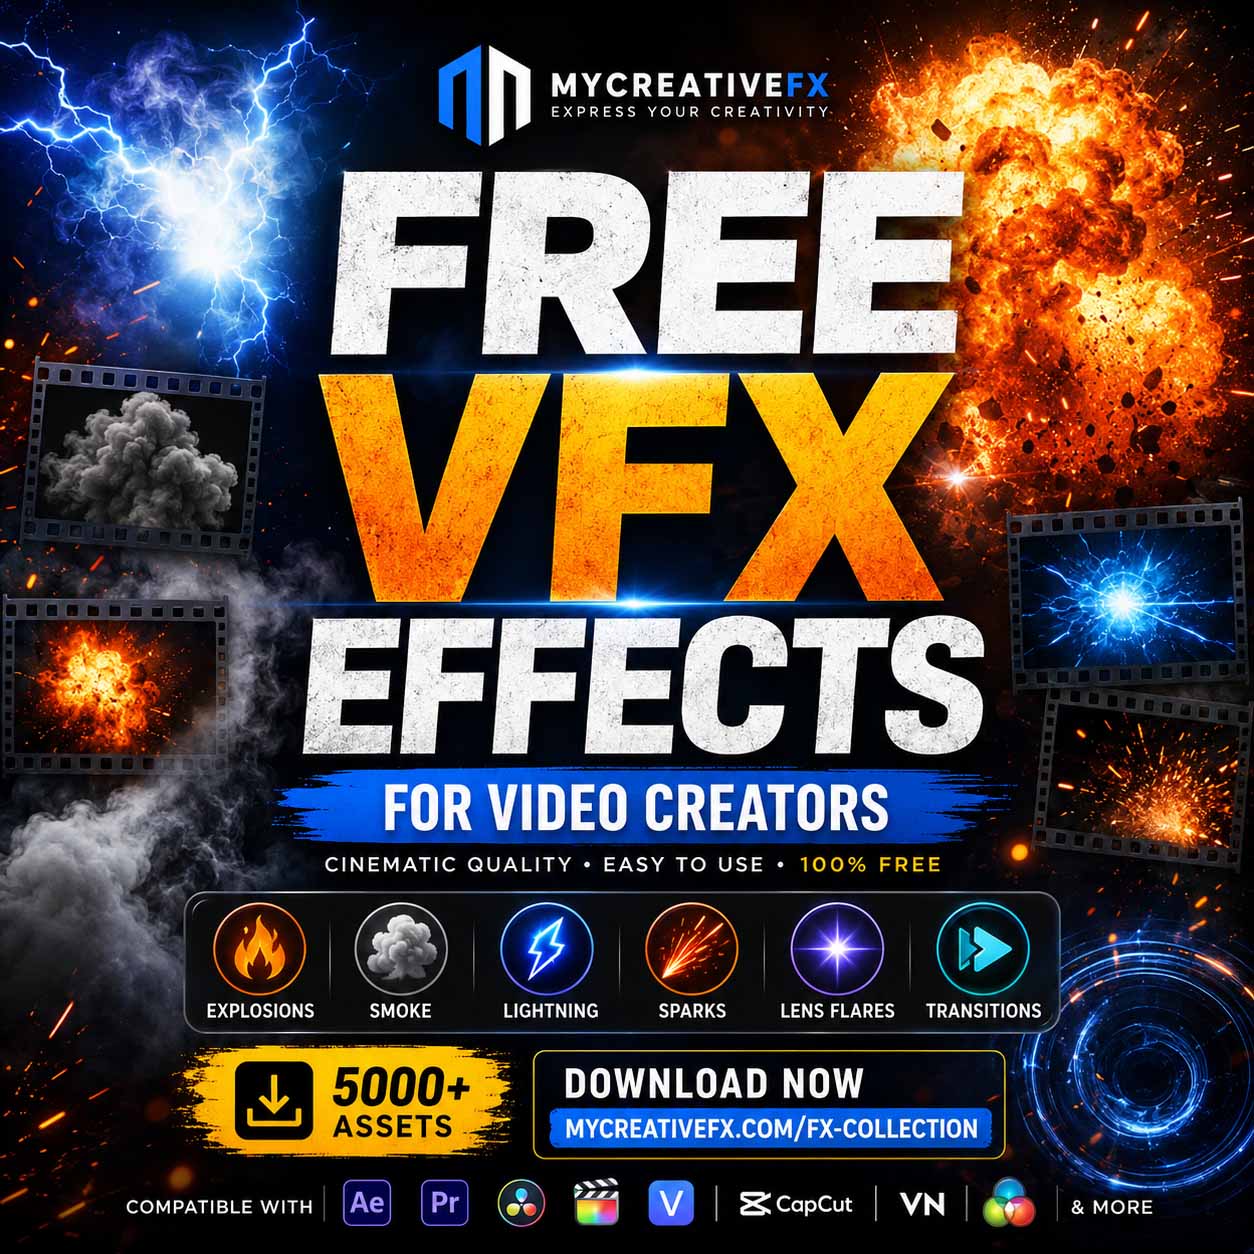
1. Go to MyCreativeFX (mycreativefx.com)
Browse the effect category you need (fire, blood, muzzle flash, etc.)
2. Pick an Effect
Watch the preview video. If it looks good, click "Download."
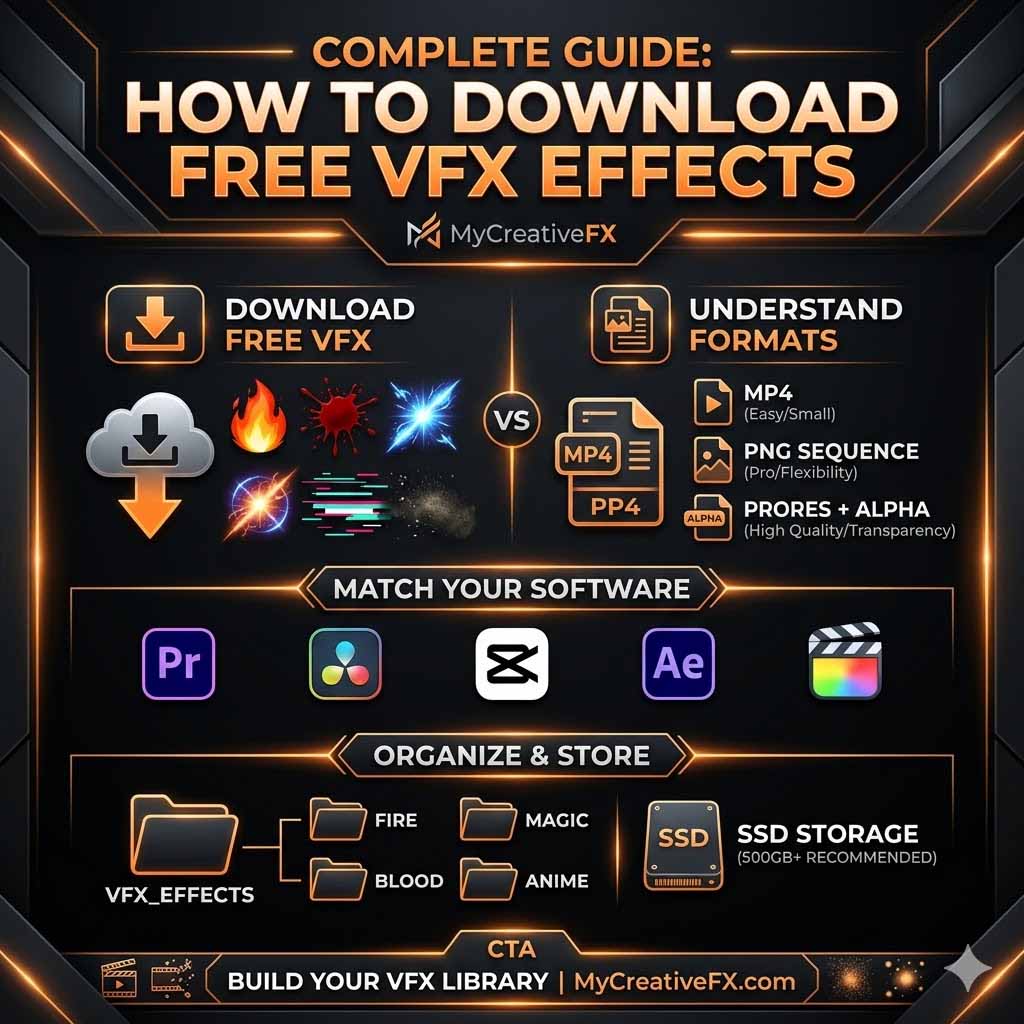
3. Choose Your File Format
- For most editors (Premiere, After Effects, DaVinci): Download the MOV version
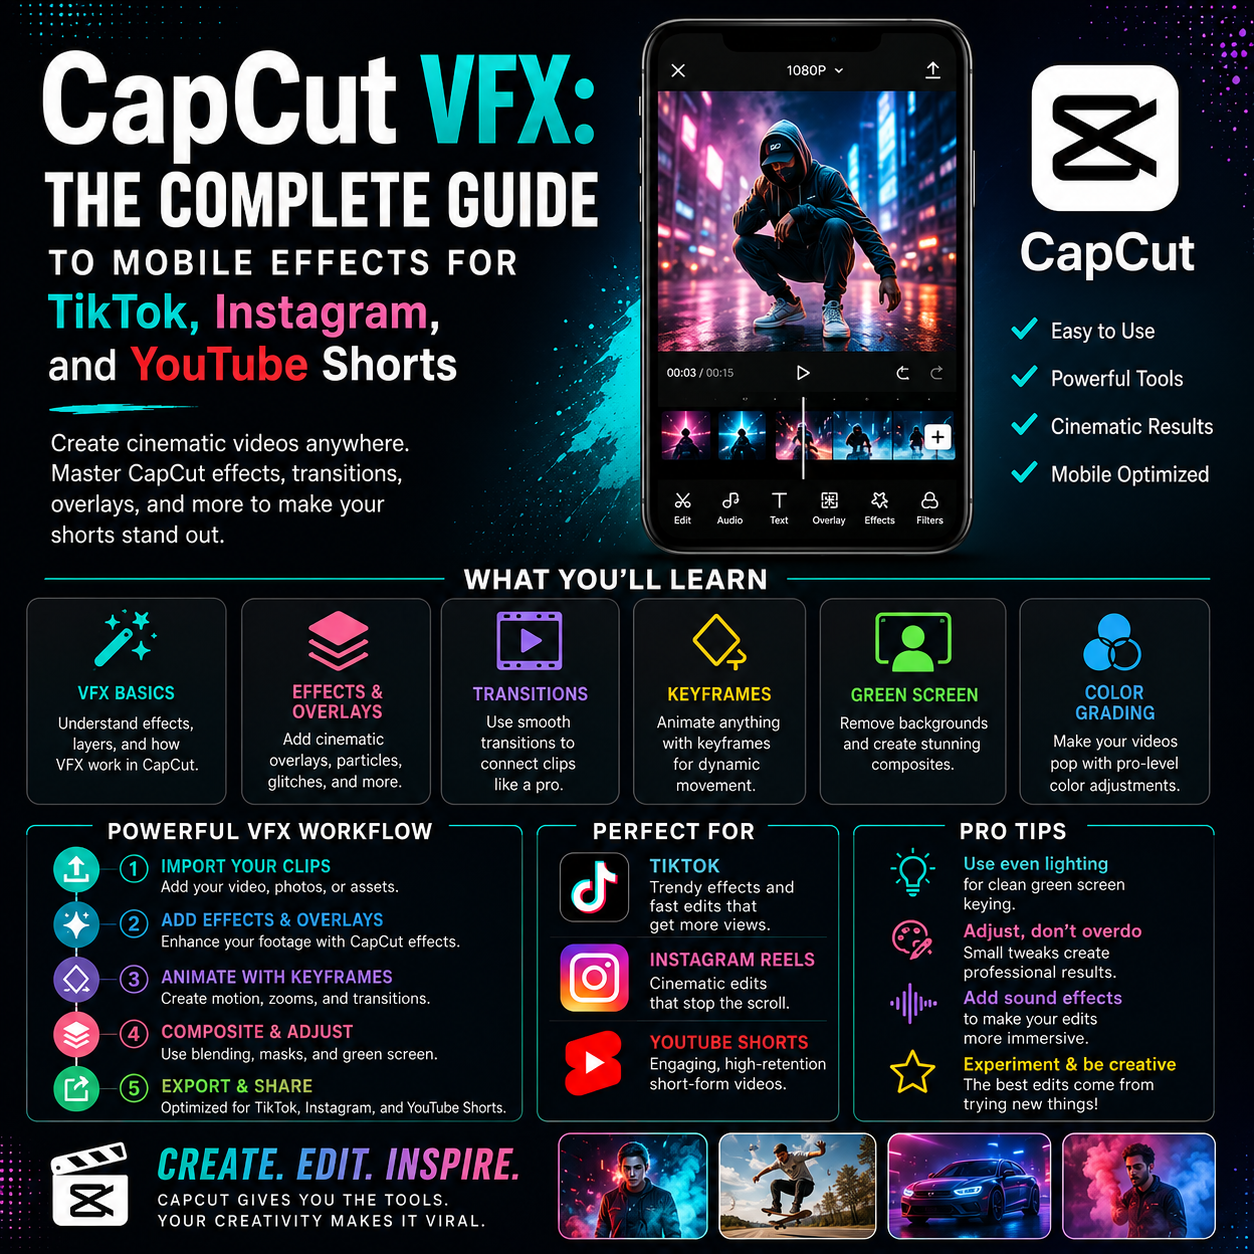
- For mobile (CapCut): Download the CapCut effect
- If file size matters: Download the MP4 version
4. Wait for Download Completion
Check your Downloads folder (or wherever your browser sends files).
5. Import Into Your Project
- Premiere/After Effects: Drag the file into your project panel
- DaVinci Resolve: Drag into the media pool
- CapCut: Use Import > Video Overlay
- Final Cut Pro: Drag into the timeline or import via File menu
Done. Your effect is now in your project.
But—if you're having issues or want to understand the process deeper, keep reading.
The Long Path: Understanding What You're Downloading
Most creators skip this and regret it later. Understanding what you're downloading prevents frustration.
Why File Format Matters
Different file formats serve different purposes:
MOV (QuickTime)
- Industry standard for professional effects
- Supports "alpha channel" (transparency)
- Plays on any editor
- Usually 500MB - 2GB per effect
- Best choice when in doubt
MP4 (MPEG-4)
- Modern, compressed format
- Smaller file size (200MB - 800MB)
- May or may not support transparency (check product description)
- Works on all editors
- Good if storage is limited
PNG Sequence
- Thousands of individual image files (one per frame)
- Maximum flexibility for advanced compositing
- Takes gigabytes of storage
- Only necessary for professional compositing (Nuke, Blender, Fusion)
- Skip unless you know you need it
WebM, AVI, Others
- Less common
- Generally avoid unless you have a specific reason
- WebM is for web delivery (lower quality)
- AVI is outdated but sometimes available
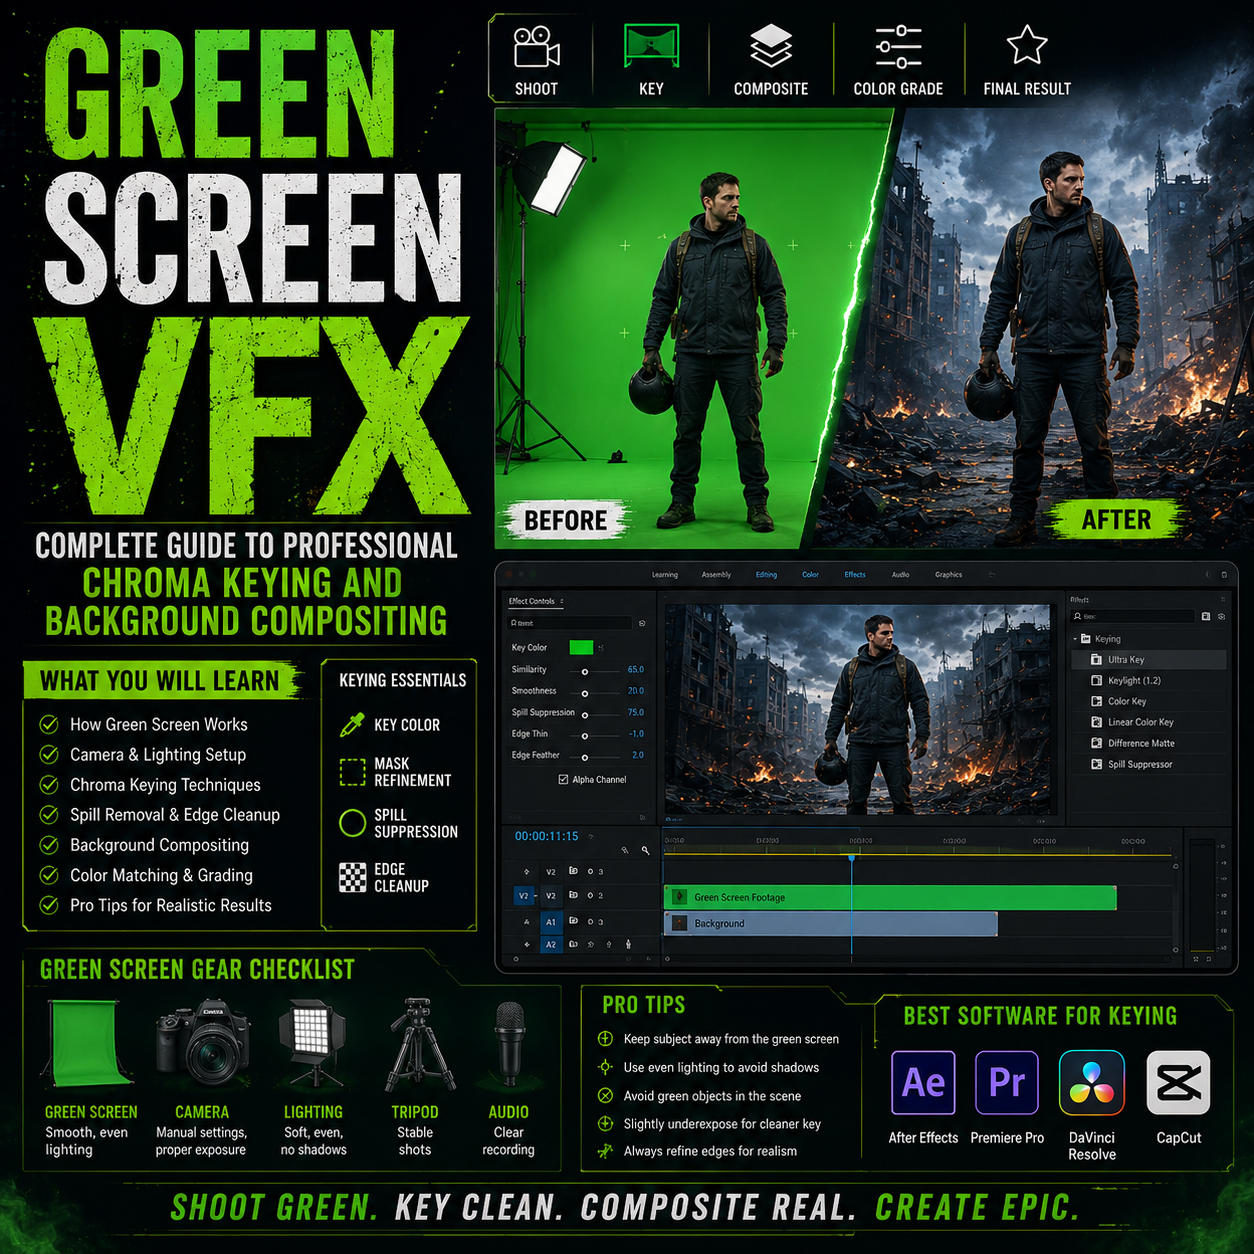
What "Alpha Channel" Means: The alpha channel is transparency data. If an effect has an alpha channel, it can be layered over your footage without the black background showing. This is crucial for VFX.
Example: A fire effect with alpha channel appears as just flames. Without it, you see flames on a black background (unusable without extra work).
Your Safe Bet: If the marketplace offers MOV, download it. MOV files almost always include alpha channels and work everywhere.
Resolution and Frame Rate Explained
Resolution:
- 1080p: Full HD, smallest file, works for most uses
- 2K/4K: High definition, larger files, better for cinema/broadcast
- 8K: Rare, very large files, unnecessary for most creators
Choose based on your project: YouTube? 1080p is fine. Film festival? 4K recommended.
Frame Rate (fps):
- 24fps: Film standard
- 30fps: Common video standard
- 60fps: Slow-motion, high-speed work
- 120fps, 240fps: Extreme slow motion
Your footage frame rate and the effect frame rate should match. If you're editing a 30fps YouTube video, download effects in 30fps or higher.
When unsure: Download 60fps effects (they work at any frame rate via interpolation).
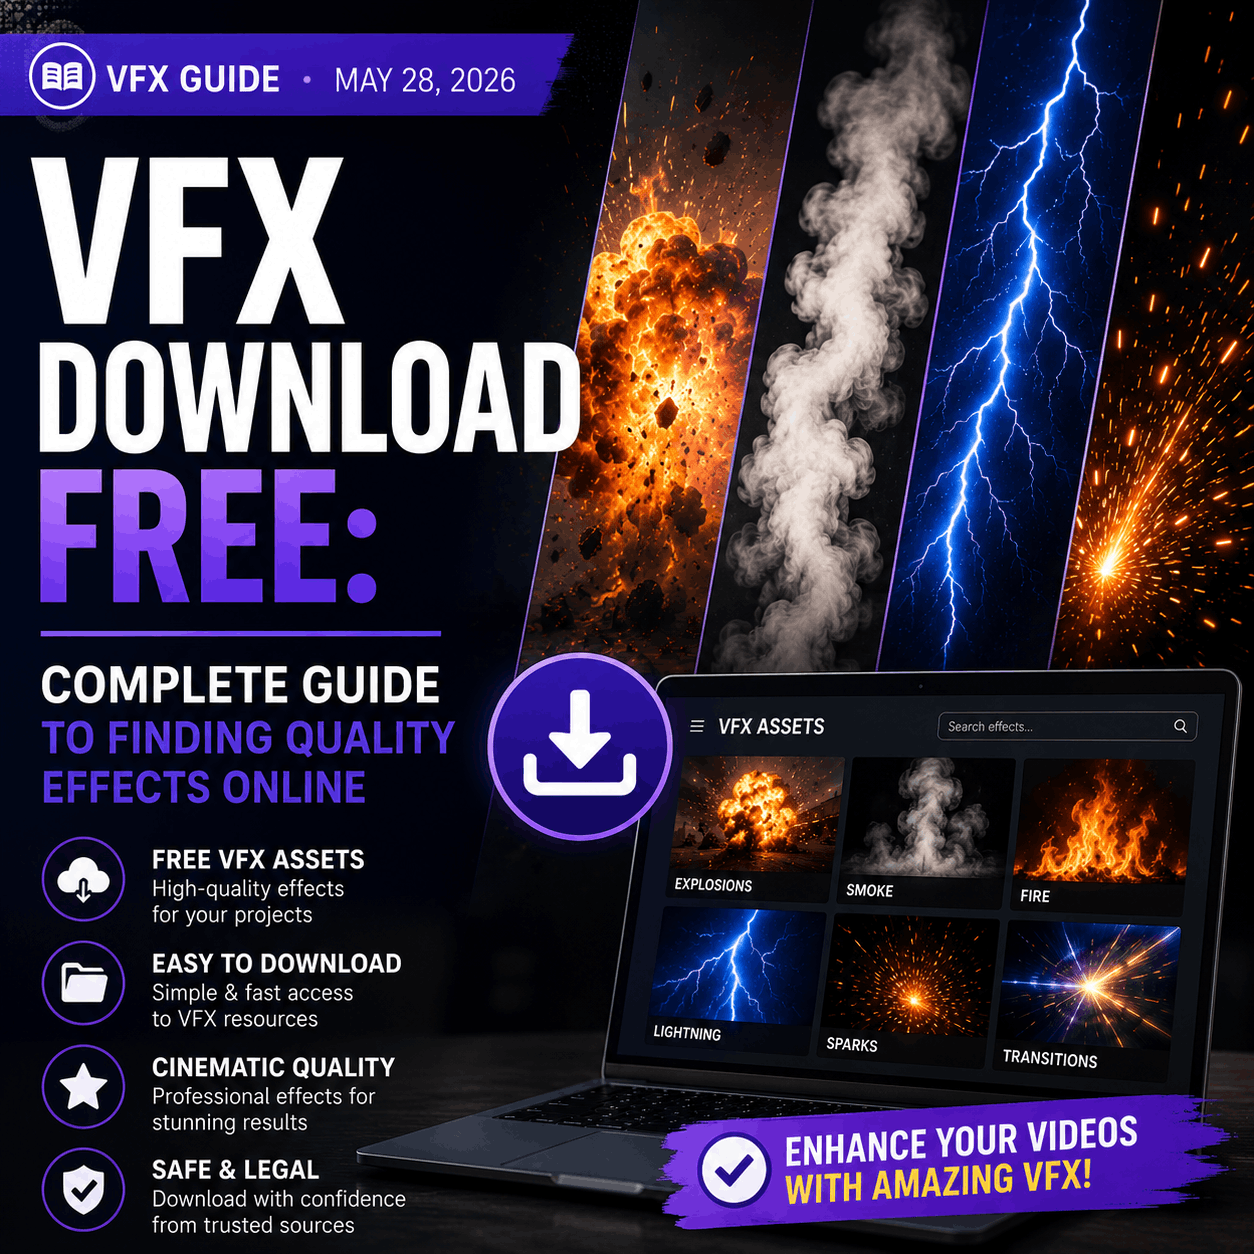
Step 1: Find Where to Download VFX
You have multiple options. Each has pros and cons.
Option A: Specialized VFX Marketplaces (Recommended)
MyCreativeFX (mycreativefx.com)
- Pros: Curated selection, high quality, clear compatibility info, mobile VFX
- Cons: Smaller library than some competitors
- Best for: Quick finds, mobile effects, organized browsing
- Process: Browse → Click effect → Watch preview → Click Download → Choose format
ActionVFX (actionvfx.com)
- Pros: Massive free library, well-organized
- Cons: Overwhelming selection, slow website sometimes
- Best for: Fire, smoke, explosions
- Process: Search effect type → Browse results → Click download → Get file
MotionArray (motionarray.com)
- Pros: Subscription gives unlimited downloads
- Cons: Monthly/annual cost ($29.99/month or $199/year)
- Best for: Heavy users who download frequently
- Process: Subscription → Search → Download → Get file
VideoHive (videohive.net)
- Pros: High-quality premium effects
- Cons: Per-effect cost ($5-50+)
- Best for: Professional work, specific effects
- Process: Search → Purchase → Download → Get file
Shutterstock (shutterstock.com)
- Pros: Premium content, integrated platform
- Cons: Subscription required ($99-249/month)
- Best for: Massive library access
- Process: Subscription → Search → Download → Get file
Free Alternatives:
- Pixabay Videos, Pexels, Mixkit: Free but limited VFX selection
- YouTube tutorials: Often include downloadable effects
- Reddit: r/vfx community shares resources
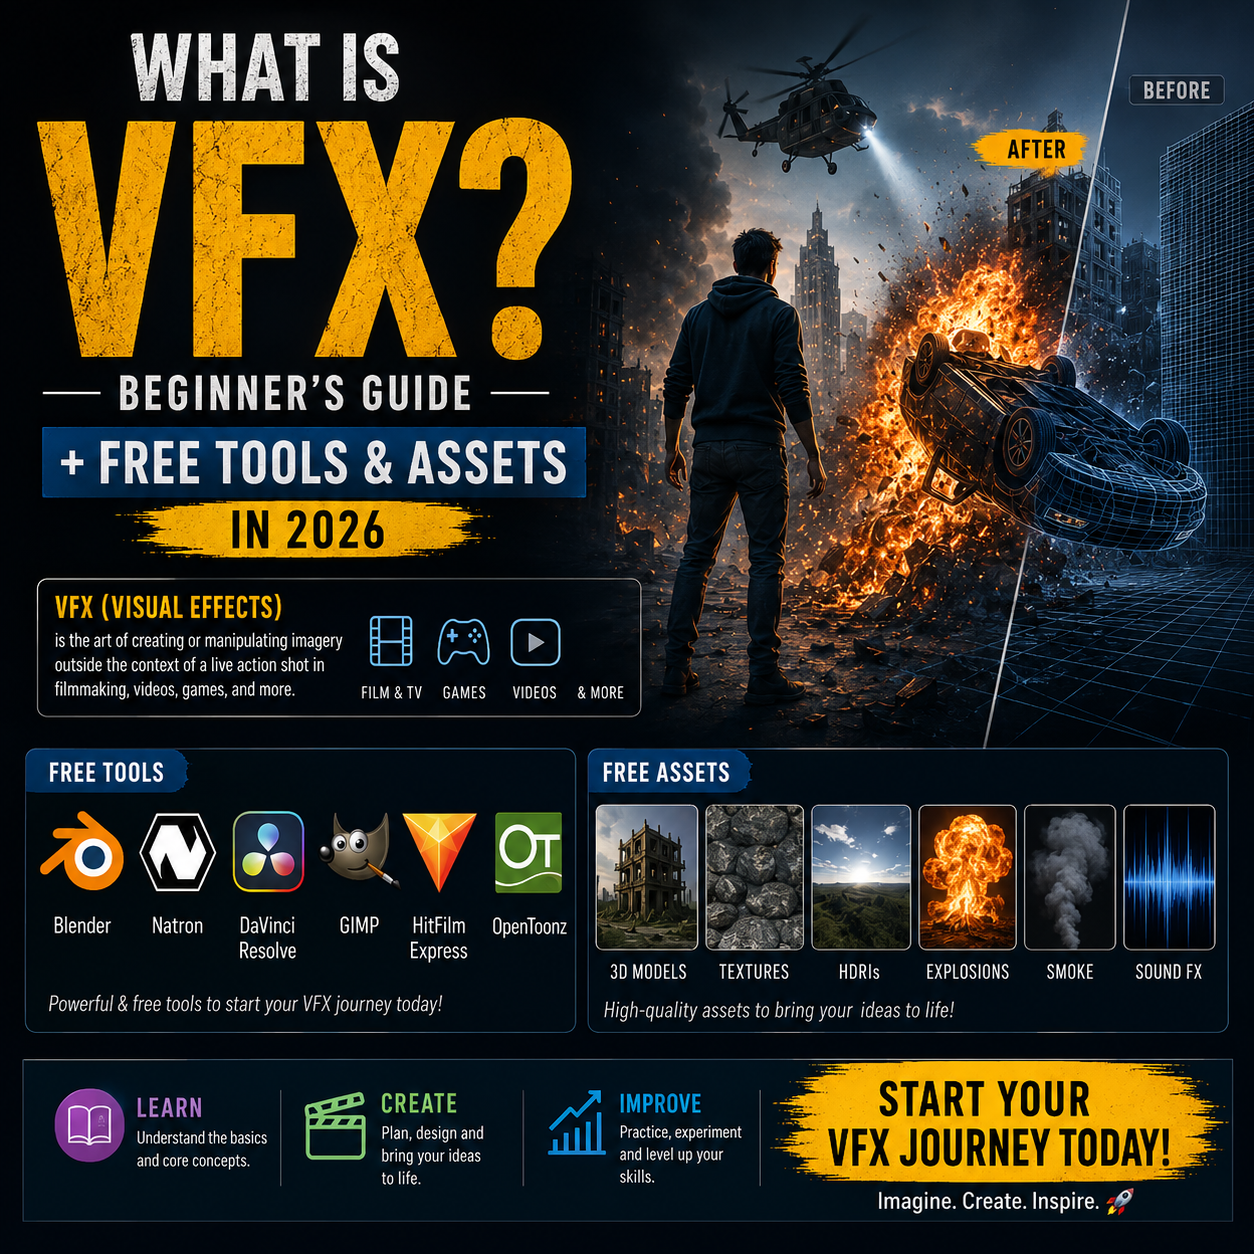
Option B: Open-Source and Community Downloads
Blender (blender.org)
- Free 3D software with built-in effects
- Render your own VFX (more control, longer process)
- Access free .blend files from BlenderKit
GitHub
- Search "free VFX" or "after effects packs"
- Community-shared effects (quality varies)
- Often free but unsupported
Reddit Communities
- r/vfx, r/aftereffects, r/videography
- Pinned resources with download links
- Community recommendations
Step 2: Navigate the Download Page
Once you've found an effect, here's what to do:
At MyCreativeFX or Similar Marketplace:
-
Watch the preview video
- Full-screen if possible
- Mute and watch how the effect moves
- Does it match your vision?
- Does the color/style fit your project?
-
Read the product description
- File formats offered
- Resolution options
- Frame rate available
- Licensing information
- Software compatibility
-
Check the requirements section
- Does it work with your editing software?
- Any plugin dependencies?
- Minimum software version?
-
Scroll down for reviews
- How many stars?
- What do other users say?
- Any known issues?
-
Select your options
- Format: MOV (safest choice)
- Resolution: Match or exceed your project
- If options exist, choose them now
-
Click Download
- Some sites require sign-up first (free accounts usually)
- Browser will either download immediately or ask where to save
- Download begins
Step 3: Monitor and Complete the Download
This is where many creators run into issues.
During Download:
Check Your Browser's Download Indicator
- Look for the download icon (↓) in your browser toolbar
- Click it to see download progress
- Don't close the browser until complete
- Check the speed and estimated time
Common Issues During Download:
"Download is stuck or very slow"
- Wait 30 seconds; sometimes it's just buffering
- Check your internet speed (speedtest.net)
- If consistently slow, try a wired connection or different time of day
- Consider restarting your router
"Download keeps pausing"
- Power saving settings may be pausing downloads
- Disable power saving mode temporarily
- Try a different browser
"Browser crashed before download finished"
- Use a download manager (e.g., Internet Download Manager)
- These tools can resume interrupted downloads
- Most are $10-30 one-time purchase
After Download Starts:
Note the file size:
- If downloading a 2GB MOV file, expect 10-30 minutes on average internet
- A 500MB MP4 should take 2-5 minutes
- If your browser shows a time estimate, it's usually accurate (±20%)
Don't interrupt the download:
- Don't shut down your computer
- Don't close the browser (unless it pauses downloads—check your browser settings)
- Don't unplug your ethernet (if wired)
Where is it saving?
- Default is usually the Downloads folder (~/Downloads on Mac, C:\Users\YourName\Downloads on Windows)
- If you need to change location, check browser download settings before downloading
- Most browsers will ask "where to save" if this is your first download of a file type
Step 4: Verify the Downloaded File
Once download completes:
Check File Size Matches
Go to your Downloads folder and find the file:
- Mac: Open Finder → Click Downloads
- Windows: Open File Explorer → Click Downloads
Right-click the file and select "Get Info" (Mac) or "Properties" (Windows).
Verify:
- File size roughly matches what was listed
- (Allow 5-10% variance due to compression differences)
- If it's significantly smaller, the download may have been incomplete—delete and re-download
Verify File Type
Check the file extension (the 3-4 letters after the period):
- Should be .mov, .mp4, .mkv, etc.
- Not .zip, .rar, or other archive format (unless that's what you intended)
- If it's an archive, you need to unzip/extract it first
Try Opening the File
Double-click the file:
- It should open in your default video player
- Should play without errors
- Audio is optional (most VFX are silent)
- The video will likely show a black background—this is normal if you're viewing the file outside your editor (the black represents transparency)
If it won't open:
- Download corrupted; delete and re-download
- Your computer lacks the codec to play it (not a problem—your editor can still use it)
Step 5: Organize Your Downloads
Before importing into projects, organize your files.
Why Organization Matters:
- Prevents losing files
- Makes finding effects quick
- Prevents downloading duplicates
- Creates a professional library
Folder Structure (Copy This):
Create this structure on your computer:
VFX_Library/
├── Free_VFX/
│   ├── Fire_&_Explosions/
│   │   └── [Downloaded files here]
│   ├── Muzzle_Flash/
│   │   └── [Downloaded files here]
│   ├── Blood_Impact/
│   │   └── [Downloaded files here]
│   ├── Smoke_Fog/
│   │   └── [Downloaded files here]
│   ├── Transitions/
│   │   └── [Downloaded files here]
│   └── Green_Screen/
│       └── [Downloaded files here]
├── Paid_VFX/
│   ├── [Subscription_Packs]/
│   └── [Premium_Packs]/
├── CapCut_Mobile/
│   ├── Transitions/
│   ├── Effects/
│   └── Filters/
└── Project_Specific/
    ├── [Project_Name_1]/
    └── [Project_Name_2]/
Moving Downloaded Files:
- Find your Downloads folder (see Step 4 above)
- Locate the VFX file you just downloaded
- Do NOT delete the file yet
- Copy (Ctrl+C on Windows, Cmd+C on Mac)
- Navigate to your VFX_Library folder structure
- Paste into the appropriate subfolder (Ctrl+V or Cmd+V)
- You now have a copy in two places (good—keeps a backup in Downloads)
Optional: Rename for Clarity
If the filename is confusing:
- Right-click → Rename
- Give it a clear name (e.g., "Fire_Cinematic_Orange.mov" instead of "FX_Pack_27_V3.mov")
- Make notes about what it includes
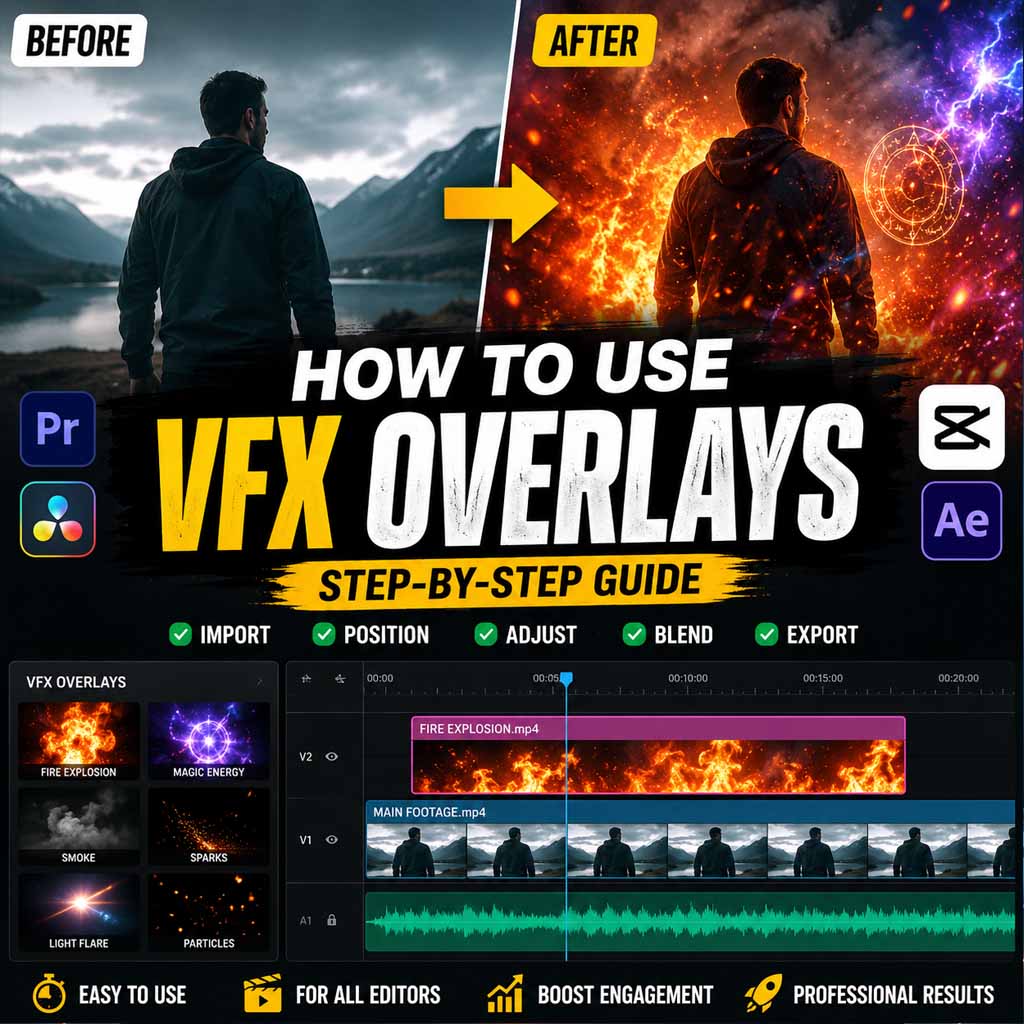
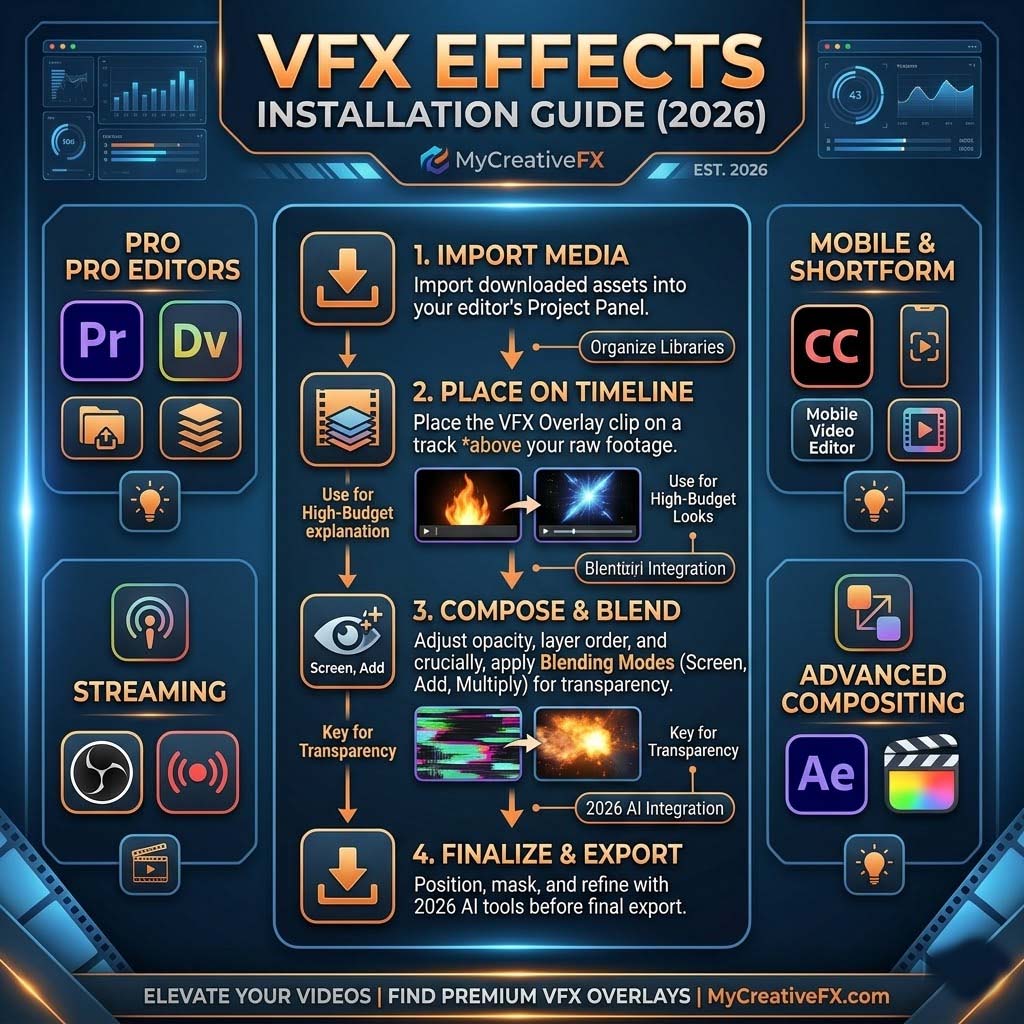
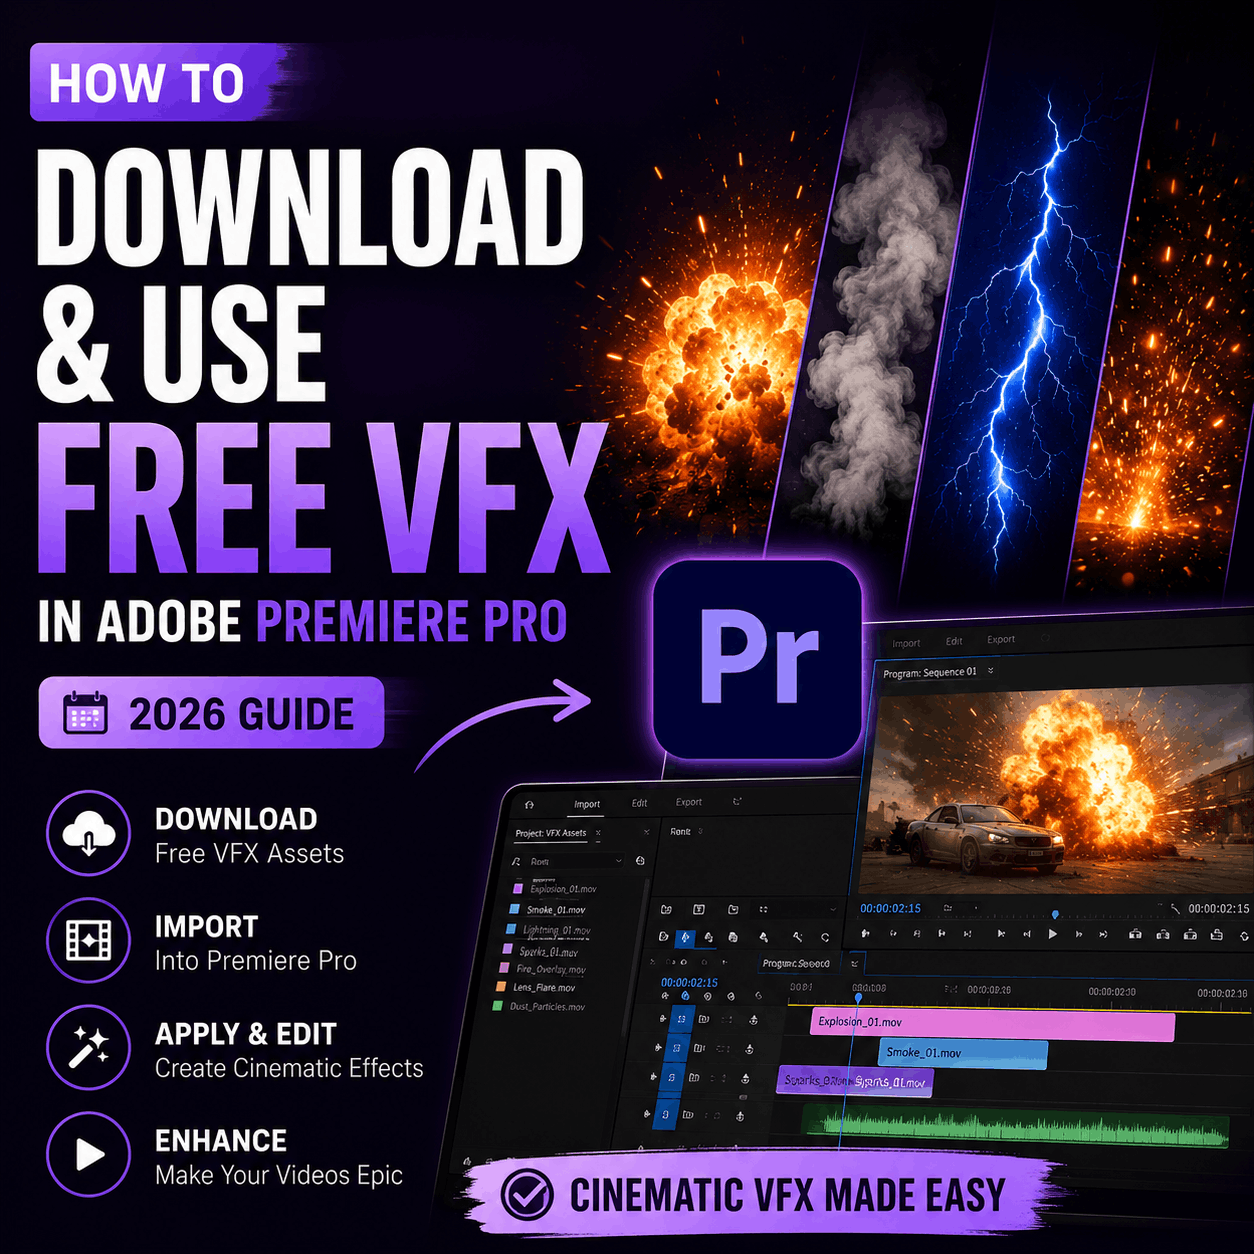
Step 6: Import VFX Into Your Editing Software
Now the effect is organized and ready. Time to use it.
In Adobe Premiere Pro:
- Open your project
- Window menu → Project (opens Project panel if not visible)
- Drag the VFX file from your folder directly into the Project panel
- It now appears in your Project panel
- To use it: Drag from Project panel onto your timeline
In After Effects:
- File → Import → File
- Navigate to your VFX file
- Select it and click Open
- Drag to your composition timeline
- Position and scale as needed
In DaVinci Resolve:
- Media Pool (left panel) → Click the folder icon
- Browse to your VFX file
- Select and import
- Drag from Media Pool to your timeline
- Adjust position and size
In CapCut (Mobile):
- Create a new project
- Import your base video
- Tap "Overlay" or "Effects" (depending on your effect type)
- Tap "+" to add
- Select "Video Overlay" if importing a video file
- Browse and select your VFX file
- Adjust position, scale, opacity as needed
In Final Cut Pro:
- Open your project
- File → Import → Media
- Select your VFX file
- Click Import
- Drag to timeline
- Adjust in inspector panel
Step 7: Troubleshoot Common Import Issues
"File won't import"
Possible causes:
- Software doesn't support the file format
- Codec is incompatible (rare but possible)
- File is corrupted
Solutions:
- Try the MP4 version instead of MOV
- Open the file in a different editor first (to verify it works)
- Try converting the file (free tools: Handbrake, FFmpeg)
"Effect imports but shows black background"
This is actually normal and correct. The transparency (alpha channel) is working. To see it properly:
In Premiere/After Effects:
- Place the effect on a track above your footage
- Set the blend mode to "Screen," "Add," or "Lighten"
- Adjust opacity as needed
In DaVinci Resolve:
- Same principle: Place above footage
- Adjust blend mode and opacity
"Effect is way too big / too small"
Solution:
- Select the effect clip
- Use the scale/size controls in your editor
- Resize to fit your composition/frame
"Effect is in the wrong position"
Solution:
- Click and drag the effect to reposition
- Most editors show position/coordinates in an inspector panel
- Fine-tune numerically if precise positioning needed
"Effect plays too fast / too slow"
Possible issue:
- You downloaded 60fps effect but your project is 24fps
- Editor is trying to fit the clip to your timeline
Solutions:
- Check your project frame rate (Project → Project Settings)
- Re-download the effect at your project's frame rate if available
- Or let the editor handle frame rate conversion (usually automatic)
"I can't find my imported file in the timeline"
Possibilities:
- It's there but off-frame (scroll the timeline)
- It's hidden behind another clip
- It's on the wrong track
- It imported to a different location than expected
Solutions:
- Check all tracks (scroll up and down)
- Click on different layers to select them
- Use the zoom out to see the full timeline
Advanced: Batch Download Multiple VFX
If you need several effects:
1. Make a List
Write down exactly what you need:
- 3 fire effects
- 2 blood spatters
- 1 muzzle flash set
- 5 CapCut transitions
2. Find All on Your Marketplace
Open separate browser tabs for each:
- Tab 1: Fire effect #1
- Tab 2: Fire effect #2
- Etc.
3. Download All Simultaneously
- Click download on each tab
- They'll all queue and download in parallel (faster than sequential)
- Monitoring one download progress window is enough
4. Verify and Organize All At Once
- Check Downloads folder after all complete
- Move all to appropriate subfolders at once
- Takes 15 minutes total
5. Import to Project
- Add all to your editor's project at once
- Much faster than individual imports
Using Downloaded VFX Professionally
For Social Media:
YouTube, TikTok, Instagram—downloaded free VFX are perfectly acceptable:
- Audiences expect dynamic effects
- Quality of storytelling matters more than effect quality
- Downloaded packs are reliable and look good
- Saves production time
For Client Work:
Only if:
- License permits commercial use
- You're confident in quality
- Effect is subtle enough that imperfections don't matter
- You've tested it thoroughly
Better practice: Use downloaded effects as placeholders during editing, then swap with premium assets before final delivery.
For Personal/Portfolio Projects:
Downloaded VFX are perfectly fine:
- Demonstrates your editing skills
- Shows creative decisions
- Establishes your style
Just cite the source if sharing (most licenses require attribution).
Where to Download Specific Effects
- Best source: MyCreativeFX Free Fire Packs
- Format: Download MOV
- Resolution: 4K for cinema, 1080p for web
- Frame rate: 60fps (works at any rate)
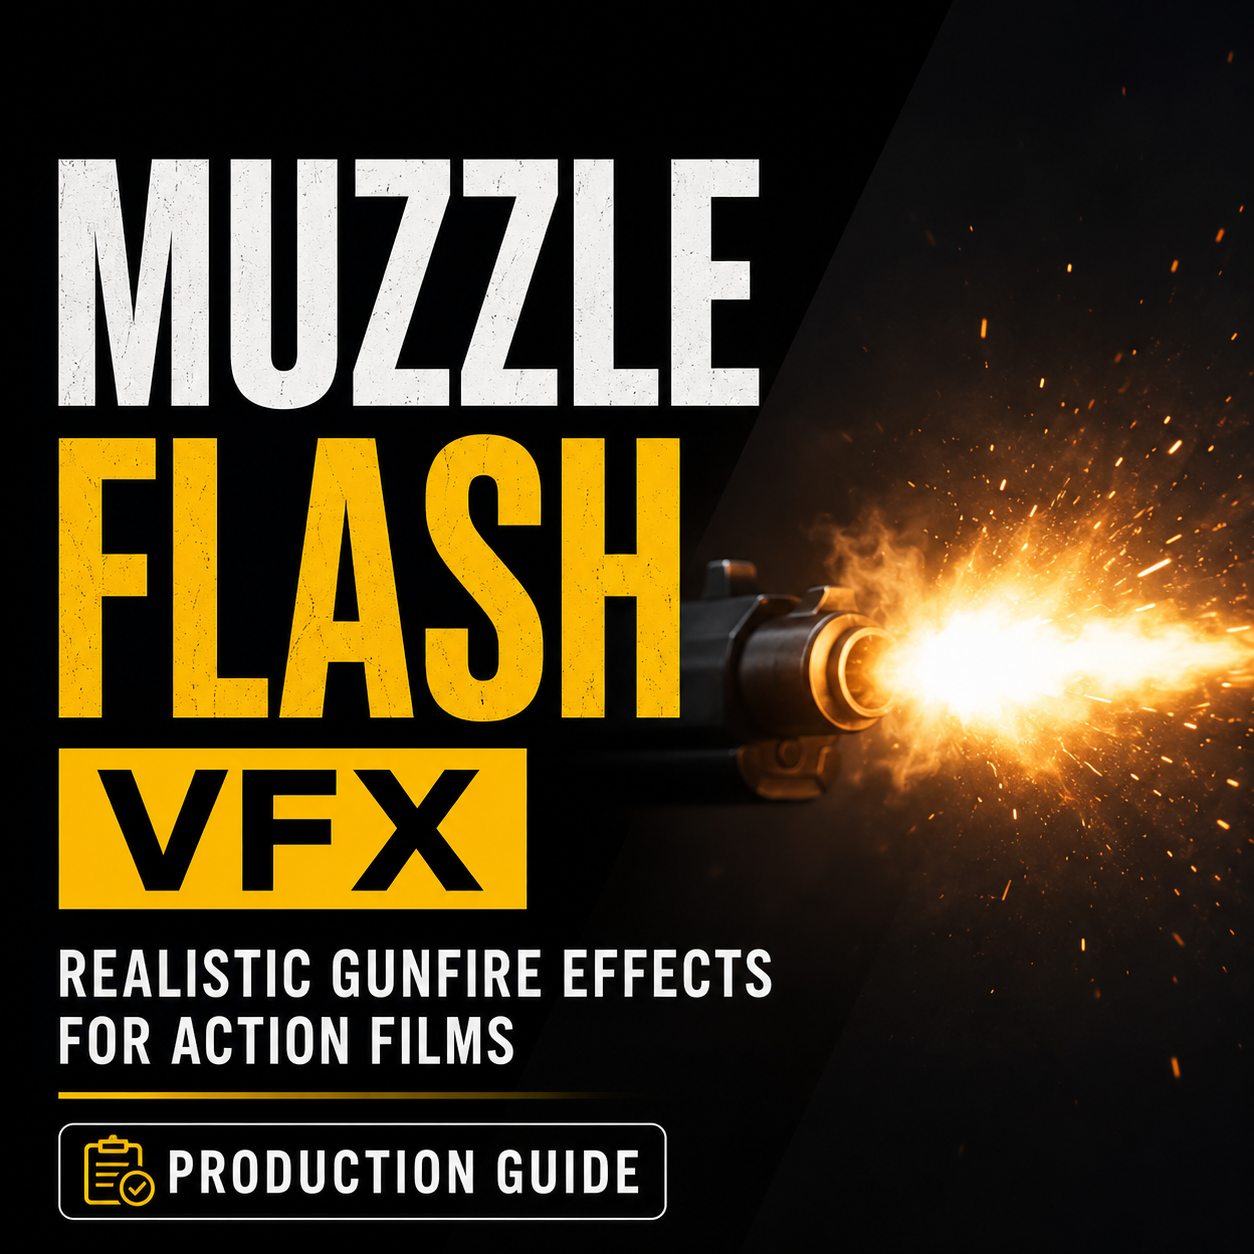
- Best source: MyCreativeFX Muzzle Flash Overlays
- Format: Download MP4 (alpha channel included)
- Multiple angles in one pack
- Resolution: 1080p sufficient (can scale up in editor)
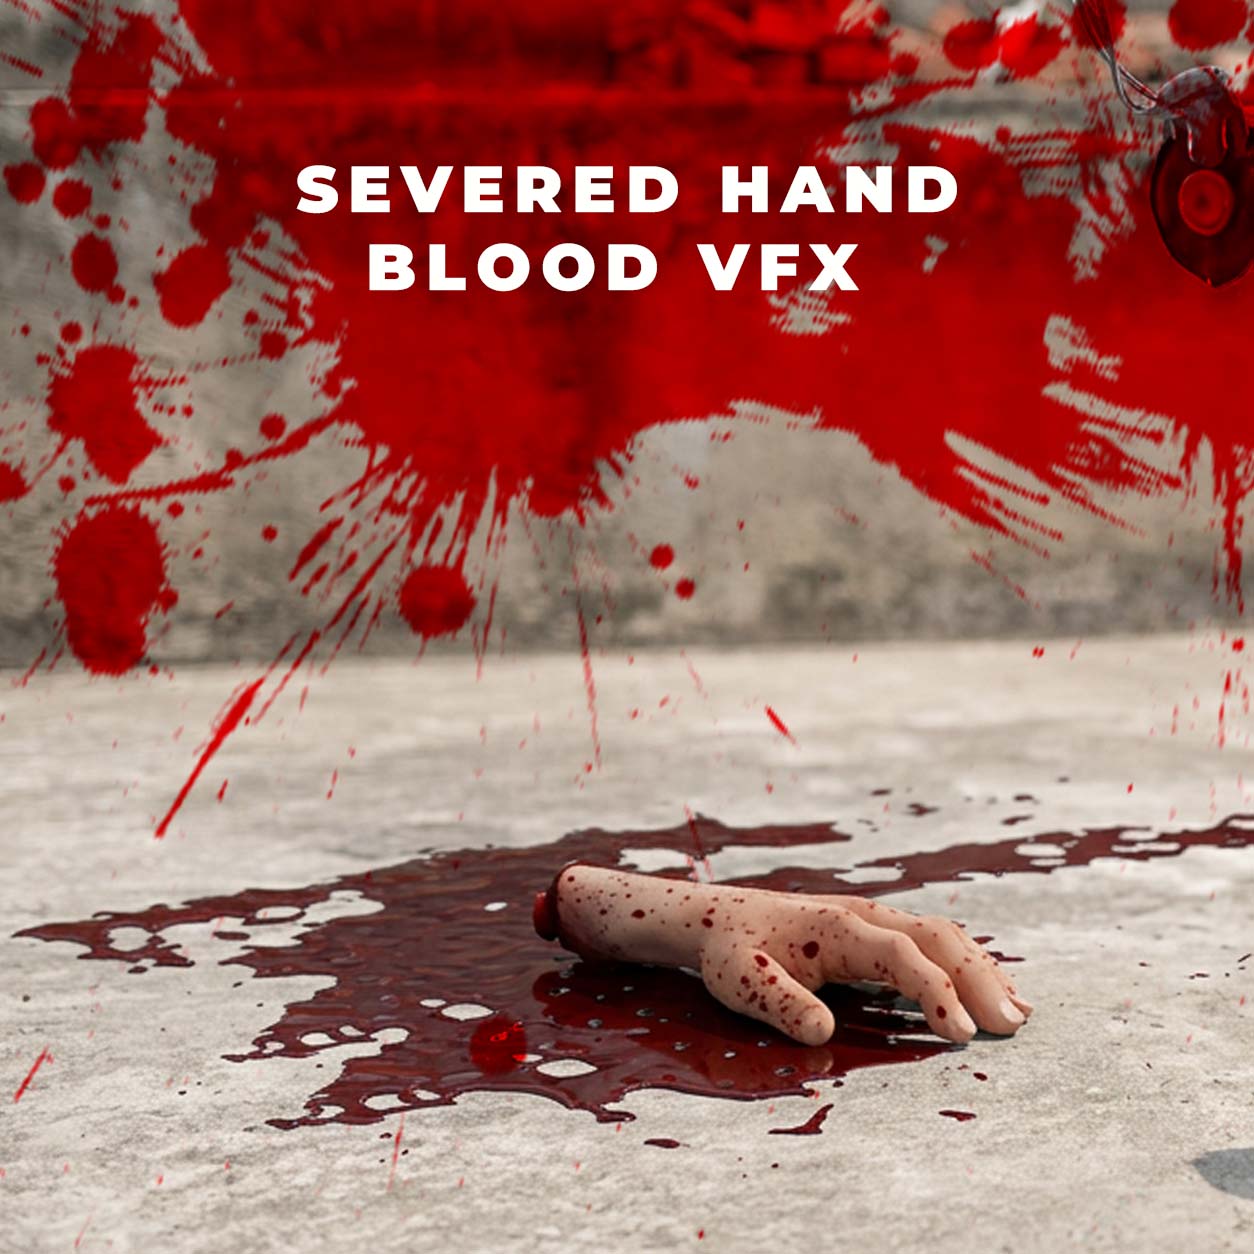
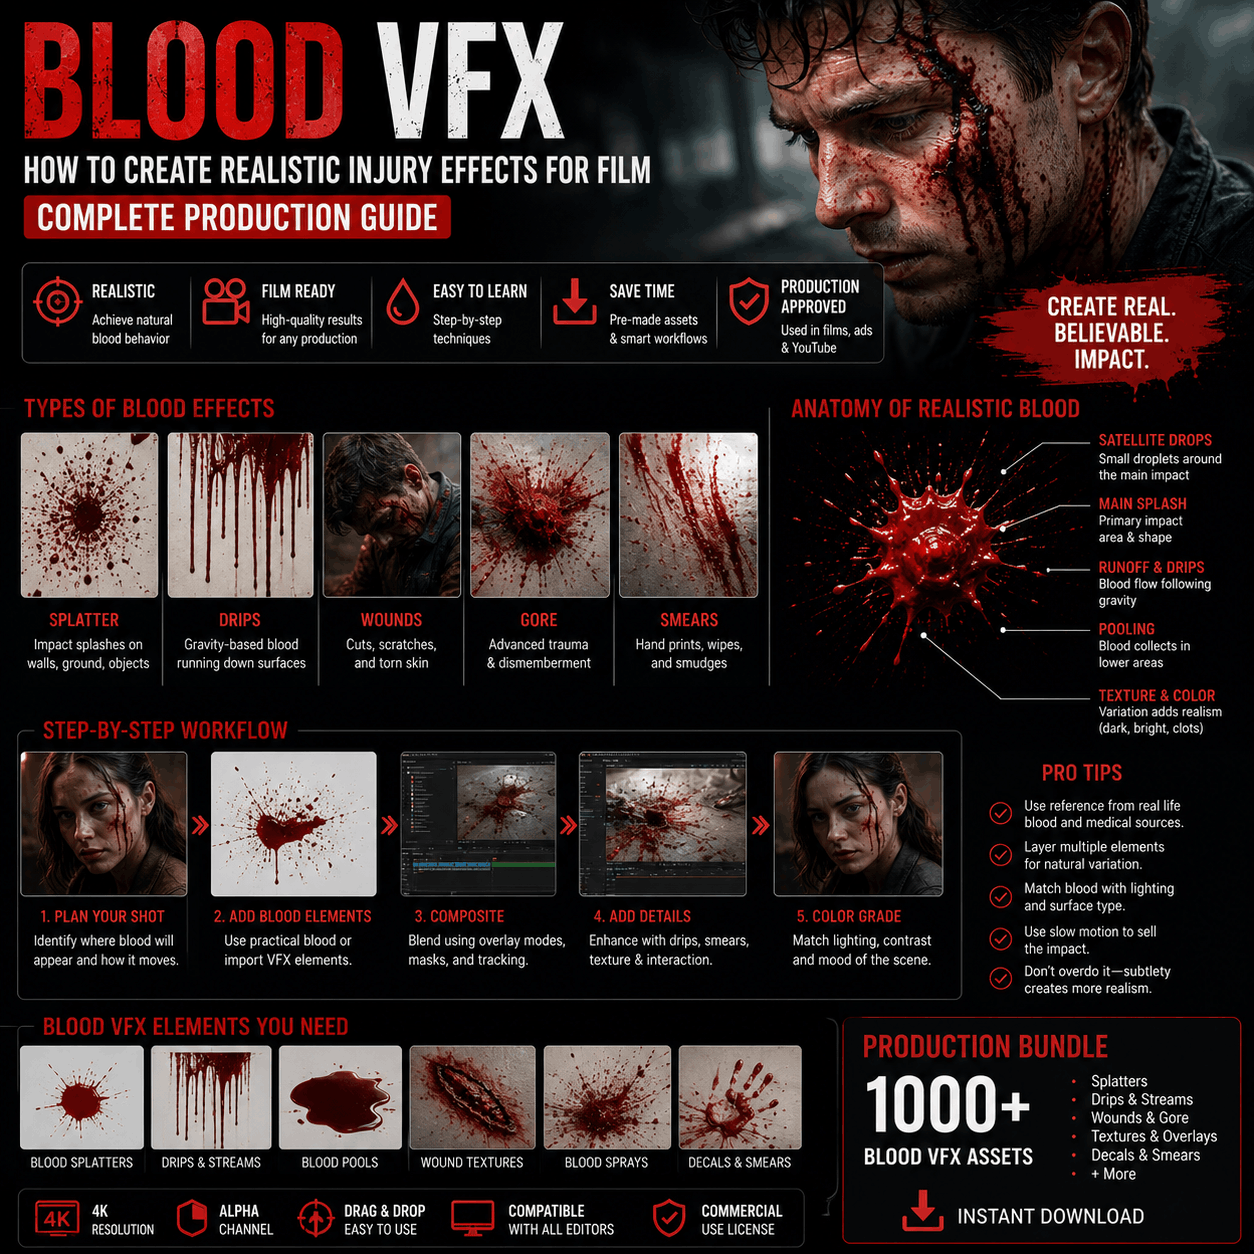
- Best source: MyCreativeFX Blood Effects
- Format: MOV with transparency
- Multiple splatter types in one pack
- Combine 3-4 layers for realistic impact
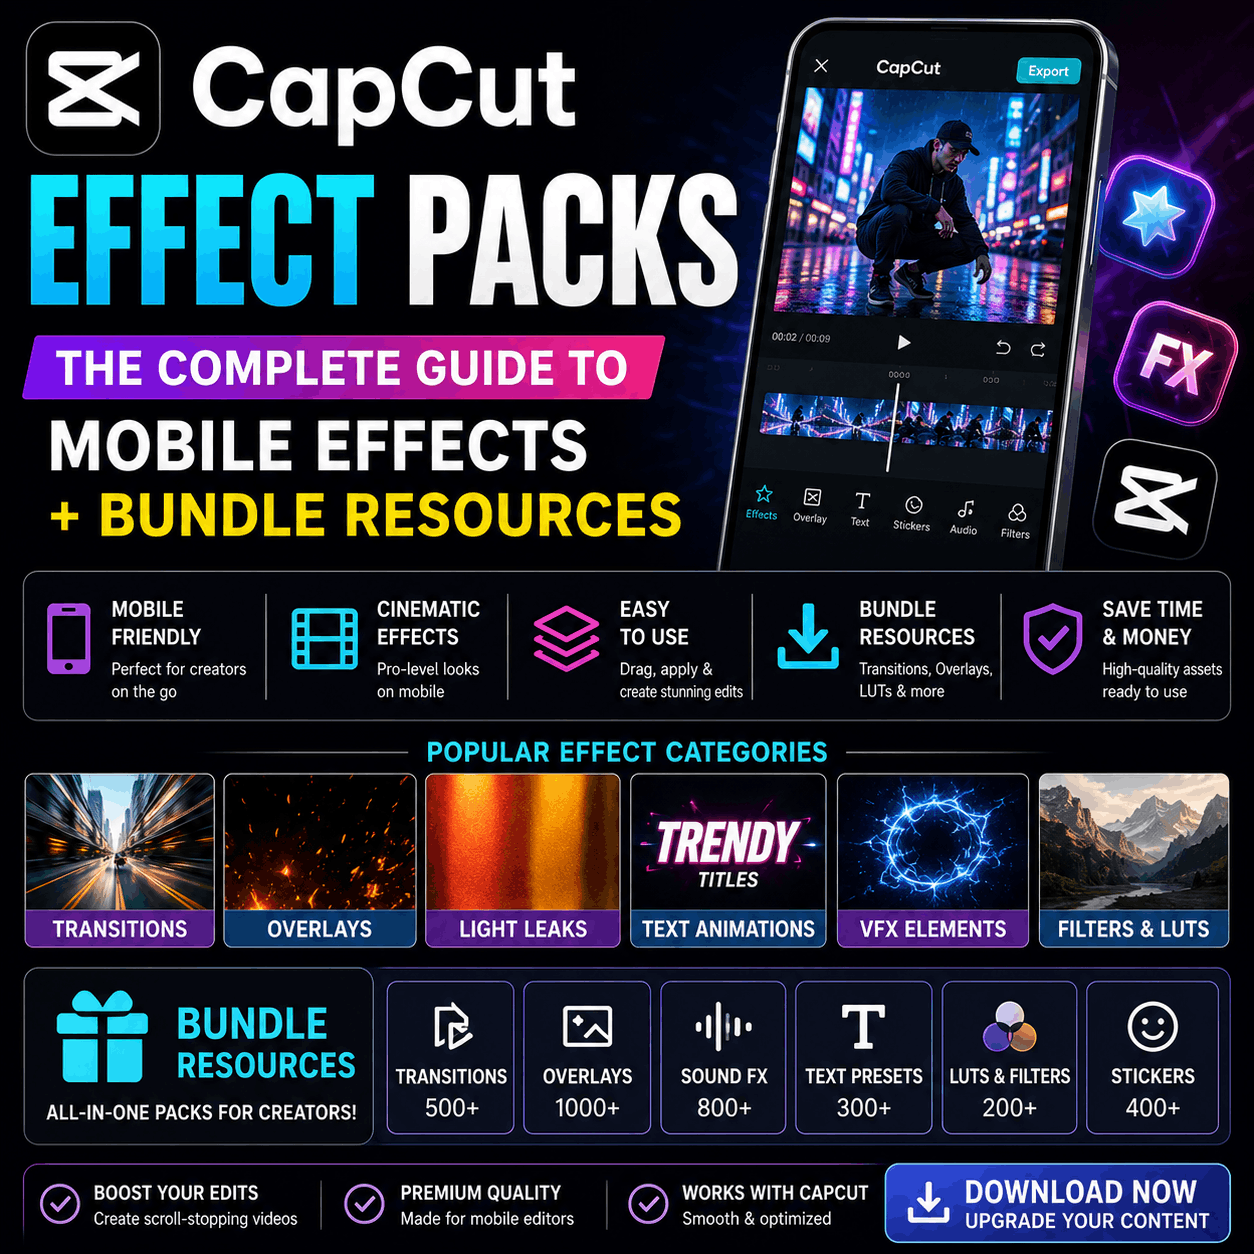
- Best source: MyCreativeFX Mobile Effects
- Format: Native CapCut format (optimized)
- Mobile-optimized (lower file size)
- Ready to use immediately after import
Download Checklist
Before you download:
- ☐ Watched the preview video
- ☐ Read the license (OK for my use case?)
- ☐ Checked file format options
- ☐ Verified resolution/frame rate
- ☐ Confirmed my editing software supports the format
- ☐ Checked available storage space
- ☐ Have internet connection (no interruptions)
During download:
- ☐ Monitored progress
- ☐ Didn't close browser/computer
- ☐ Download completed fully
After download:
- ☐ Verified file size matches
- ☐ Verified file type/format
- ☐ Moved to organized folder
- ☐ Tested opening in editor
- ☐ Documented in personal library
Conclusion
Downloading VFX is straightforward once you understand the process:
- Find the right marketplace or source
- Choose the right format and specifications
- Download and monitor completion
- Organize into your library system
- Import into your editor
- Troubleshoot any issues (rare)
The entire process—from finding an effect to using it in a project—takes 10-20 minutes once you're experienced.
Start with MyCreativeFX. Download a fire effect. Get it into your editor. See how it looks. Build from there.
Your next cinematic shot is just a download away.

 Premium Plans