 Premium Plans
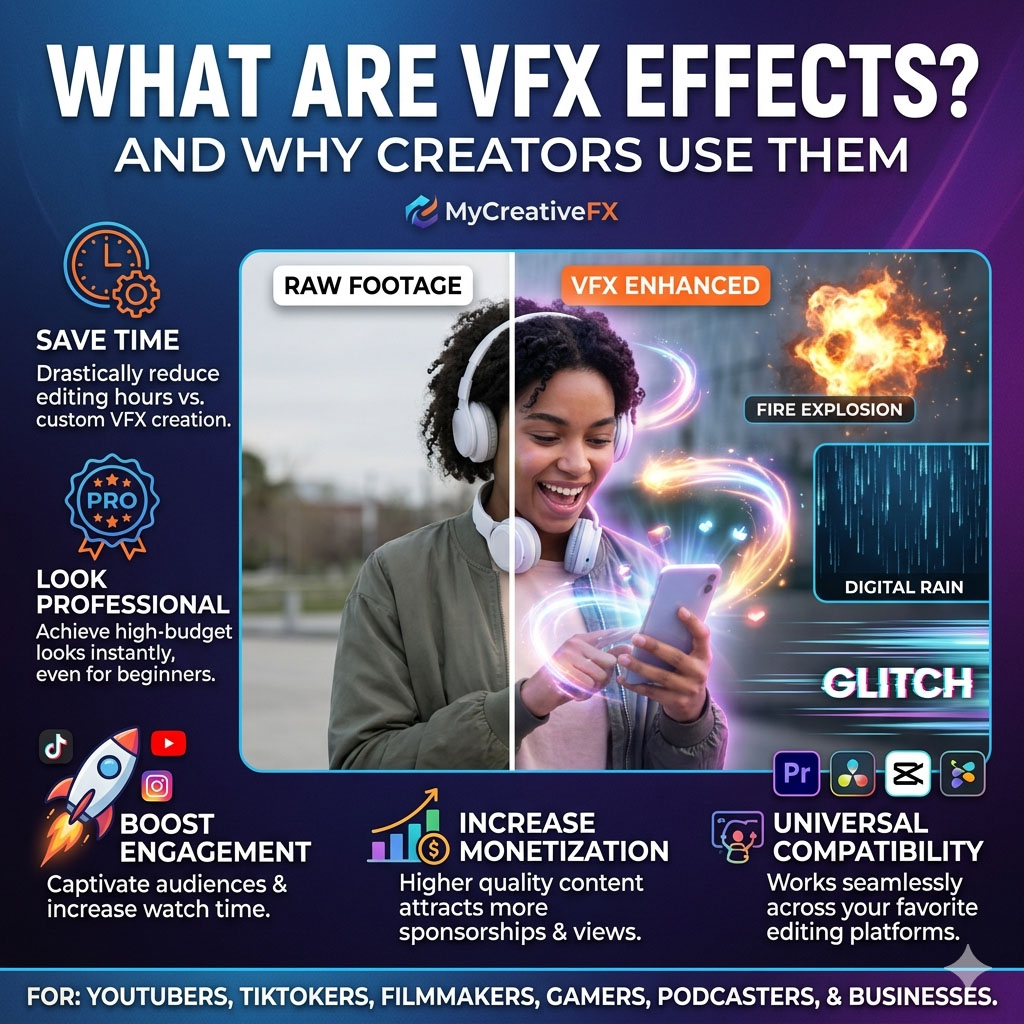
Downloading VFX effects is only the first step. To make your videos look cinematic, professional, and engaging, you need to know how to install and use those effects correctly inside your editing software.
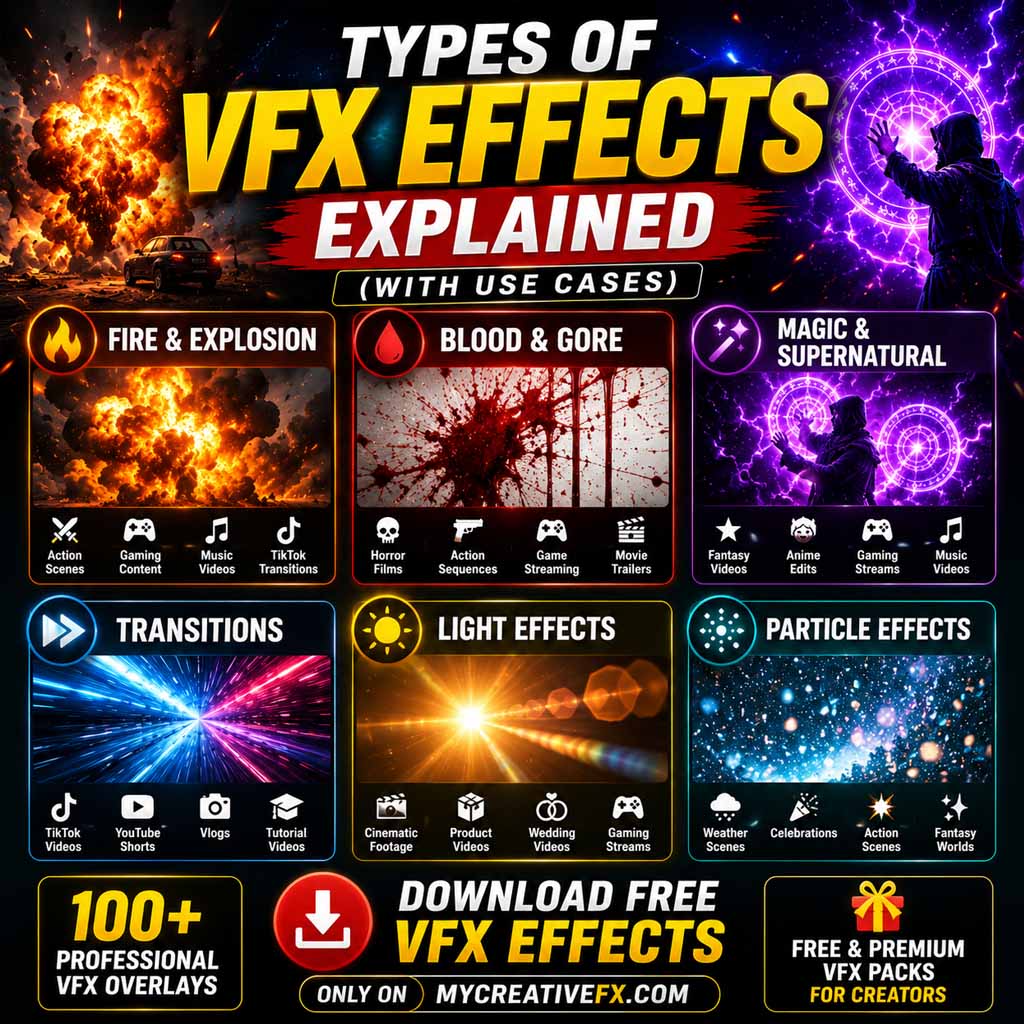
Whether you're creating YouTube Shorts, TikTok videos, Instagram Reels, gaming montages, anime edits, wedding films, or commercial projects, understanding how to import and blend VFX overlays can dramatically improve your editing workflow.
In this complete guide from MyCreativeFX, you'll learn how to install VFX effects in all major editing software including Adobe Premiere Pro, DaVinci Resolve, CapCut, After Effects, and Final Cut Pro.

🚀 Click Here to Download 5000+ Free VFX Effects
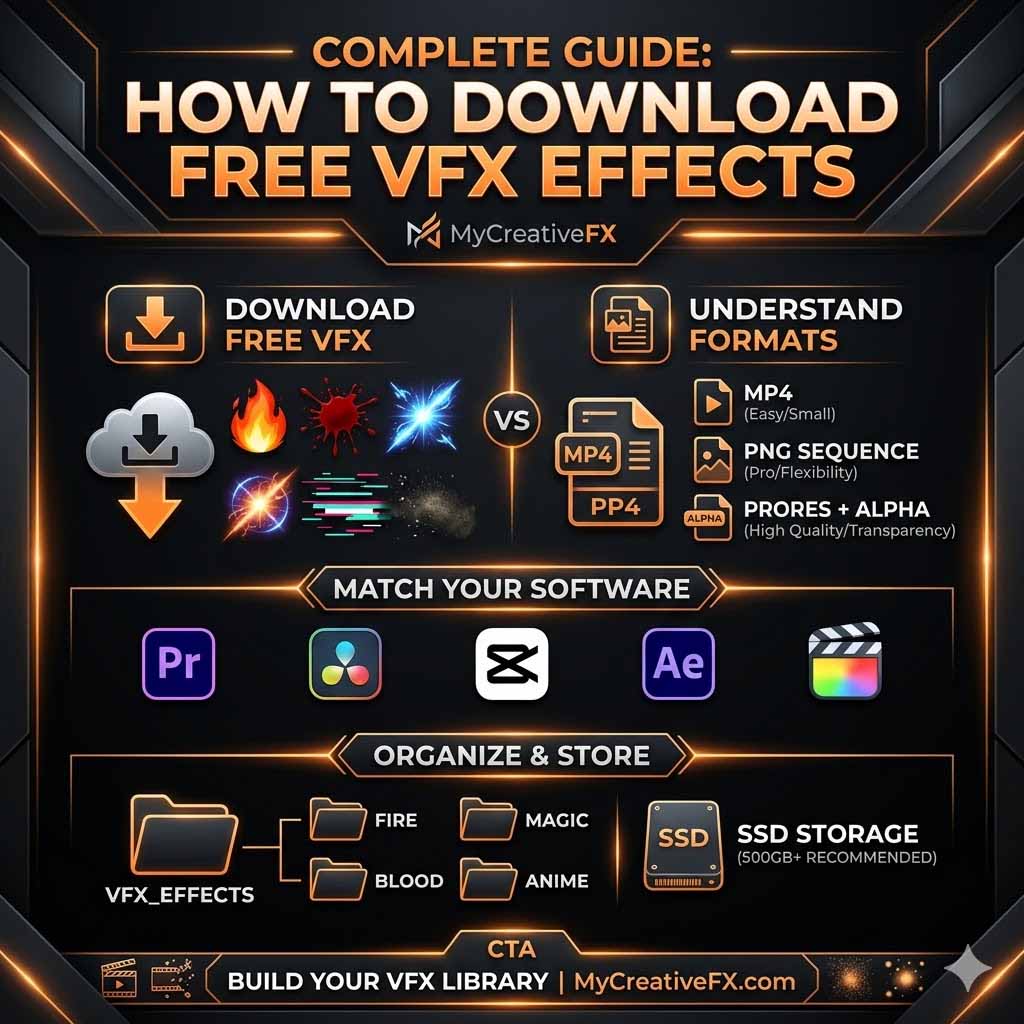
Before You Start: Understanding VFX Overlays
Most downloadable VFX assets come in one of the following formats:
- MP4 overlays
- MOV overlays
- PNG sequences
- Alpha channel video files
- ProRes effects
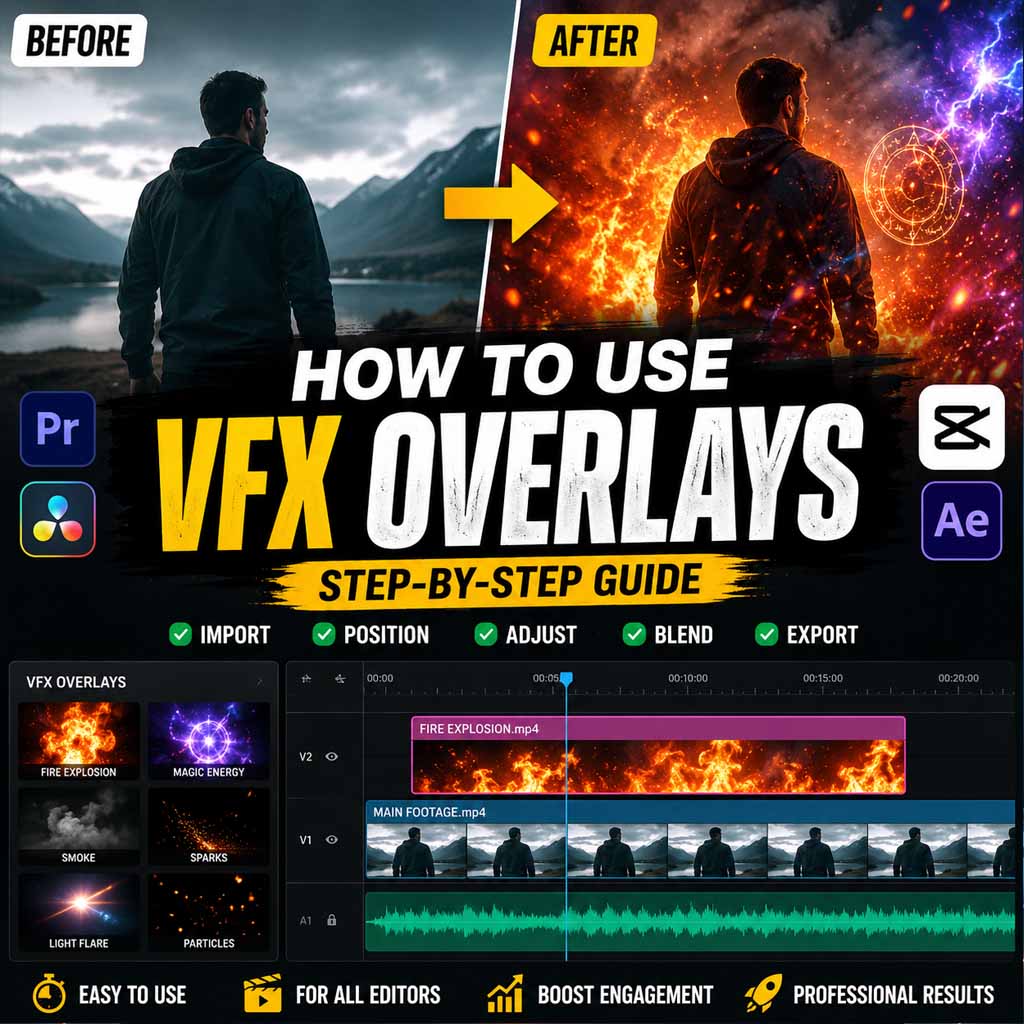
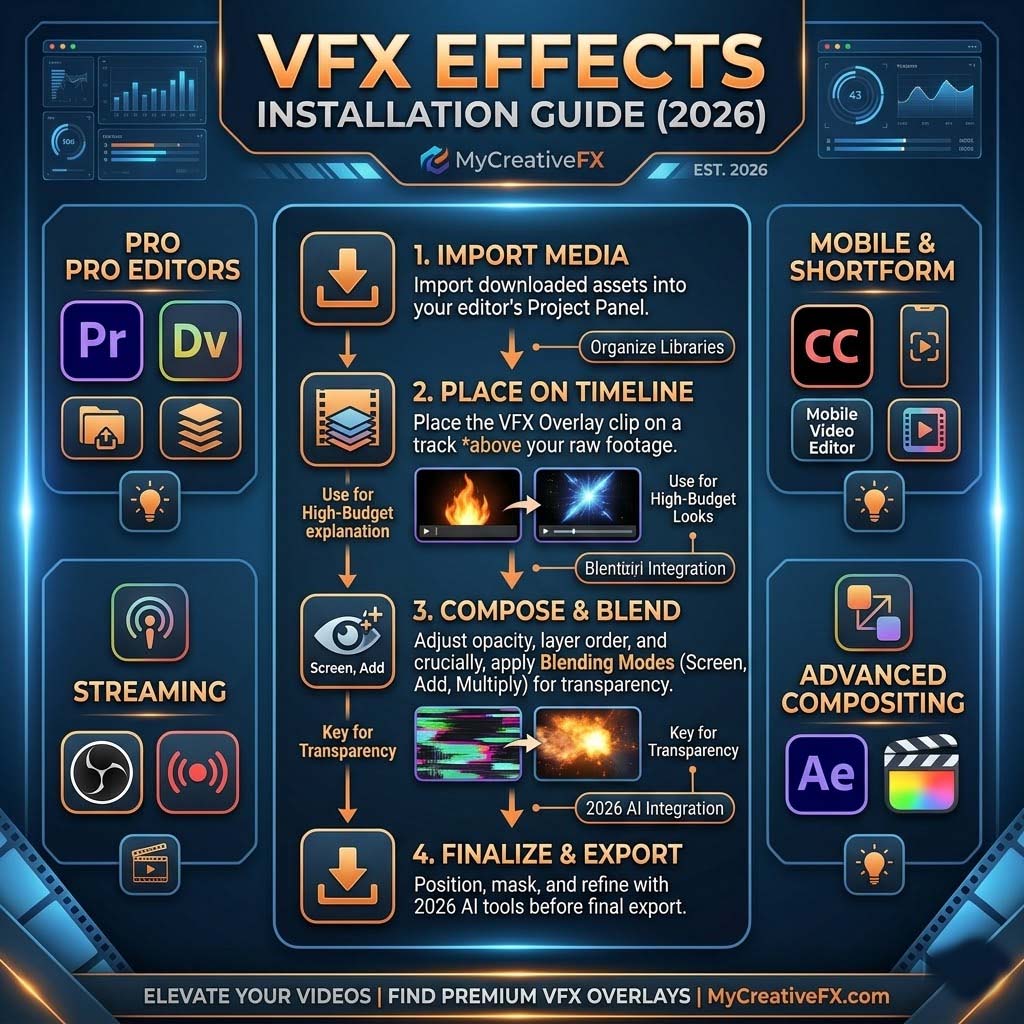
The installation process is generally the same across all editing applications:
- Import your footage.
- Import the VFX overlay.
- Place the effect above your footage.
- Adjust opacity and blending modes.
- Position and scale as needed.
Let's look at the exact steps for each software.
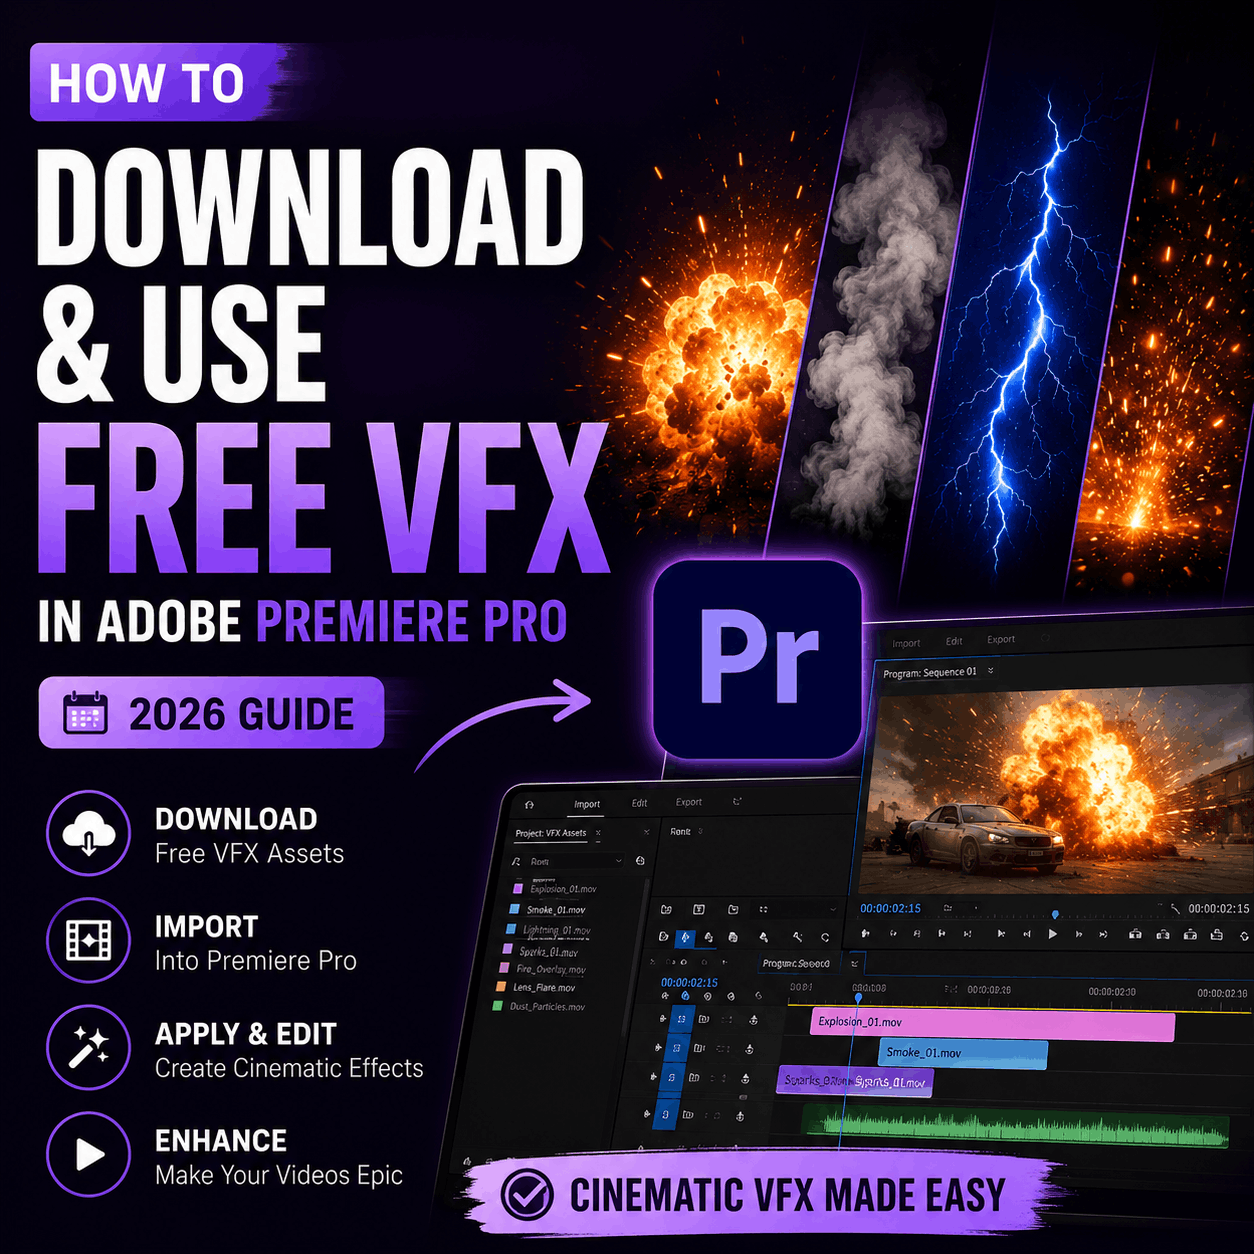
Adobe Premiere Pro (All Versions)
Adobe Premiere Pro is one of the most popular video editing applications used by YouTubers, filmmakers, agencies, and professional editors.
Method 1: Drag & Drop Installation (Fastest Method)
This is the easiest way to install most VFX overlays.
- Create a new Premiere Pro project.
- Create a sequence matching your video resolution.
- Open File Explorer or Finder.
- Navigate to your VFX library folder.
- Drag the VFX file directly into the timeline.
- Place it on a track above your footage.
- Move the effect to the desired position.
- Adjust timing and duration.
That's it. Your effect is now active.
Method 2: Import Through the Project Panel
- Click File → Import.
- Select your VFX file.
- Click Open.
- Locate the file in the Project Panel.
- Drag it onto your timeline.
How to Blend Effects Naturally
Professional-looking VFX depends heavily on blending.
- Select the effect clip.
- Open the Effect Controls panel.
- Locate the Opacity settings.
- Adjust opacity based on the effect style.
Recommended settings:
- 50%–70% opacity for subtle effects
- 70%–90% for cinematic effects
- 100% for explosions and dramatic impacts
Best Blend Modes in Premiere Pro
| Blend Mode | Best For |
|---|---|
| Screen | Fire, sparks, light effects |
| Add | Energy blasts, glows |
| Multiply | Smoke, shadows |
| Overlay | Complex composites |
DaVinci Resolve (Free & Studio)
DaVinci Resolve has become one of the most powerful editing platforms available, especially because the free version includes professional-grade tools.
Importing VFX in DaVinci Resolve
- Create a new project.
- Open the Media Pool.
- Right-click → Import Media.
- Select your VFX file.
- Drag it onto a track above your footage.
- Select the effect clip.
- Open the Inspector panel.
Your effect is now installed and ready to customize.
Adjusting Opacity
- Select the VFX clip.
- Open Inspector.
- Navigate to Composite settings.
- Adjust Opacity slider.
Best Blend Modes in Resolve
- Screen – Fire, sparks, flashes
- Add – Energy effects and glows
- Multiply – Smoke and shadows
- Overlay – Mixed visual effects
Experimenting with blend modes often creates unique visual styles.
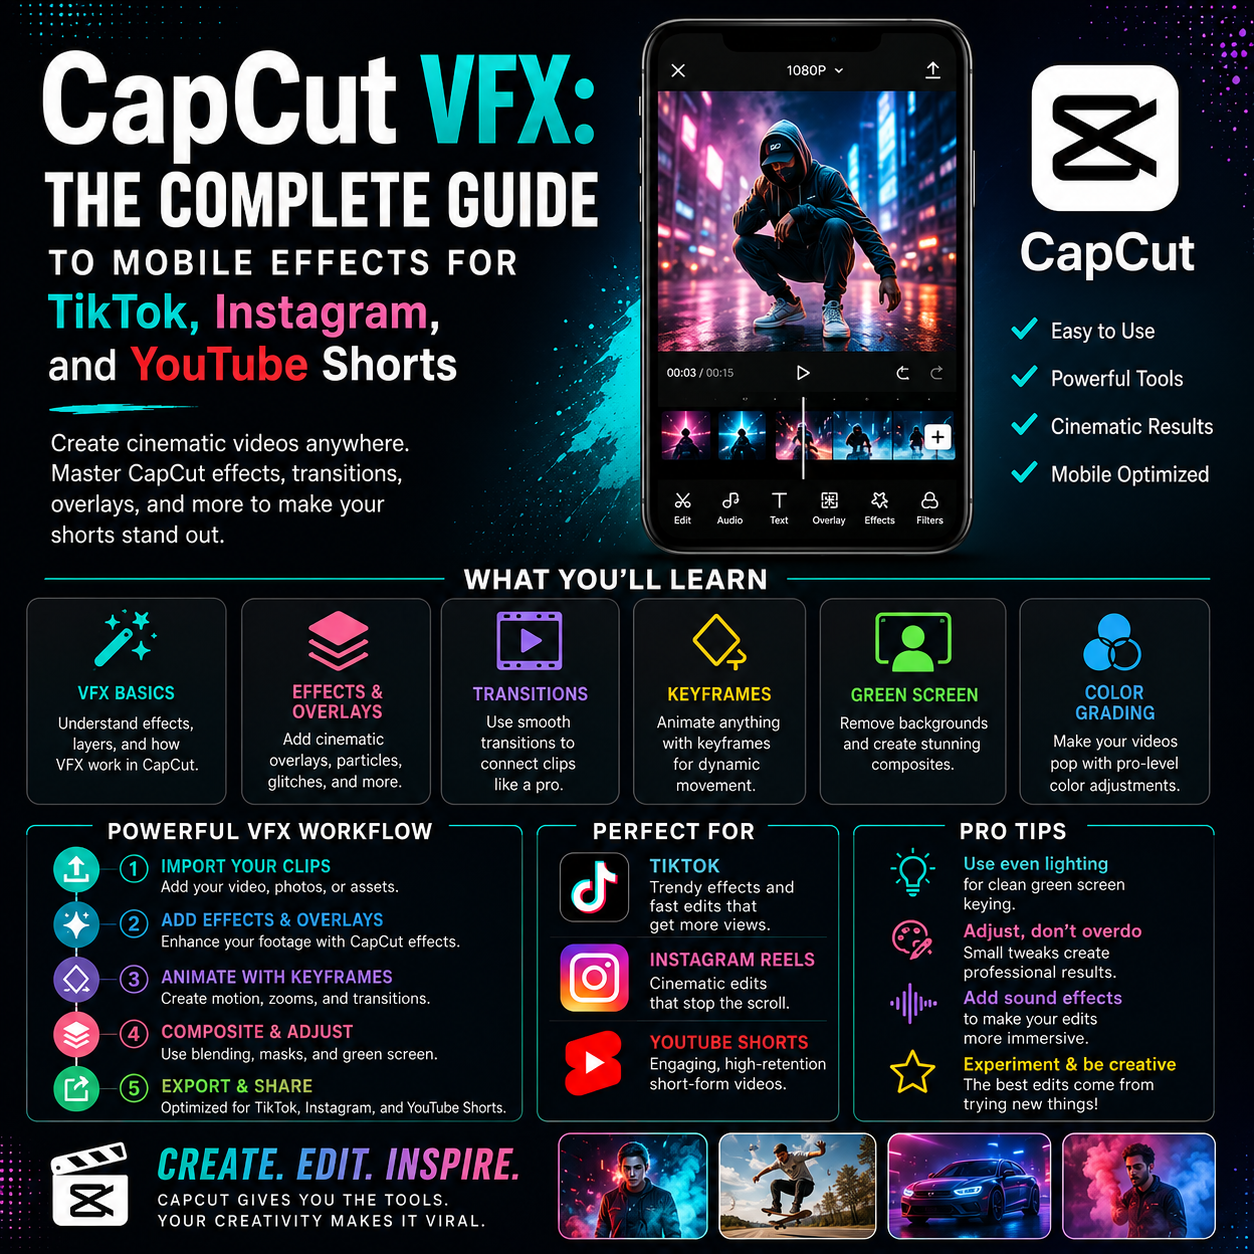
CapCut Desktop
CapCut has become one of the most popular editing tools for TikTok, Instagram Reels, and YouTube Shorts creators.
Installing VFX Overlays in CapCut Desktop
- Open CapCut.
- Create a new project.
- Import your main footage.
- Drag footage onto the timeline.
- Click Add Overlay.
- Select your VFX file.
- Position the effect above your footage.
- Adjust duration and placement.
Opacity Adjustments
CapCut allows simple opacity adjustments through the properties panel.
Lower opacity for realistic effects or increase it for dramatic visuals.
CapCut Mobile (Android & iPhone)
Many creators edit entirely on mobile devices today.
How to Add VFX Effects in CapCut Mobile
- Open CapCut.
- Tap New Project.
- Select your footage.
- Tap Effects.
- Tap the + button.
- Select your VFX file.
- Position it where needed.
- Adjust duration and opacity.
The process takes less than a minute once you're familiar with the interface.
Adobe After Effects (All Versions)
After Effects is considered the industry standard for advanced compositing and motion graphics work.
If you want complete control over your visual effects, this is the software professionals use.
Importing MP4 Effects
- File → Import → File.
- Select the MP4 overlay.
- Import.
- Drag onto the composition.
- Place above footage.
Importing PNG Sequences
PNG sequences offer maximum flexibility.
- File → Import → File.
- Select the first PNG image.
- Enable the PNG Sequence checkbox.
- Click Import.
After Effects automatically assembles all images into a single animated sequence.
Professional Blending Techniques
- Transfer Modes
- Track Mattes
- Luma Mattes
- Alpha Mattes
- Glow Effects
- Color Correction
These tools allow advanced compositing that isn't possible in most basic editors.
Final Cut Pro (Mac Only)
Final Cut Pro remains one of the most efficient editing platforms for Apple users.
Installing VFX Effects
- Create a new project.
- Import your footage.
- Choose File → Import Media.
- Select the VFX overlay.
- Import the asset.
- Drag it above your footage.
Adjust Opacity
- Select the effect clip.
- Open Inspector.
- Adjust Opacity.
Composite Modes
Final Cut Pro supports multiple blend modes similar to Premiere Pro and Resolve.
Screen and Add are usually the best options for visual effects overlays.
Common Installation Mistakes to Avoid
- Placing the VFX below your footage.
- Using the wrong blend mode.
- Forgetting to adjust opacity.
- Using low-resolution effects in 4K projects.
- Stretching effects excessively.
- Mixing frame rates incorrectly.
- Ignoring color matching.
Avoiding these mistakes instantly improves the realism of your visual effects.
Pro Tips for Better Results
- Use Screen mode for most fire and light effects.
- Color grade effects to match your footage.
- Add motion blur when necessary.
- Use sound effects alongside visual effects.
- Scale effects carefully to maintain realism.
- Keep your VFX library organized.
The difference between amateur and professional VFX often comes down to blending and timing rather than the effect itself.