 Premium Plans
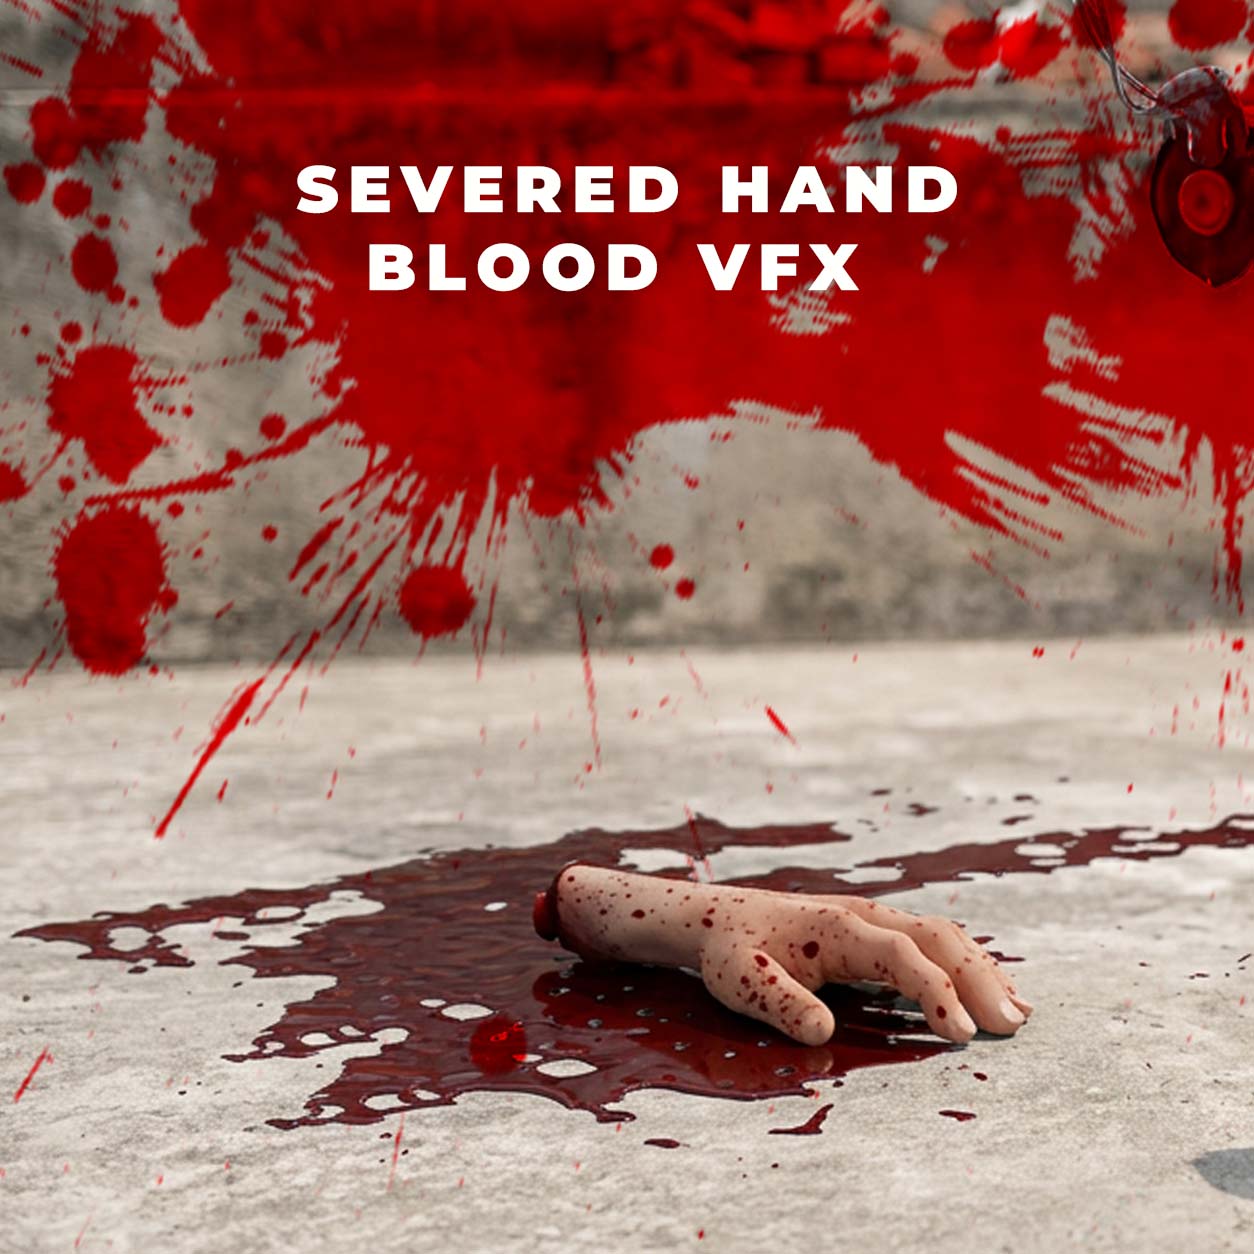
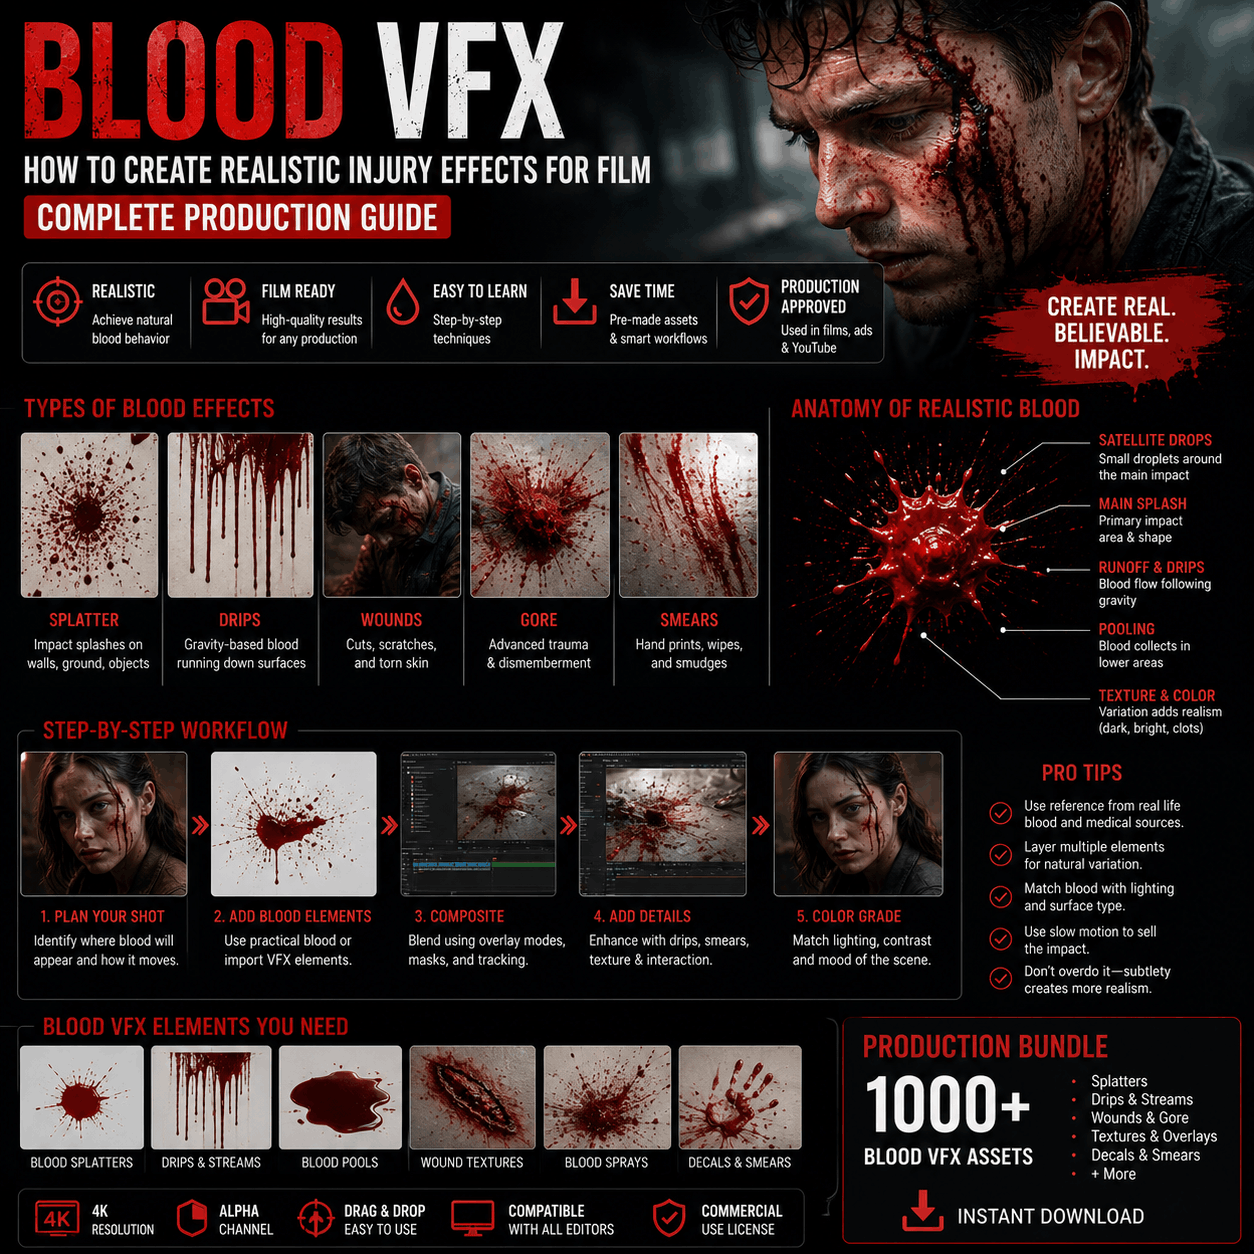
How I Created a Realistic Severed Arm Blood VFX Using Drag & Drop Stock Footage
Creating a realistic severed arm VFX shot might look complicated, but with today's professional stock footage and compositing tools, you can achieve H.......
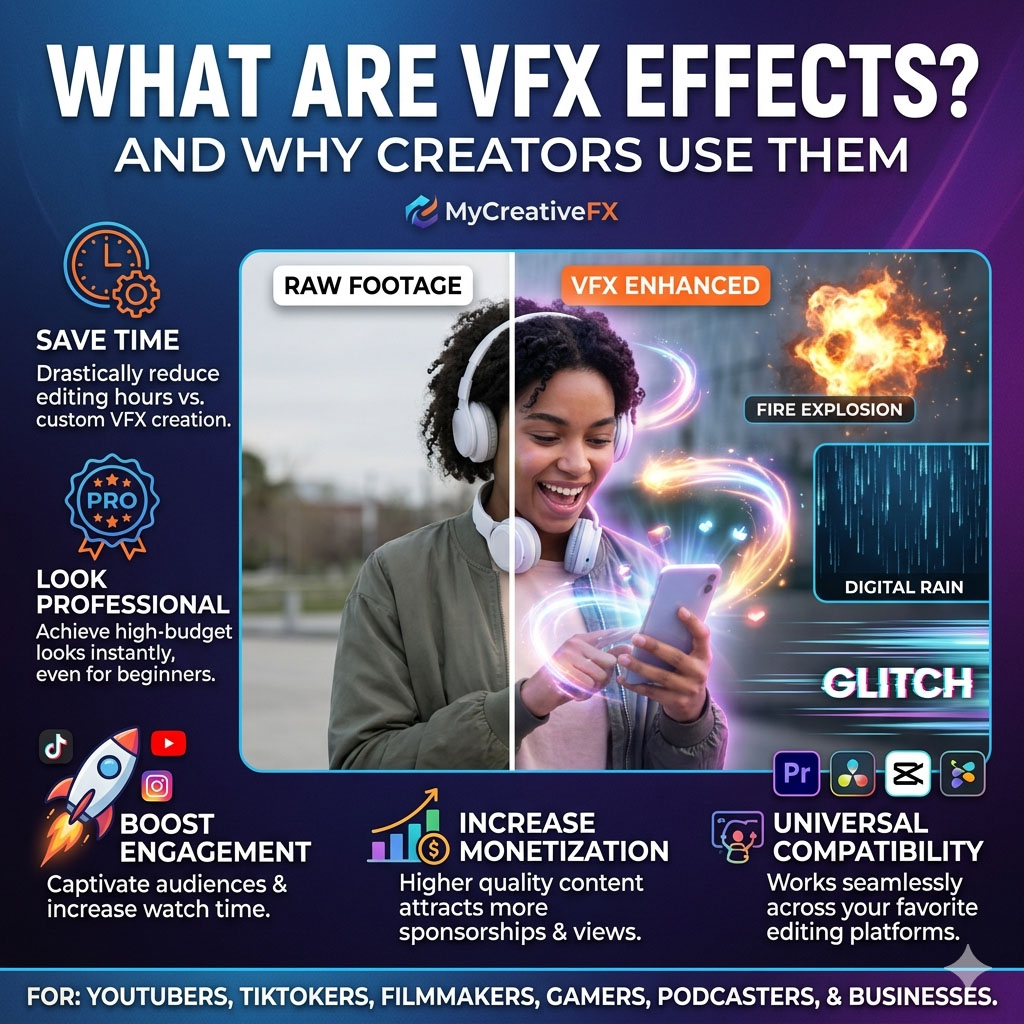
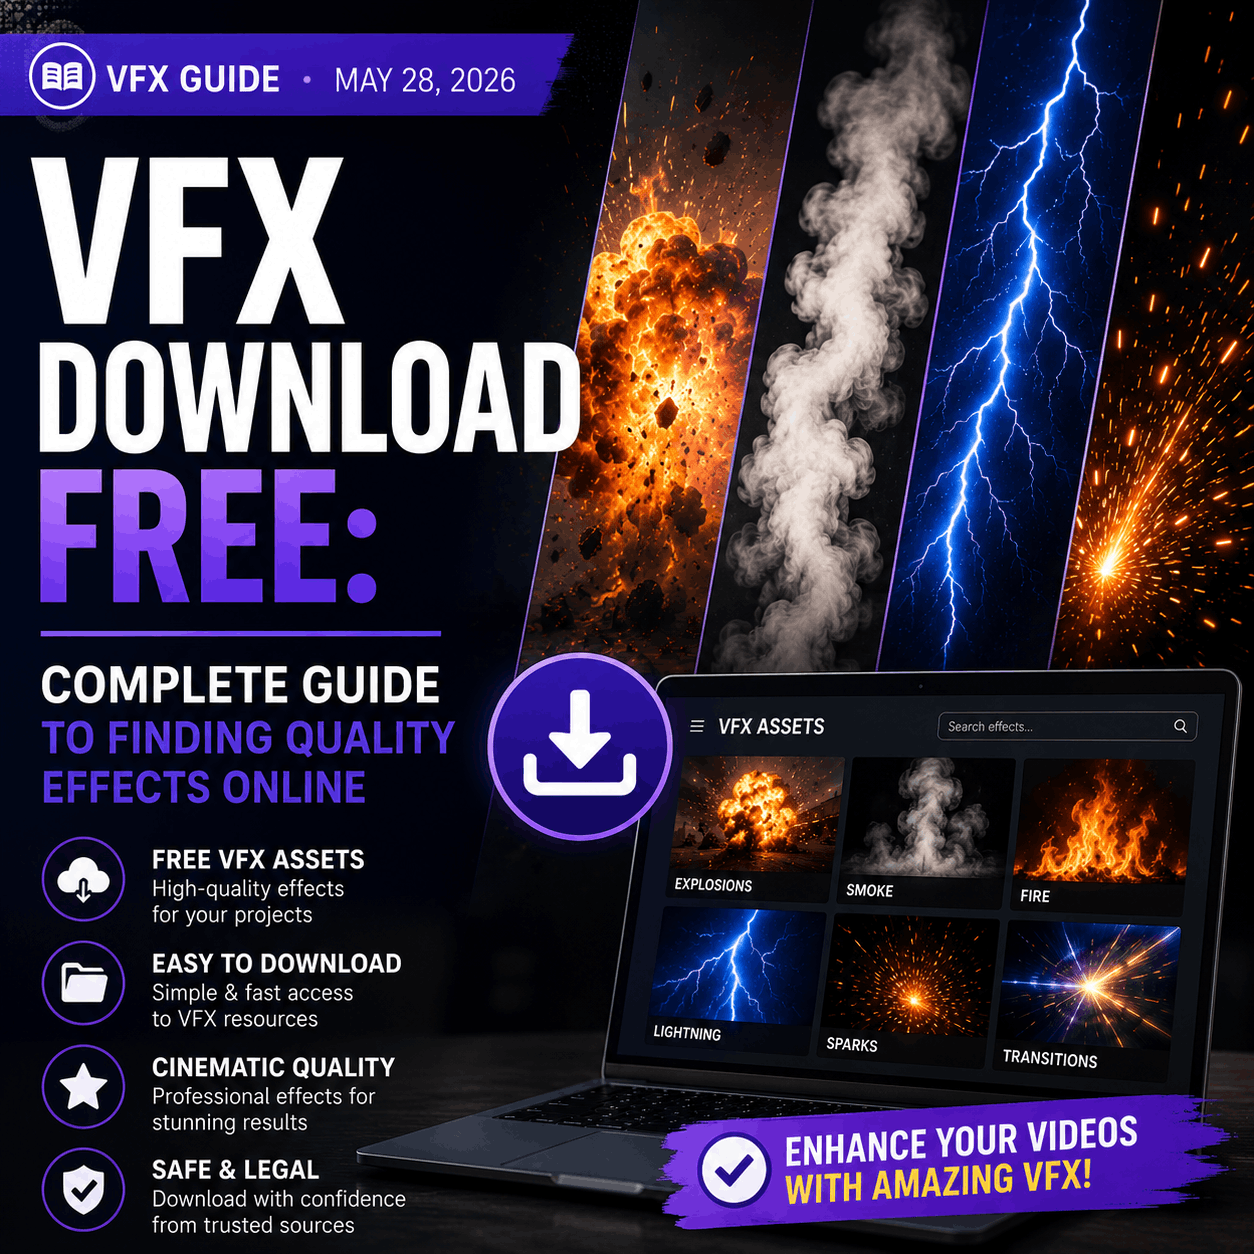
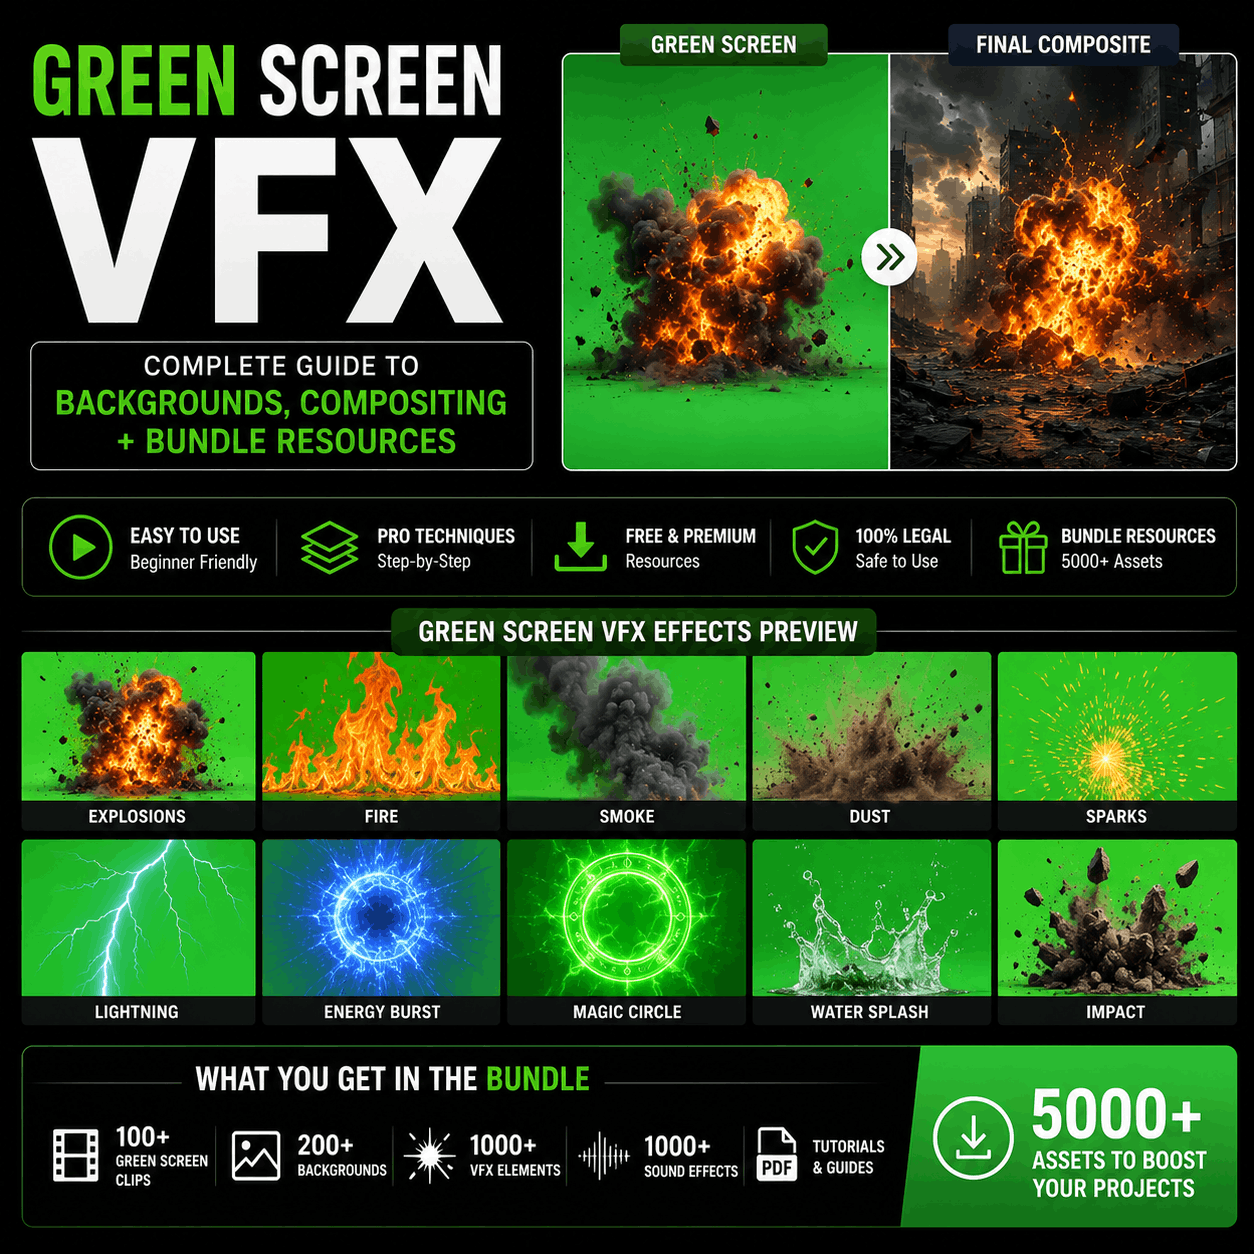
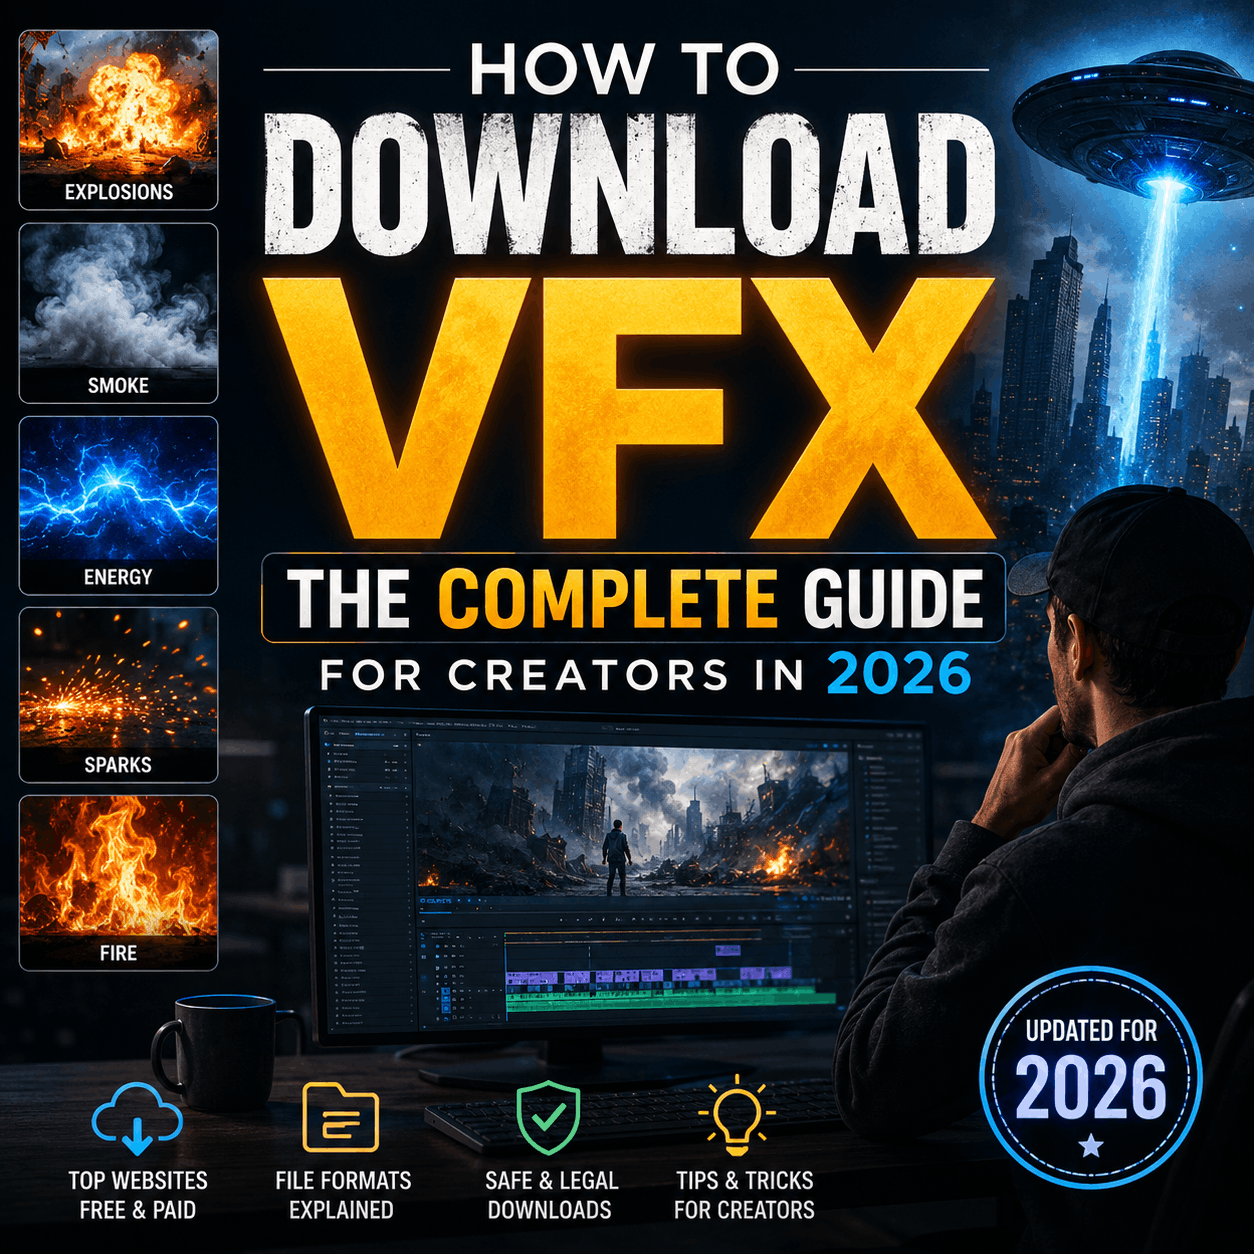
Explosions sell drama. Whether you’re cutting an action short, building a dramatic climax, or adding cinematic weight to a trailer, high-quality explosion VFX overlays make your shots believable without blowing up your budget or set. In this post you’ll learn what makes a great explosion overlay, how to download and use explosion VFX from MyCreativeFX, and tips to seamlessly composite them into your project — mobile or desktop.
Practical explosions are expensive, dangerous, and often impossible to stage. Explosion overlays give you:
Safety and control — achieve the look without risks.
Speed — drop, blend, and tweak; no complex sims.
Consistency — same assets work across multiple shots and projects.
Performance-friendly — overlays are typically lightweight (QuickTime ProRes, PNG sequences) unlike full 3D sims.
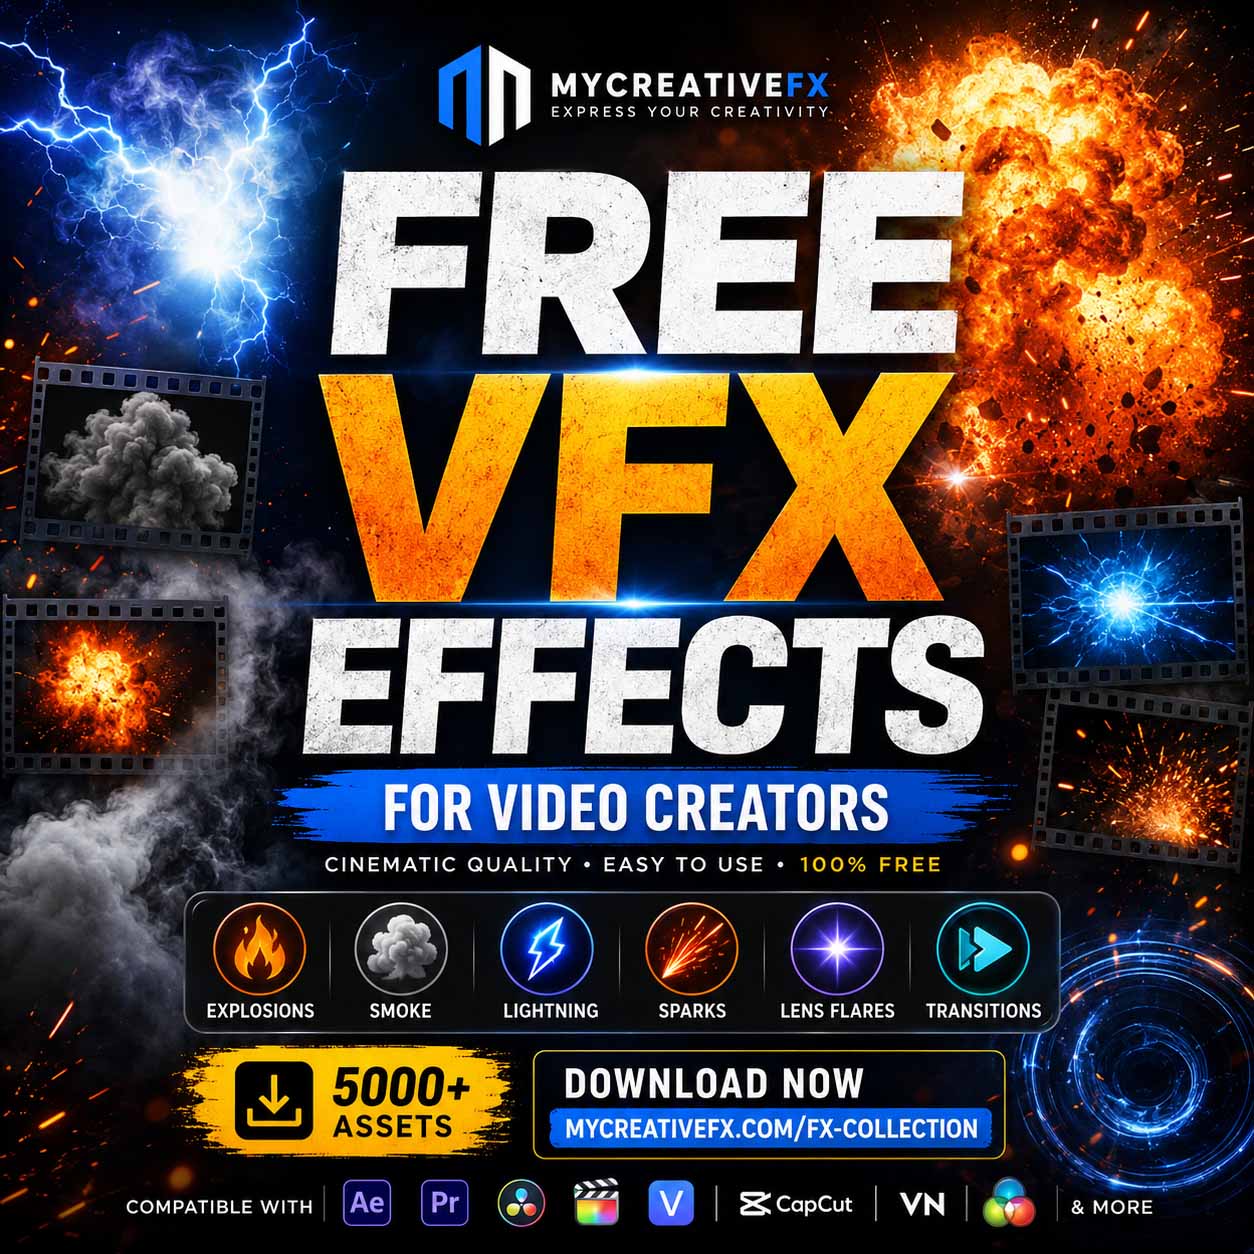
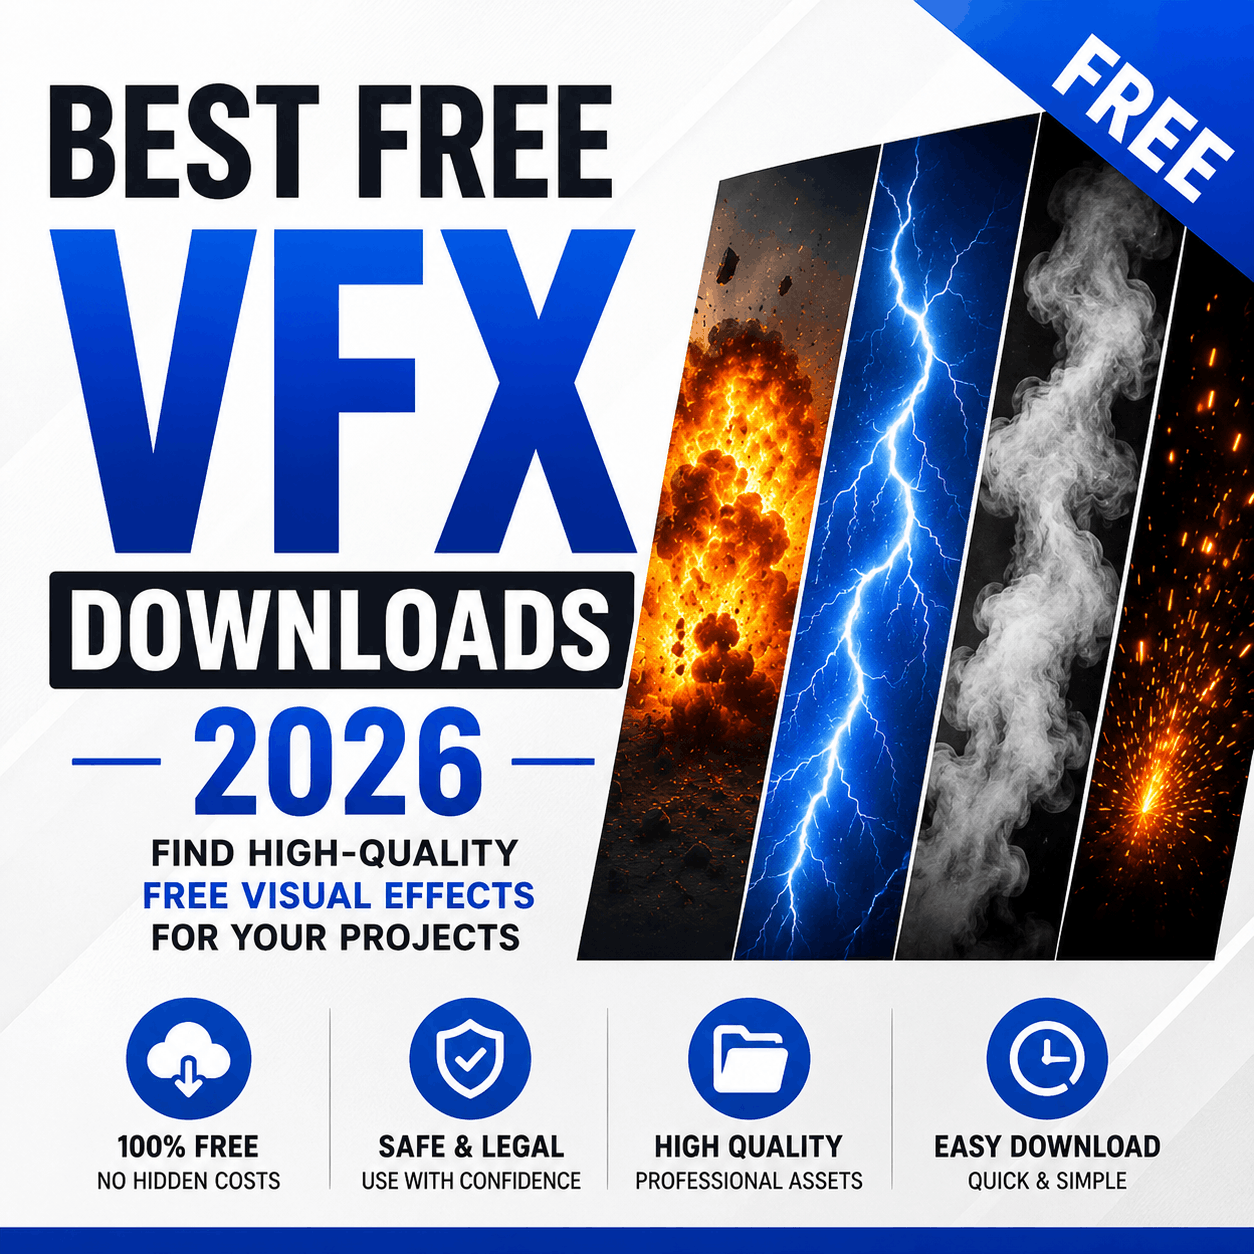
MyCreativeFX offers explosion VFX designed for creators, filmmakers, and editors who want pro results fast:
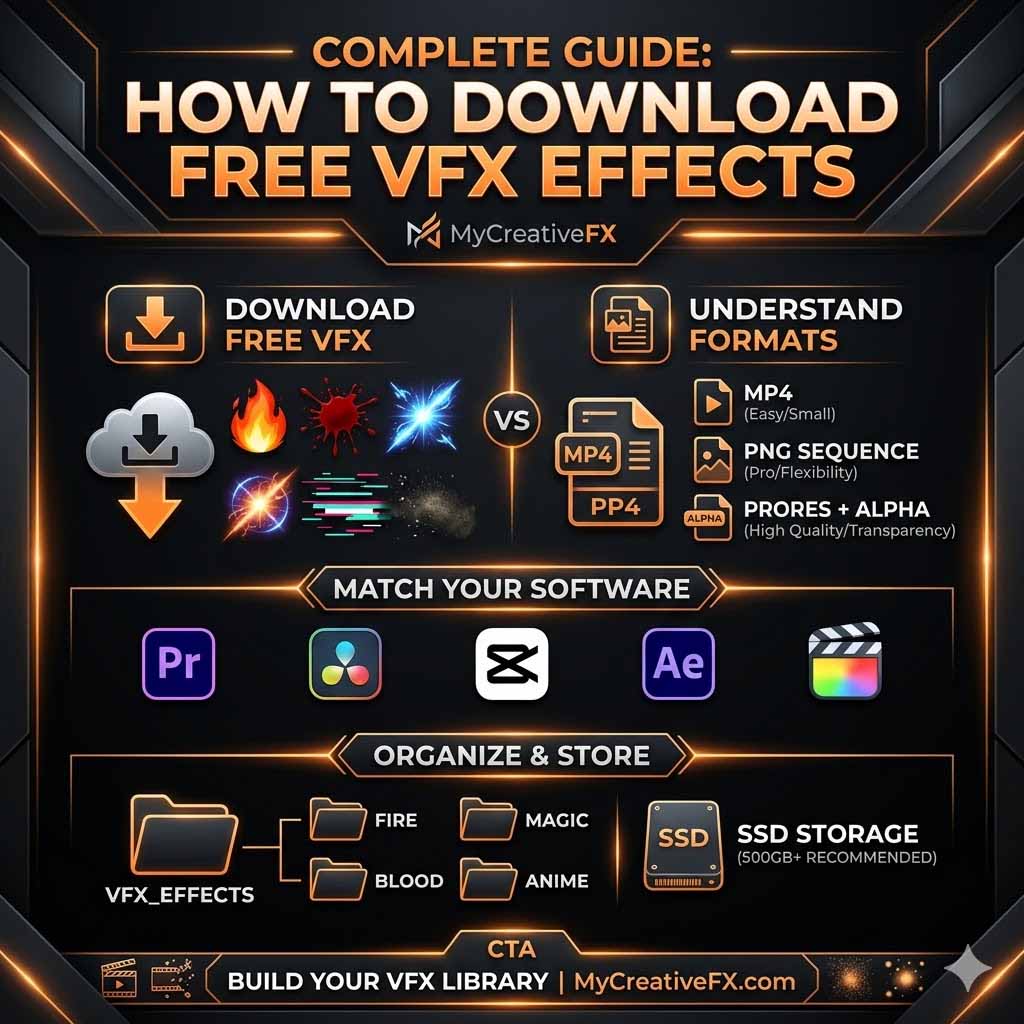
Resolution: 4K (and sometimes 6K) for crisp composites and flexible scaling.
Formats: ProRes / MOV with alpha, PNG sequences, and sometimes EXR for professional pipelines.
Variants: single blasts, multi-debris explosions, dust + smoke plates, and shockwave elements.
Green/blue screen & alpha: choose green/blue-screened plates for keying or pre-keyed alpha channels for easy blending.
Loopable hits and repeats: handy for repeated action or bullet-hit sequences.
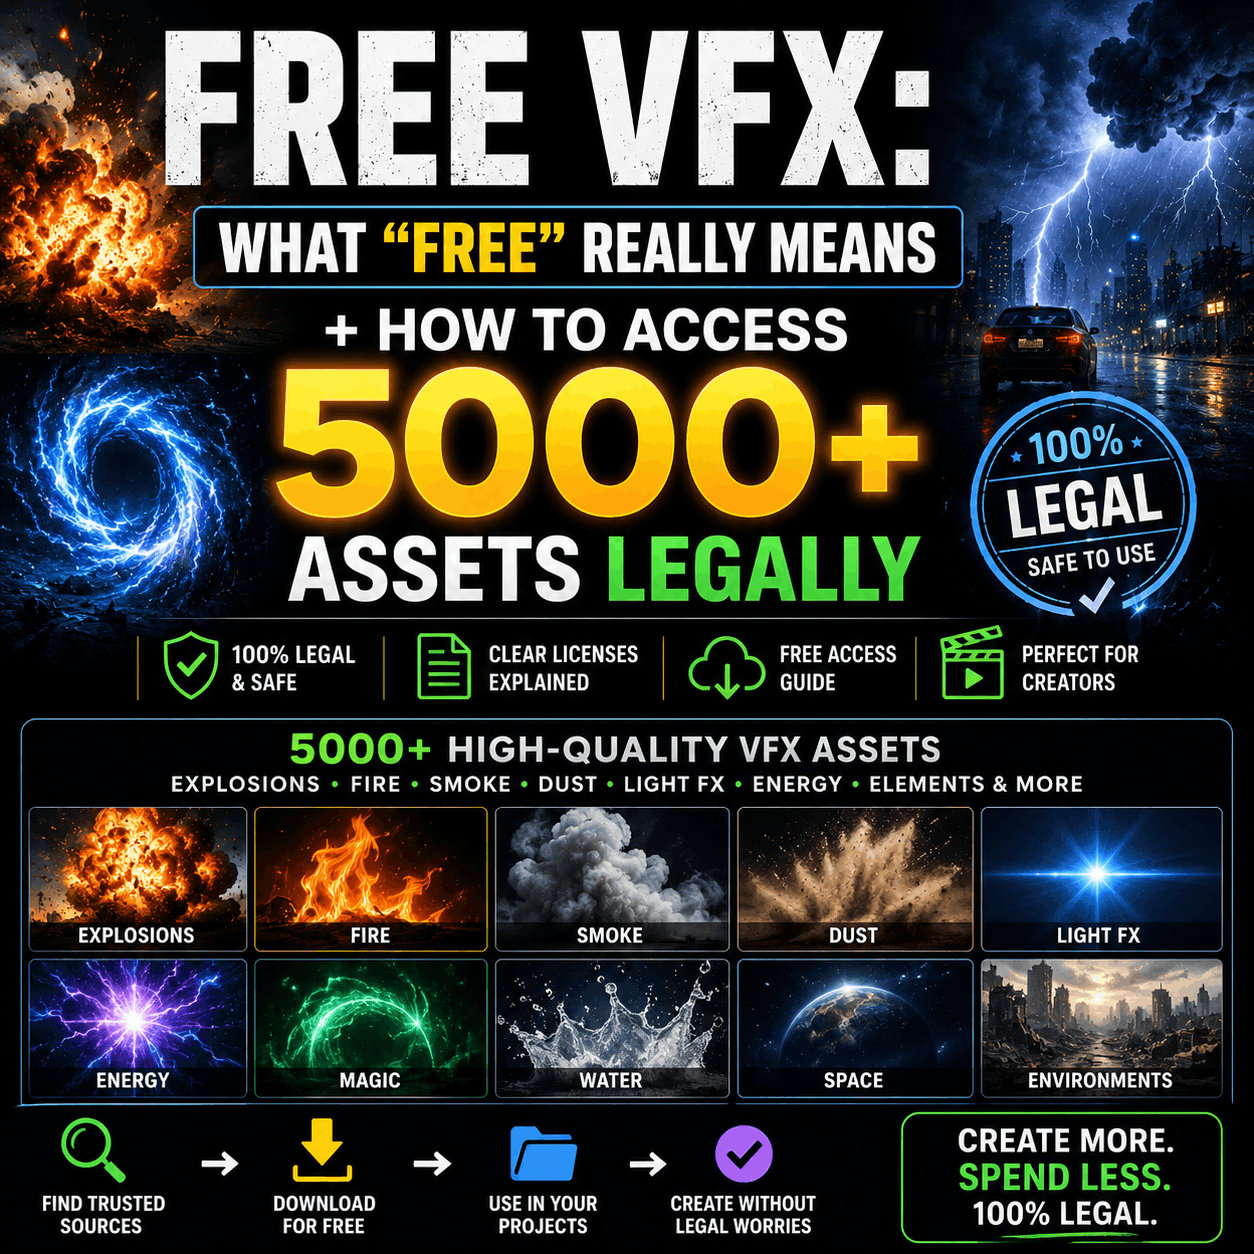
Licensing: royalty-friendly for creators (check each product page for license specifics).
Visit the product or search page: https://mycreativefx.com/ and search for explosion or explosion overlay.
Select the pack that fits your shot (look at resolution, format, and included elements).
Choose the free download or product tier — many packs include free demo elements alongside full packs.
Add to cart and download the ZIP file.
Unzip and organize: keep ProRes/MOV files, PNG sequences, and reference .mp4 previews in separate folders.
Direct download tip: if you need quick previews in your NLE, use the included preview .mp4 files. For final composites always use the highest-quality ProRes or PNG sequence available.
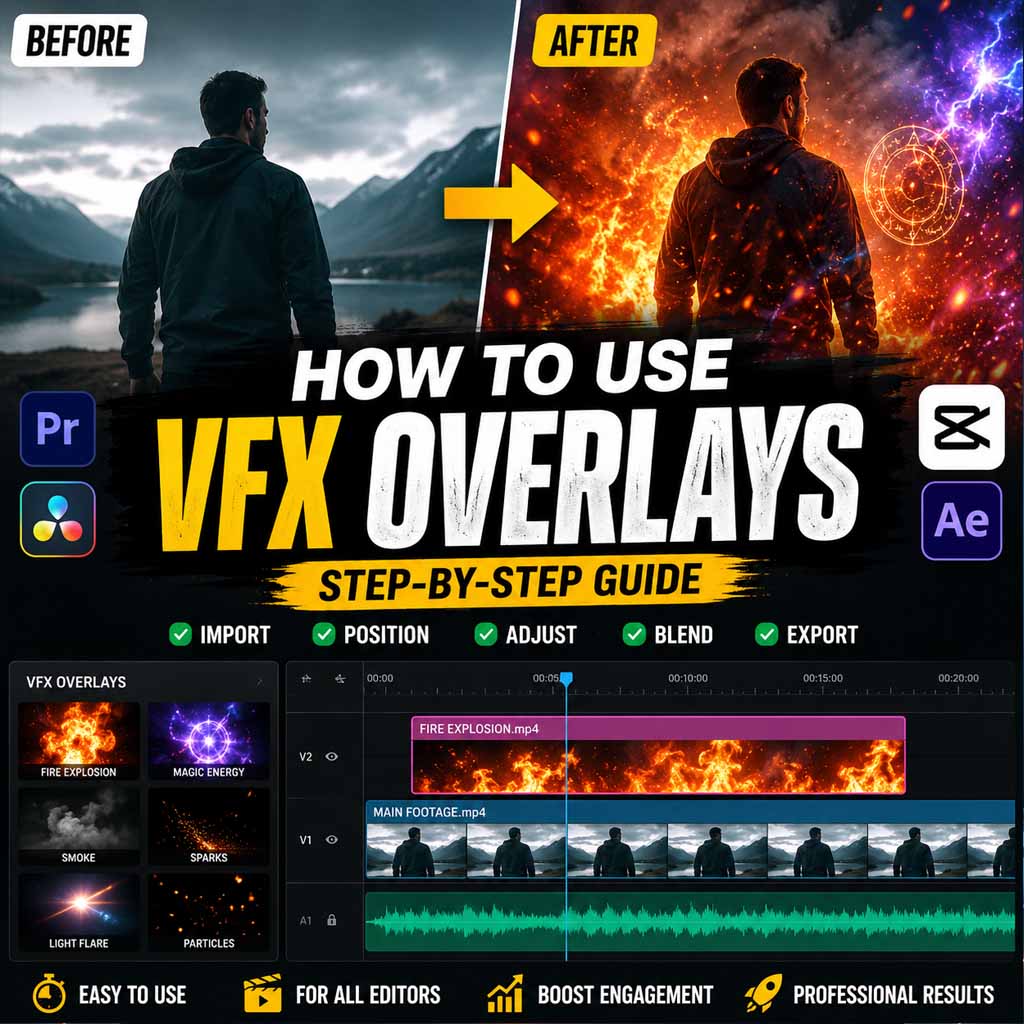
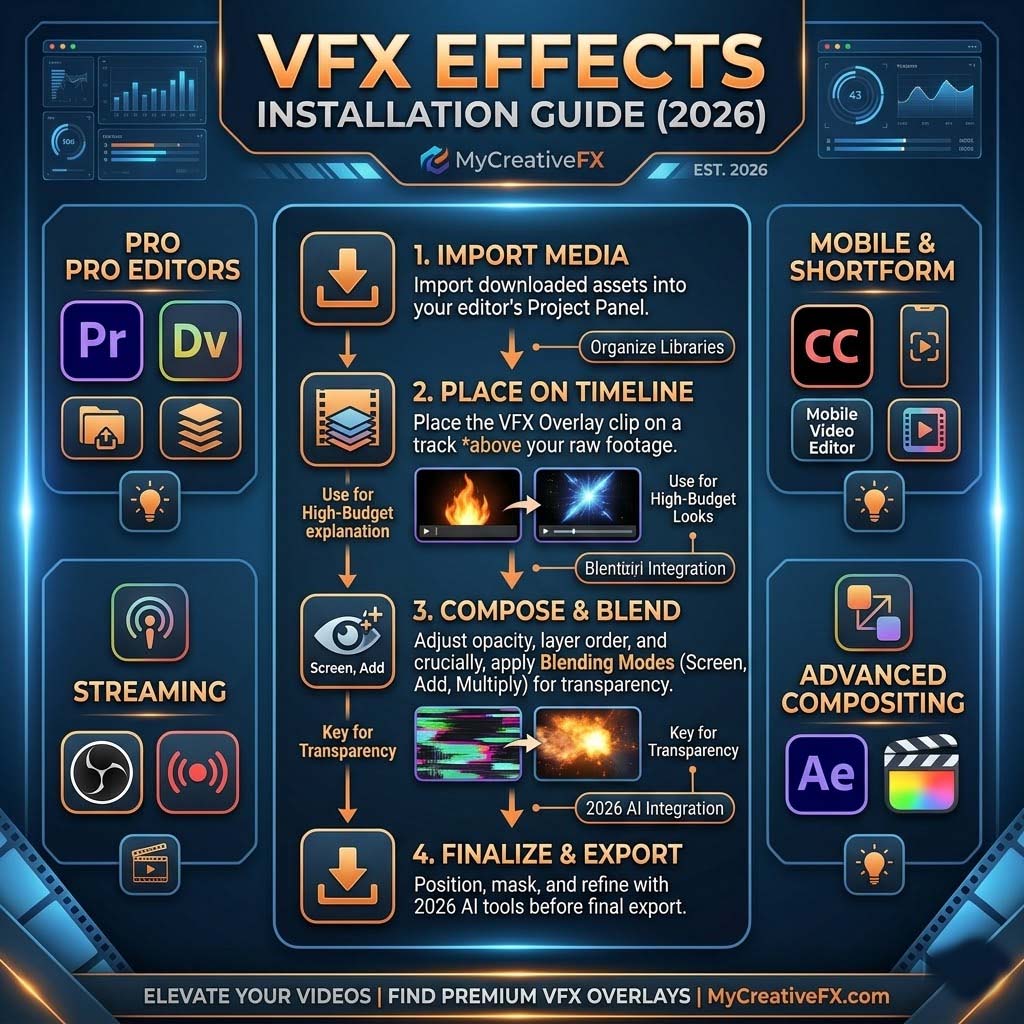
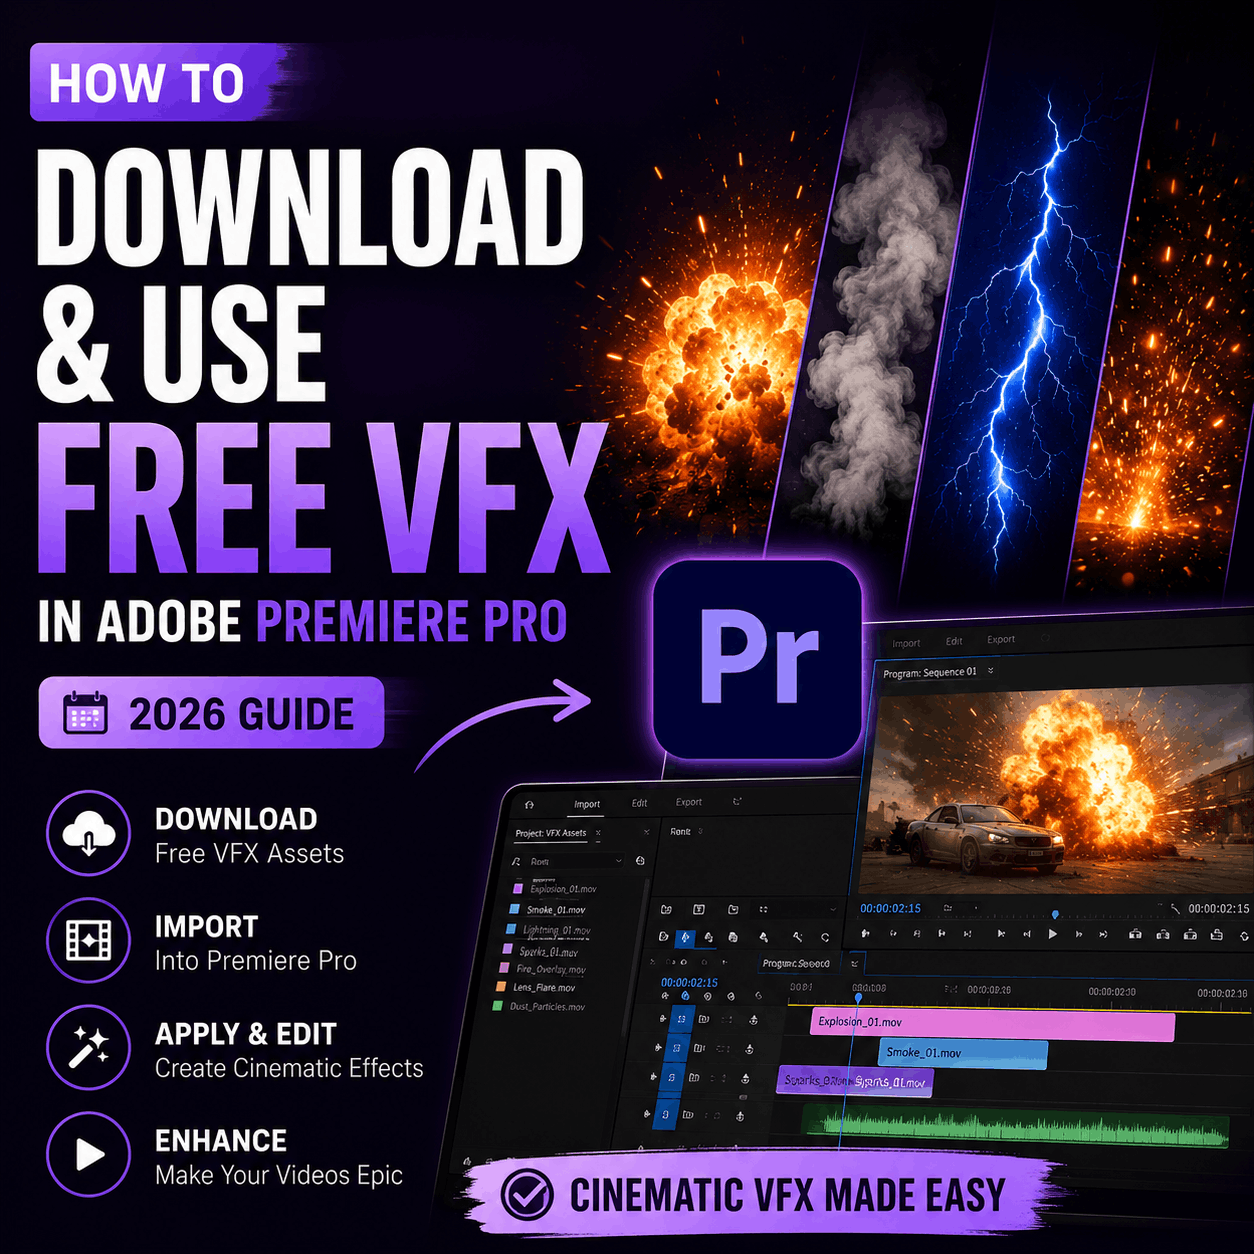
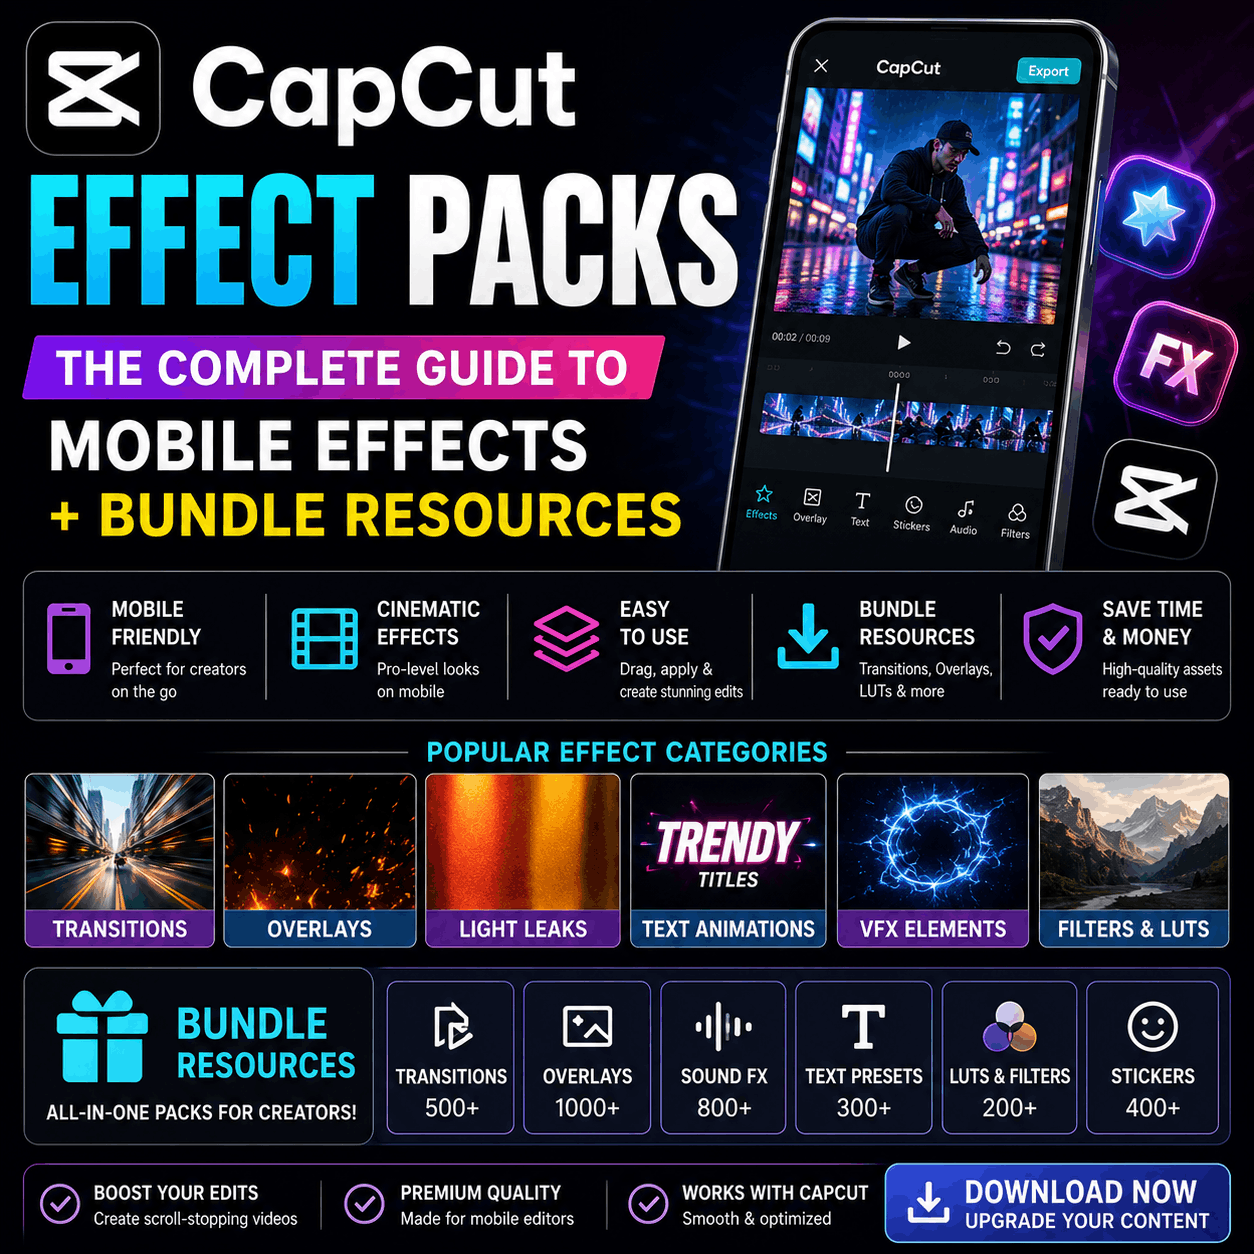
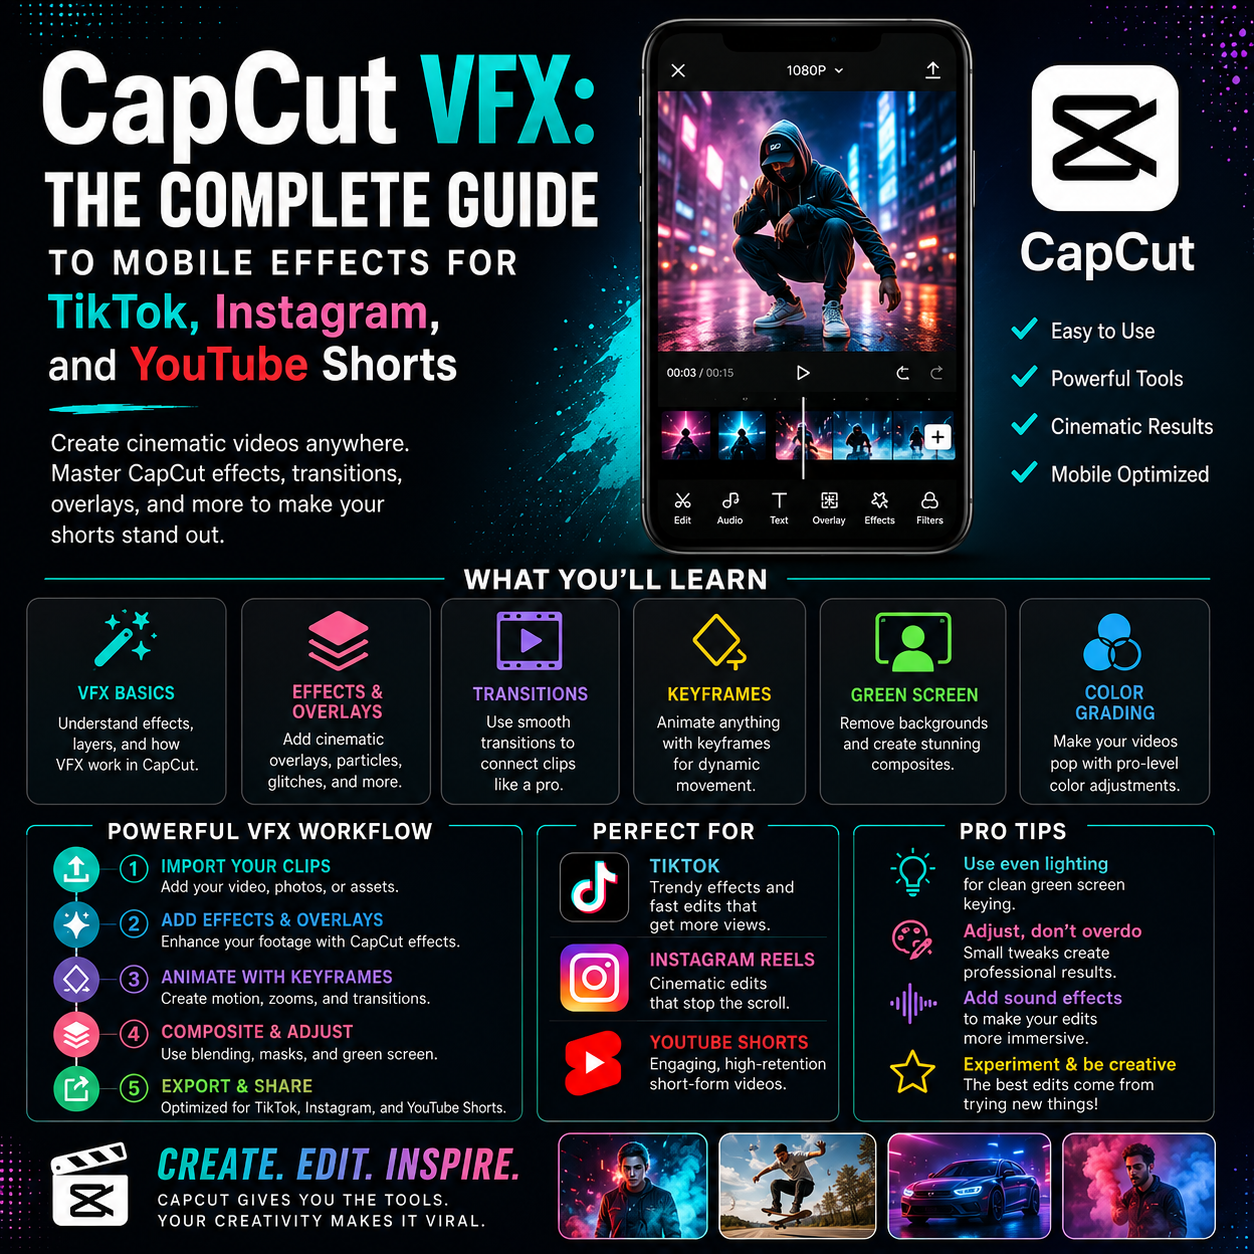
Below is a quick workflow for Premiere Pro, After Effects, DaVinci Resolve, and mobile editors (CapCut/LumaFusion):
1. Match the shot
Place your explosion layer above the footage.
Scale and position the explosion so the ground contact and horizon line match the scene perspective.
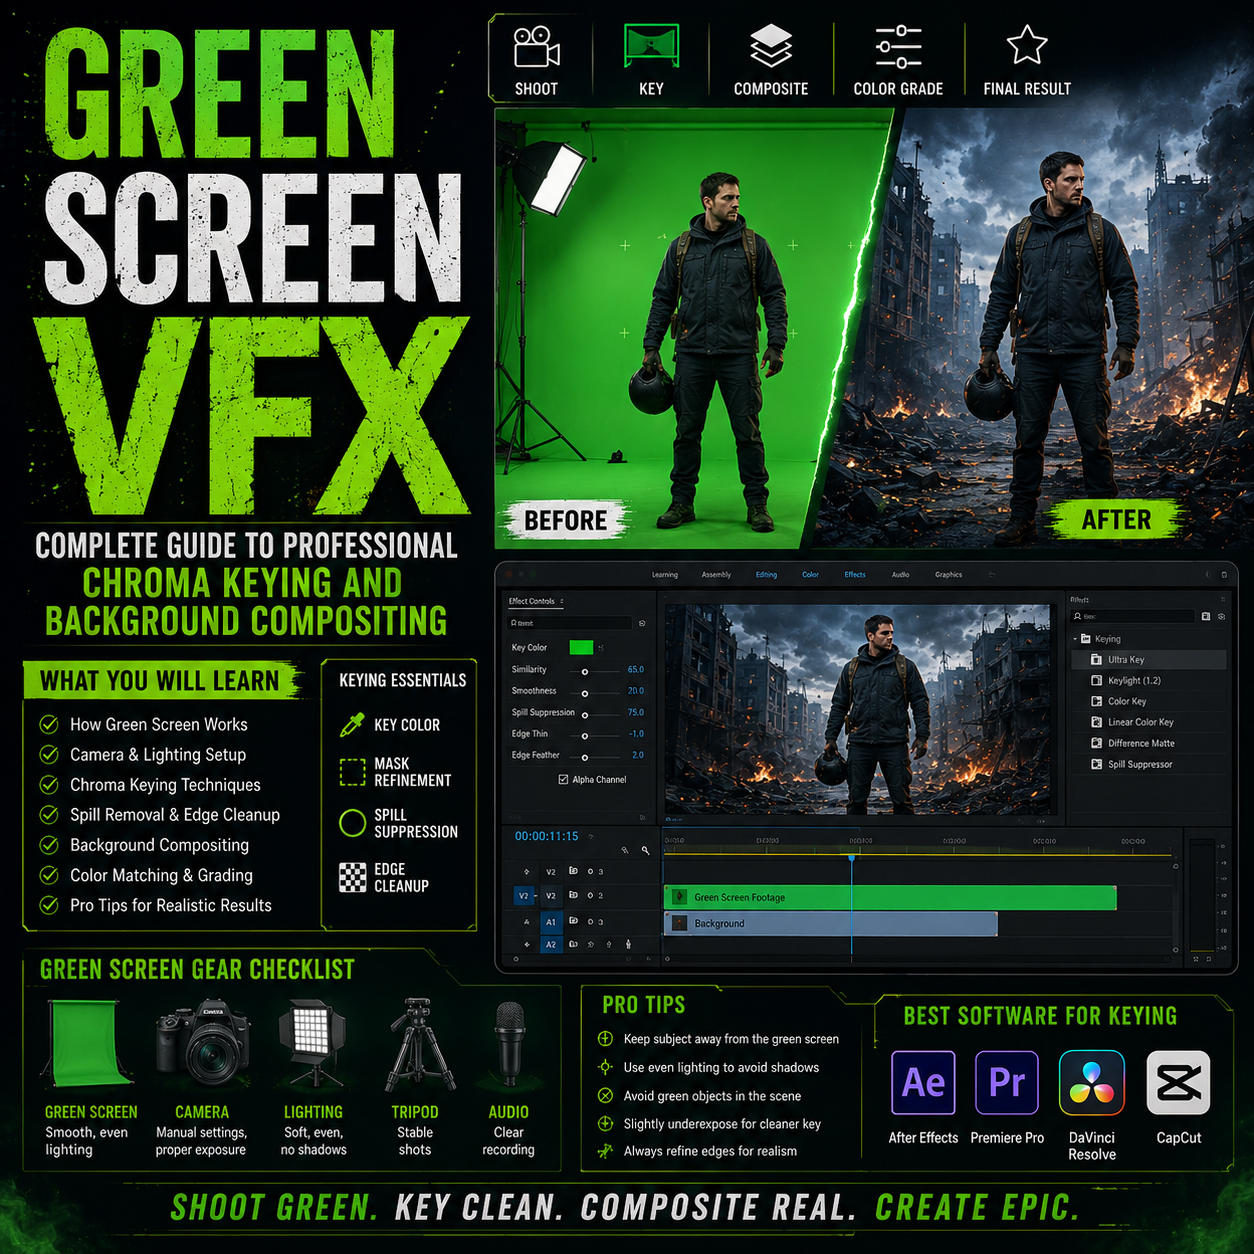
2. Blending & keying
If the pack has alpha channels: set blending to Normal — alpha takes care of masking.
If it’s green/blue-screened: apply a keyer (Keylight, Ultra Key) and refine edges (clip black/white, choke, soften).
3. Color & exposure
Use curves, levels, or exposure to match the plate’s brightness to your scene.
Add a Hue/Saturation or Lumetri color pass to integrate temperature (warmer for daylight, colder for night).
4. Light & glow
Add an animated Light Wrap or duplicate explosion layer with heavy blur and screen/blend mode to simulate bloom.
For real-time NLE: duplicate, Gaussian blur, set to Screen or Add, and reduce opacity.
5. Smoke & debris layering
Combine multiple elements: smoke plates, debris, and sparks to add realism. Layer from furthest (smoke) to nearest (debris).
Use motion blur and directional blur to match camera movement.
6. Sound design
Pair visuals with layered sound: low-end sub-bass, mid-range booms, crackles for debris, and rumble tails. MyCreativeFX also offers matching SFX packs.
ProRes (with alpha) — best for After Effects, Premiere Pro, Resolve.
PNG sequence (with alpha) — universal, works in nearly every editor.
MOV without alpha (screen/green) — requires keying but smaller file sizes; good for mobile editors.
EXR — for high-end color and compositing workflows in Nuke/Blender (rare in free packs).
Use proxies during edit and switch back to full-res for final render.
Convert PNG sequences to a single MOV with alpha if your editor struggles with many files.
Cache frequent assets locally to avoid repeated RAM disk reads.
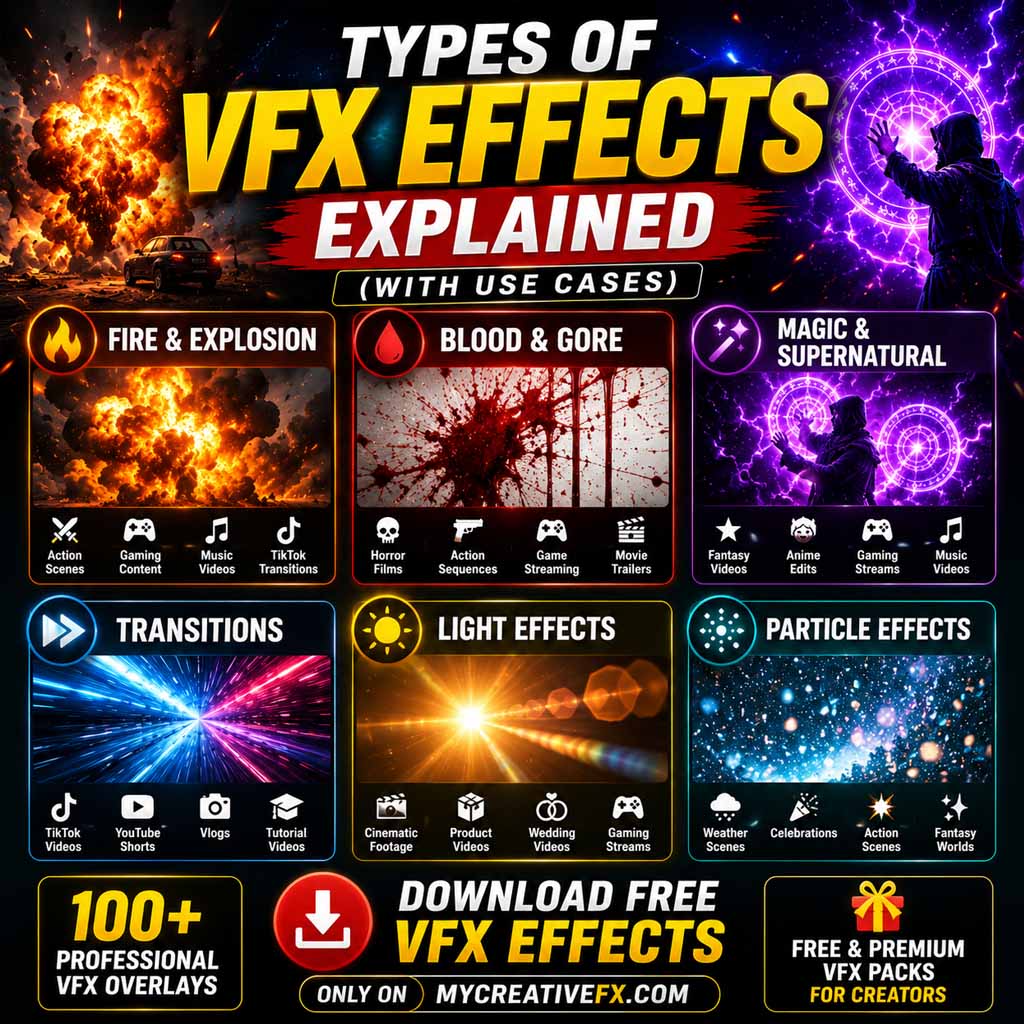
Action short films — add a punch to crashes and explosions.
Trailers & promos — heighten impact in 3–5 second stingers.
Music videos — dramatic transitions or beat-synced hits.
Social content — create viral short formats with quick, punchy VFX.
Motion graphics — combine explosion shockwaves with typographic reveals.
Always check the specific pack’s license on MyCreativeFX. Most assets are creator-friendly with allowances for YouTube, social, and commercial projects, but read the license if you plan to redistribute VFX assets themselves or include them in stock collections.
✅ Explosion scale matches scene perspective
✅ Color and exposure matched to background plate
✅ Motion blur applied to explosion and debris
✅ Sound effects layered and synced
✅ Final render settings are set to high-bitrate or ProRes for delivery
Grab high-quality explosion VFX and demo packs at MyCreativeFX: https://mycreativefx.com/. Whether you need a single blast, multi-part destruction kit, or cinematic smoke and debris, MyCreativeFX has creators-first assets that save time and elevate production value.